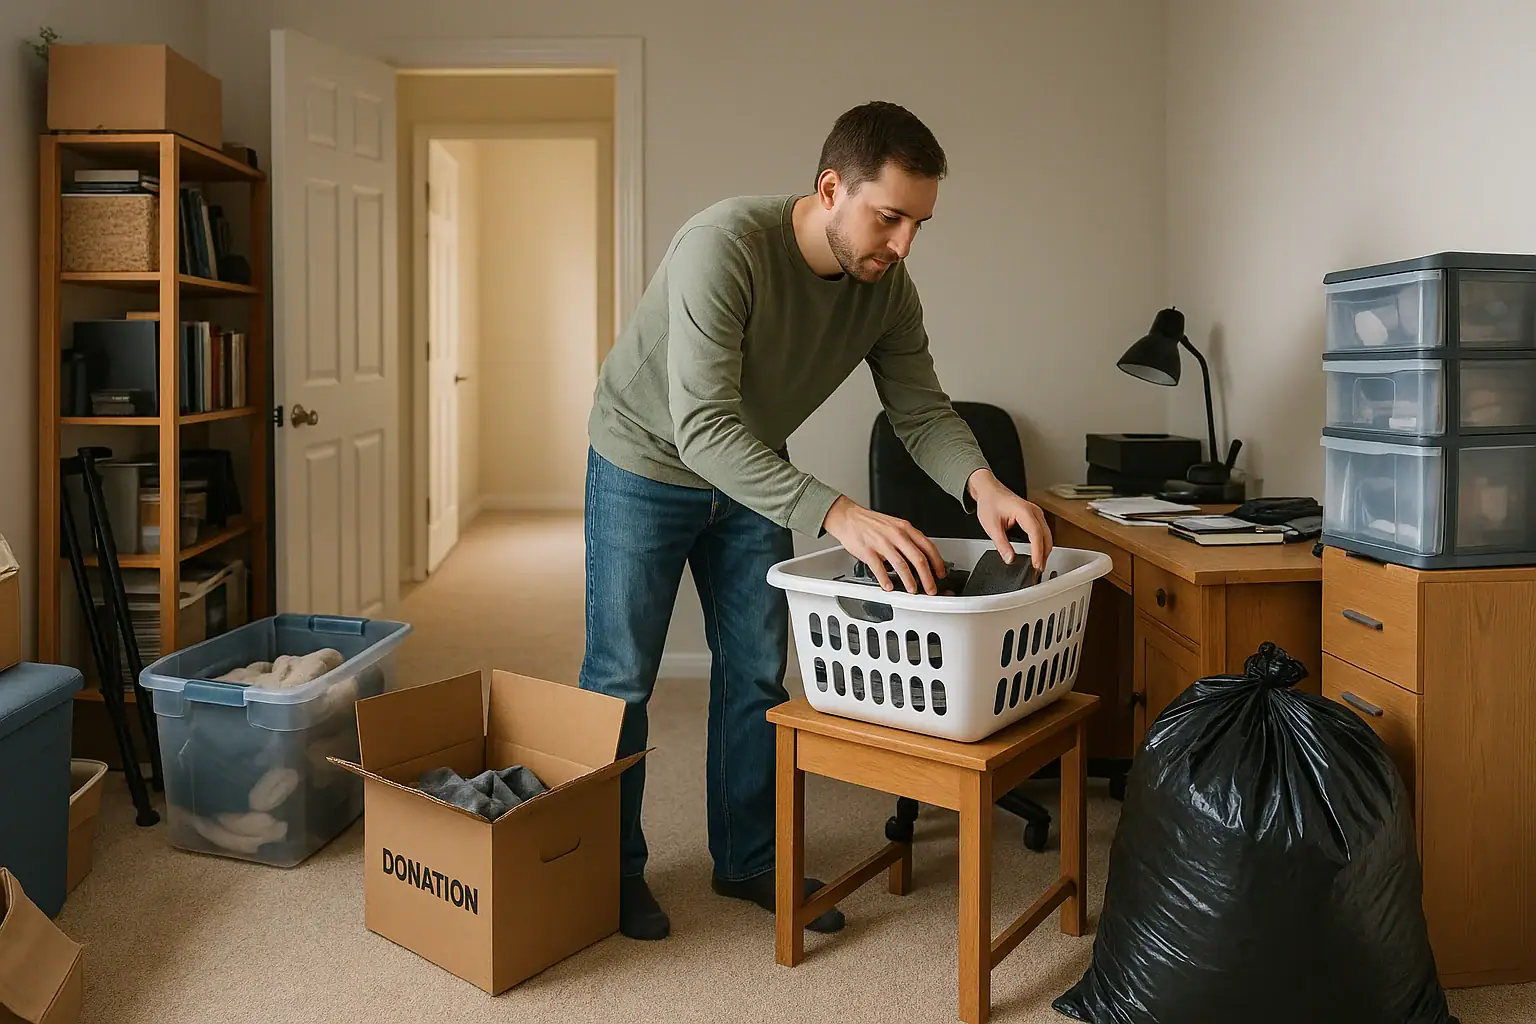
Quick answer: To organize a cluttered room, first clear the doorway, exits, and one walking path. Remove trash, dishes, and laundry, then work on one small, bounded area without emptying drawers or closets. Put items for other rooms in one relocation container, reduce what stays, and assign each kept item an easy-to-use home.
Start with a quick safety scan
Your first goal is not to make the room look finished. It is to make the space safe enough to move through and work in.
Begin at the doorway and identify any entrance, exit, or escape route blocked by objects. The Seattle Fire Department advises keeping entrances, exits, and escape routes free of storage and furniture. Clear these areas before opening drawers or sorting detailed categories.
- Open the doorway: Move only what prevents the door from opening and closing normally.
- Create one usable path: Work from the doorway inward rather than stepping over piles.
- Check heat sources: Nothing should sit on or drape over a heater. Seattle Fire recommends 1 foot of clearance around baseboard heaters and 3 feet around portable space heaters. Follow the heater manual and applicable local requirements if they differ.
- Notice unstable or damaged items: Stop loading a leaning bookcase, sagging shelf, or unstable stack.
- Set aside questionable materials: Do not open, smell, combine, or pour out leaking or unidentified products.
The EPA identifies products including some paints, cleaners, oils, batteries, and pesticides as materials that may require special handling. It recommends retaining labels, keeping products in their original containers, following disposal directions, and never mixing leftover household hazardous products.
Set up a no-bigger-mess sorting station
Gather a few containers before sorting, but do not spread them across the room. Keep them beside the cleared path or immediately outside the doorway without blocking it.
- A trash bag and, where locally accepted, a recycling container
- A tray or bin for dishes
- A laundry basket
- One container for items that belong elsewhere
- One donation container
- One small, finite container for items you cannot decide about today
The relocation container prevents repeated trips to other rooms and keeps displaced objects from becoming new piles. The decide-later container needs a firm physical limit: when it is full, either review it or stop adding to it.
How to organize a cluttered room one zone at a time
1. Choose a small, bounded starting area
Pick one corner, chair seat, nightstand, or section of a tabletop. A tray-sized or arm’s-reach area is enough. Avoid beginning with a full closet, dresser, or bookcase because emptying it can cover the room with additional clutter.
Only handle objects from the selected area. Items elsewhere can wait, even if you notice where they belong.
2. Remove the lowest-decision categories
Collect obvious trash first, followed by dishes and laundry. Keep these streams separate so a wet cup does not end up in a clothing basket or donation box.
If you find a container with an unknown substance, a leaking battery, or another potentially hazardous product, leave it closed and stable while you check the label and your local household-hazardous-waste program. Municipal options differ. For example, New York City publishes its own accepted-item and event rules; those rules do not automatically apply elsewhere.
3. Make one decision per remaining item
Use a short set of destinations:
- Keep here: The item supports the room’s purpose and is used here.
- Relocate: It has a known home in another room.
- Donate: It is usable, unwanted, and accepted by the intended recipient.
- Dispose: It is no longer usable and can be handled under local rules.
- Decide later: You genuinely need more information or time.
Avoid detailed sentimental decisions during the first pass. Put a limited number of difficult items in the decide-later box and keep moving through the bounded area.
4. Finish the zone before expanding
Once the section is empty, wipe or vacuum it as appropriate for the surface. Return only the items that belong there, then expand into the next adjacent section. This creates usable space without unloading the rest of the room.
Match the clutter pattern to the next action
| What you see | What to do next |
|---|---|
| The floor blocks the door or walking route | Clear access first; do not begin with drawers or decorative items. |
| Trash, dishes, and laundry dominate | Collect each low-decision category separately. |
| Every surface is full | Clear one small section and expand only after finishing it. |
| Many items belong in other rooms | Use one relocation container and deliver its contents after the sorting session. |
| Undecided items slow all progress | Use one limited decide-later box instead of an open-ended pile. |
| A category no longer fits its storage | Reduce that category before shopping for another container. |
| Clutter repeatedly collects in one spot | Create an easy-to-reach home near that natural drop point. |
| A shelf or bookcase feels unstable | Stop loading it and find the current instructions for its exact model. |
Create zones and practical item homes
Once you have reduced the visible clutter, define what the room needs to support. A bedroom might have sleep, dressing, reading, and laundry zones. A home office might have computer work, paper handling, supplies, and reference-storage zones.
Give each retained item a home based on three practical questions:
- Where is it used? Keep it near that activity when possible.
- How often is it used? Frequent-use items should be easier to reach than occasional items.
- Does the category fit? A drawer or bin is not a working home if it cannot close or accept returned items without rearranging everything.
Delay buying organizers until you know what will remain and can measure the available space. For shelving and tall furniture, follow the exact manufacturer instructions, hardware requirements, and load limits. For example, the instructions for IKEA BILLY bookcase model 505.220.40 call for the supplied wall-attachment devices while requiring screws and plugs suited to the actual wall material. Do not assume another shelf, wall, or model uses the same method.
A hypothetical, adaptable one-hour sequence
This example assumes one able adult, no heavy lifting, no biohazards or sharps, and no severe hoarding conditions. It is a planning framework, not a promise that the entire room will be finished in an hour.
| Example time block | Task |
|---|---|
| 0–10 minutes | Clear entrances, exits, and one walking route. |
| 10–20 minutes | Collect obvious trash, dishes, and laundry separately. |
| 20–40 minutes | Process one bounded surface or corner without opening additional storage. |
| 40–50 minutes | Group retained objects into room-use zones and assign workable homes. |
| 50–60 minutes | Remove outgoing bags, empty the relocation container, and note unresolved tasks. |
If the path is clear and one area works better at the end, the session has accomplished something useful. Stop before fatigue leads to rushed disposal decisions or new piles.
Finish the outgoing loop
Sorting is not complete until outgoing items reach their next destination.
- Remove ordinary trash and recycling according to local rules.
- Take dishes to the kitchen and laundry to its normal collection point.
- Walk the relocation container through the home once, returning each item directly to its known home.
- Confirm donation requirements and schedule a realistic drop-off or pickup. A defined donation staging zone can help if items cannot leave immediately.
- Record any hazardous-waste research, repairs, or furniture instructions you still need to address.
Do not leave outgoing bags in the doorway, walking path, or beside a heater.
Keep the room from filling again
Tie a brief room reset to an existing routine, such as leaving the room for the night or finishing work. Return items to their homes, move dishes and laundry out, and clear the natural drop point.
When the same object repeatedly remains out, treat that as information rather than failure. Its home may be too far away, difficult to open, already full, or unclear to other household members. Adjust the location or reduce the category instead of repeatedly forcing the same system.
Pause the project if you encounter unstable heavy furniture, needles, animal or human waste, widespread mold, or an unknown spill you cannot safely identify. Keep people and pets away from the area while you determine the appropriate local service or disposal guidance.
For more practical room-care and organizing guidance, visit the Cleaning & Organization hub.
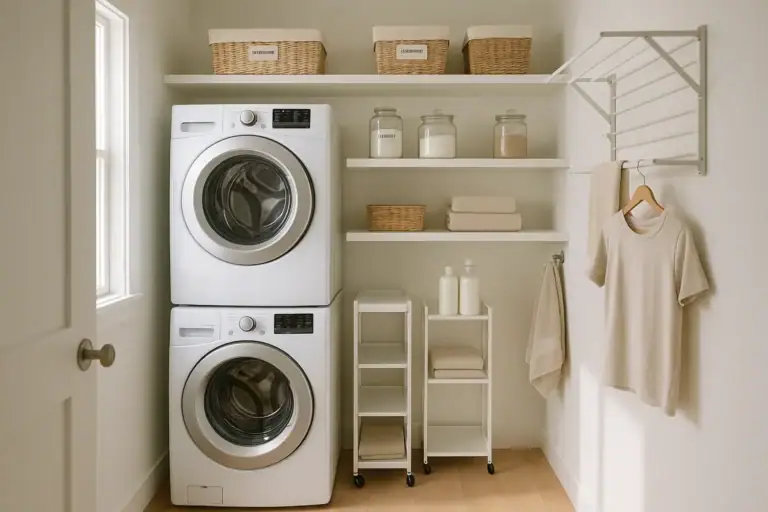 How to Organize a Laundry Room for Small Spaces
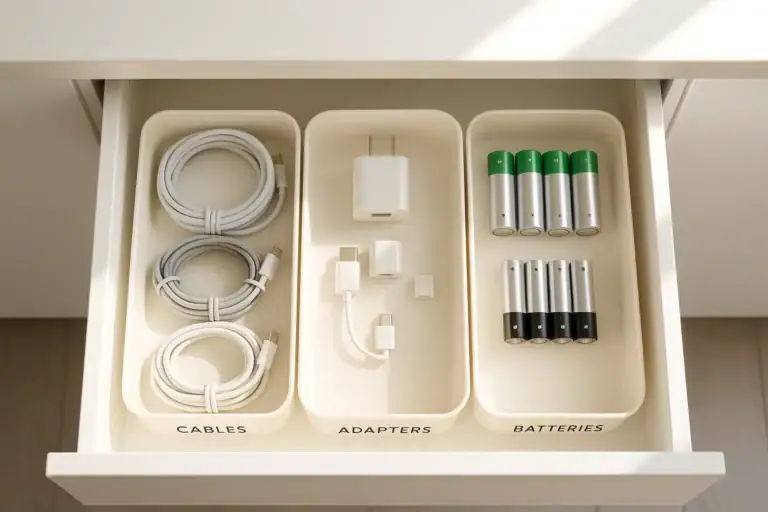 Charger Drawer Organization for Cables, Adapters, and Batteries
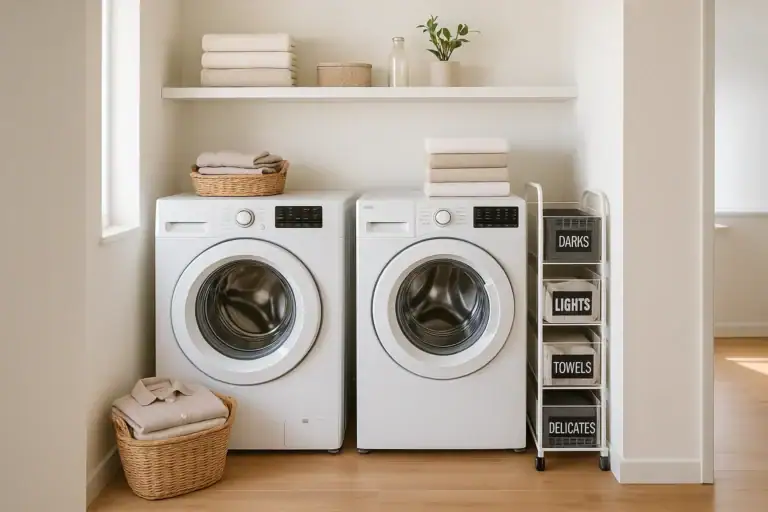 Laundry Sorting Systems for Small Households: Simple Ways to Stay Organized