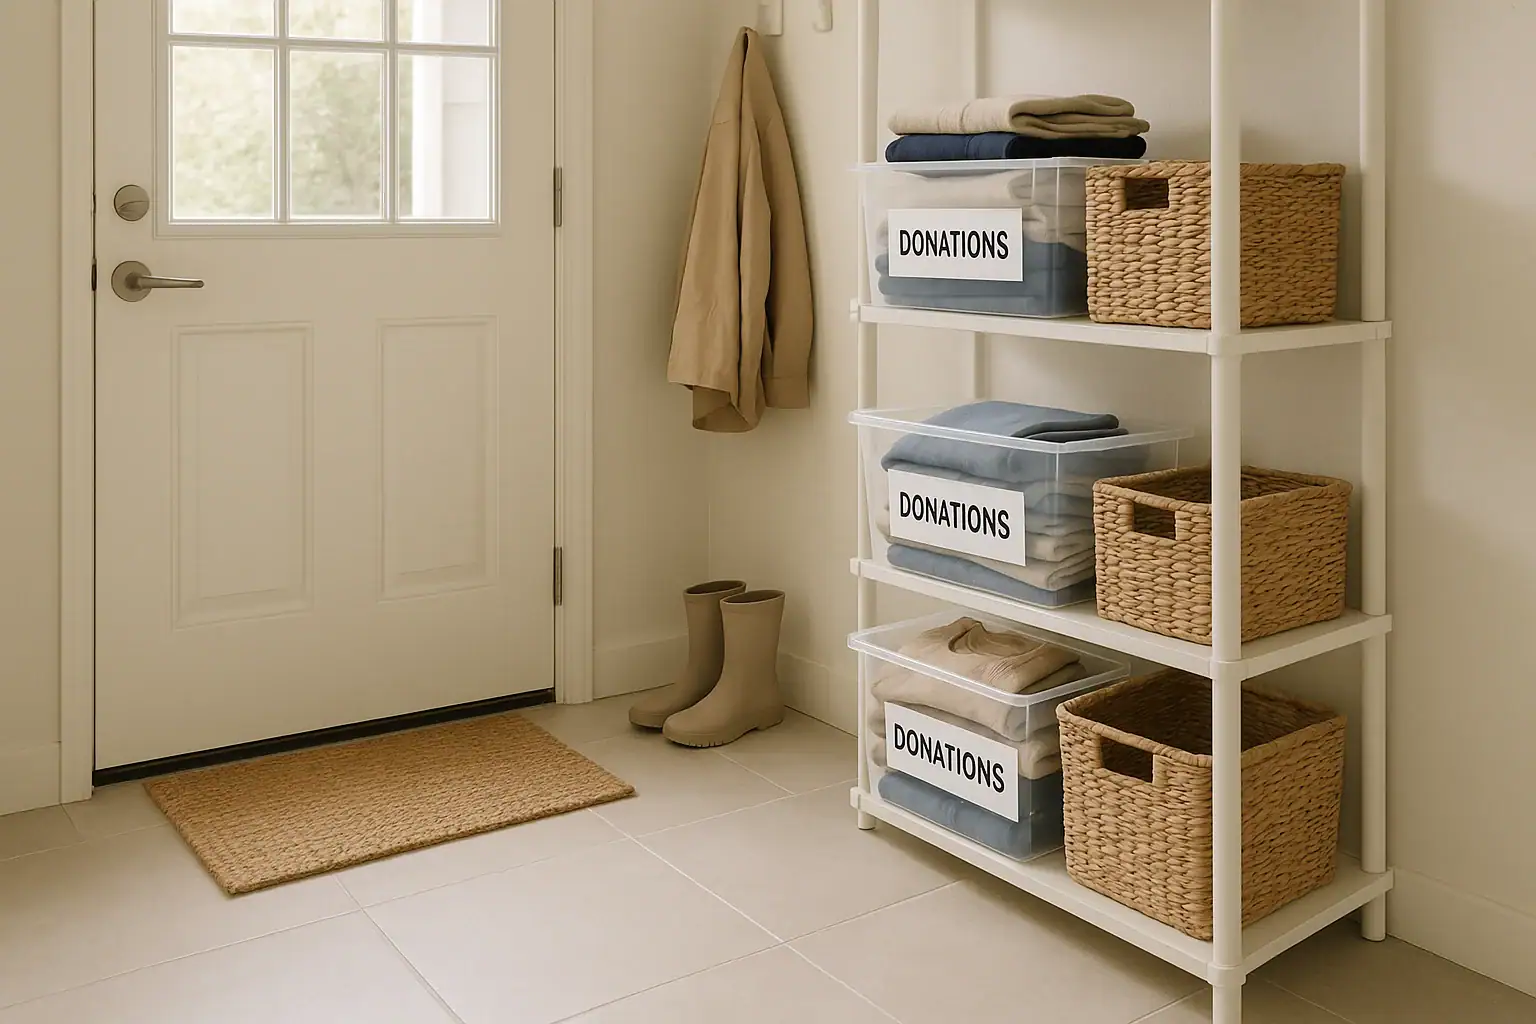
What is a donation staging zone and why it helps
A donation staging zone is a dedicated spot in your home where you temporarily collect items you plan to donate. Instead of piling bags by the door or leaving boxes scattered around, everything goes to this one organized area until you are ready for a drop-off or pick-up.
Having a clear donation zone makes decluttering easier because you always know where to put “donate” items, and you can see your progress as the space fills. It also reduces second-guessing, since items have already left your everyday living areas.
Step 1: Choose the right location
Pick a spot that is out of the way but still easy to reach while you declutter.
- Good options: a corner of the garage, a section of a coat closet, a laundry room wall, or under a set of stairs.
- Avoid: blocking doors, walkways, or access to electrical panels, heating equipment, or exits.
In small homes or apartments, think vertical: a tall basket, a narrow shelving unit, or a single labeled bin that tucks into a closet can work well.
Step 2: Define the space with containers
Once you pick the location, give the zone clear boundaries so it doesn’t spread.
- Use containers you already have: cardboard boxes, reusable shopping bags, laundry baskets, or plastic bins.
- Size the containers so they are easy to lift and carry when full.
- Limit the footprint: for example, “only what fits on this shelf” or “only these two bins.”
If you donate to different places (thrift store, school, animal shelter), you can assign one container to each, but keep it simple at first—one general “donation” container is enough for most homes.
Step 3: Create simple labels
Labels make it obvious what belongs in the zone and help everyone in the household use it consistently.
- Label the main container: “Donations.”
- If you sort more, add labels like “Clothing,” “Household items,” or “Kids’ stuff.”
- Use masking tape and a marker, or slip paper labels into clear sleeves on bins.
Keep the wording short and clear so there is no confusion with trash, recycling, or storage boxes.
Step 4: Set basic rules for what goes in
Decide ahead of time what belongs in the donation staging zone so you don’t have to rethink each item.
Common guidelines:
- Items are clean and in usable condition.
- No broken, moldy, or heavily stained items.
- Only items you are sure you do not want to keep.
Most donation centers have their own rules about what they accept. Check your chosen organization’s website or call ahead, especially for electronics, baby gear, or furniture. If you are unsure whether something is safe or appropriate to donate, it may be better to recycle or dispose of it according to local rules.
Step 5: Connect the zone to your decluttering routine
To make the donation staging zone actually work, tie it to simple habits:
- During decluttering sessions: keep a donation container nearby and move items straight to the zone when you finish.
- Daily or weekly sweep: when you notice something you no longer use (a shirt that doesn’t fit, a duplicate kitchen tool), drop it in the donation bin right away.
- One-in, one-out: when a new item comes into the home, consider placing a similar older item in the donation zone.
These small actions keep clutter from building back up and make the zone part of everyday life instead of a one-time project.
Step 6: Decide when donations leave the house
A staging zone only works if items regularly move out. Choose a simple trigger so you don’t end up with permanent piles.
- By volume: when the bin is full, schedule a drop-off.
- By time: pick a recurring day, such as the first Saturday of each month.
- By event: when you’re already driving near your preferred donation center.
Keep a list of donation locations and hours in the zone or on your phone so it’s easy to follow through. If your local organization offers pick-up, note their scheduling process and lead times.
Step 7: Keep the zone safe and tidy
Because the donation staging zone holds extra items, it can become cluttered if not managed. A few guardrails help:
- Do not stack boxes so high that they could tip.
- Keep heavier items in smaller containers or at the bottom of stacks.
- Avoid blocking pathways, exits, or access to utility shutoffs.
- Do not store flammable or hazardous items (paints, chemicals, fuels) in the donation zone; follow local guidance for those materials instead.
If you are unsure how to dispose of hazardous household products, many local governments provide instructions through their solid waste or environmental departments.
Step 8: Adjust the zone as your needs change
After a few weeks, review how the donation staging zone is working:
- Is the location convenient, or do you avoid using it?
- Are the containers the right size to carry comfortably?
- Do you need clearer labels or fewer categories?
Make small changes rather than starting over. The goal is a simple, reliable system that supports your decluttering, not a perfect-looking space.
Using your donation staging zone to stay organized
Once your donation staging zone is in place, it becomes a quiet anchor for ongoing organization. As you work through closets, cabinets, and storage areas, you always know where to put items that are leaving your home. Over time, this reduces visual clutter and makes it easier to keep the rest of your home in order.
For more ideas on keeping your home streamlined and functional, explore the Cleaning & Organization guides at Signature Home Guide, and build on your donation zone with other simple systems that fit your space.
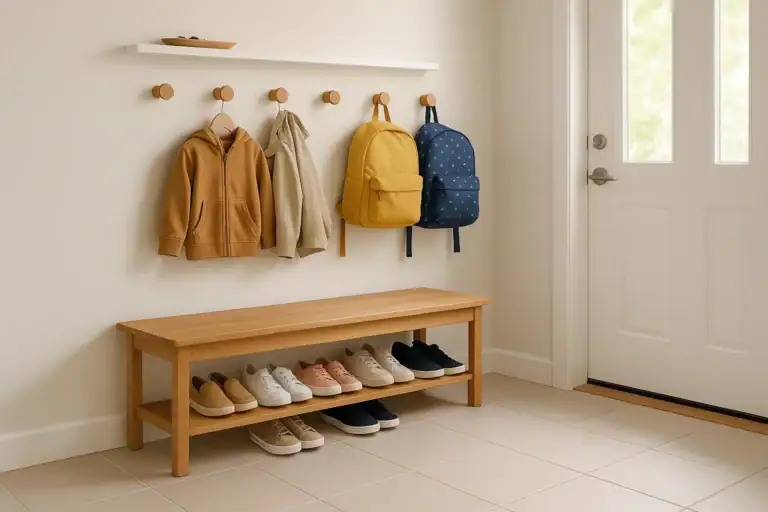 Entryway Shoe Drop Zone Organization for Busy Families
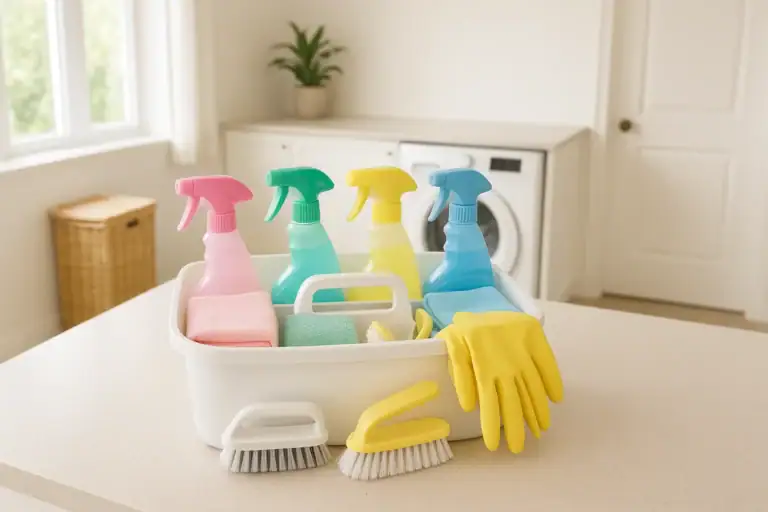 How to Build a Simple Grab-and-Go Cleaning Caddy: Step-by-Step Guide
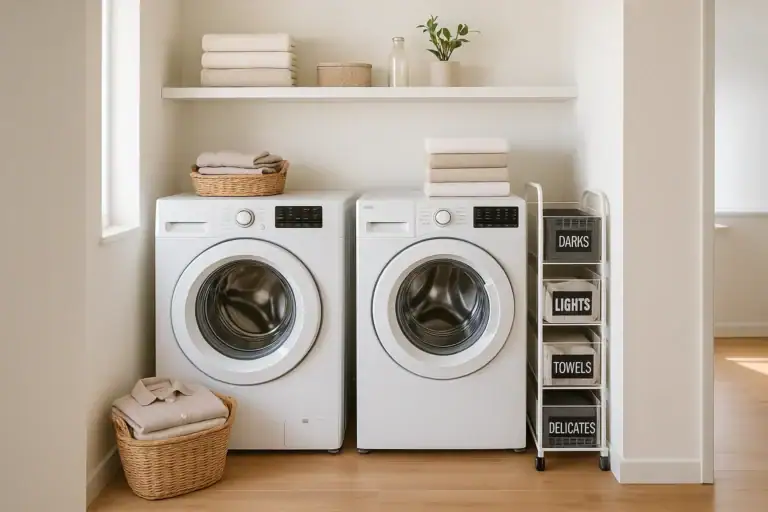 Laundry Sorting Systems for Small Households: Simple Ways to Stay Organized