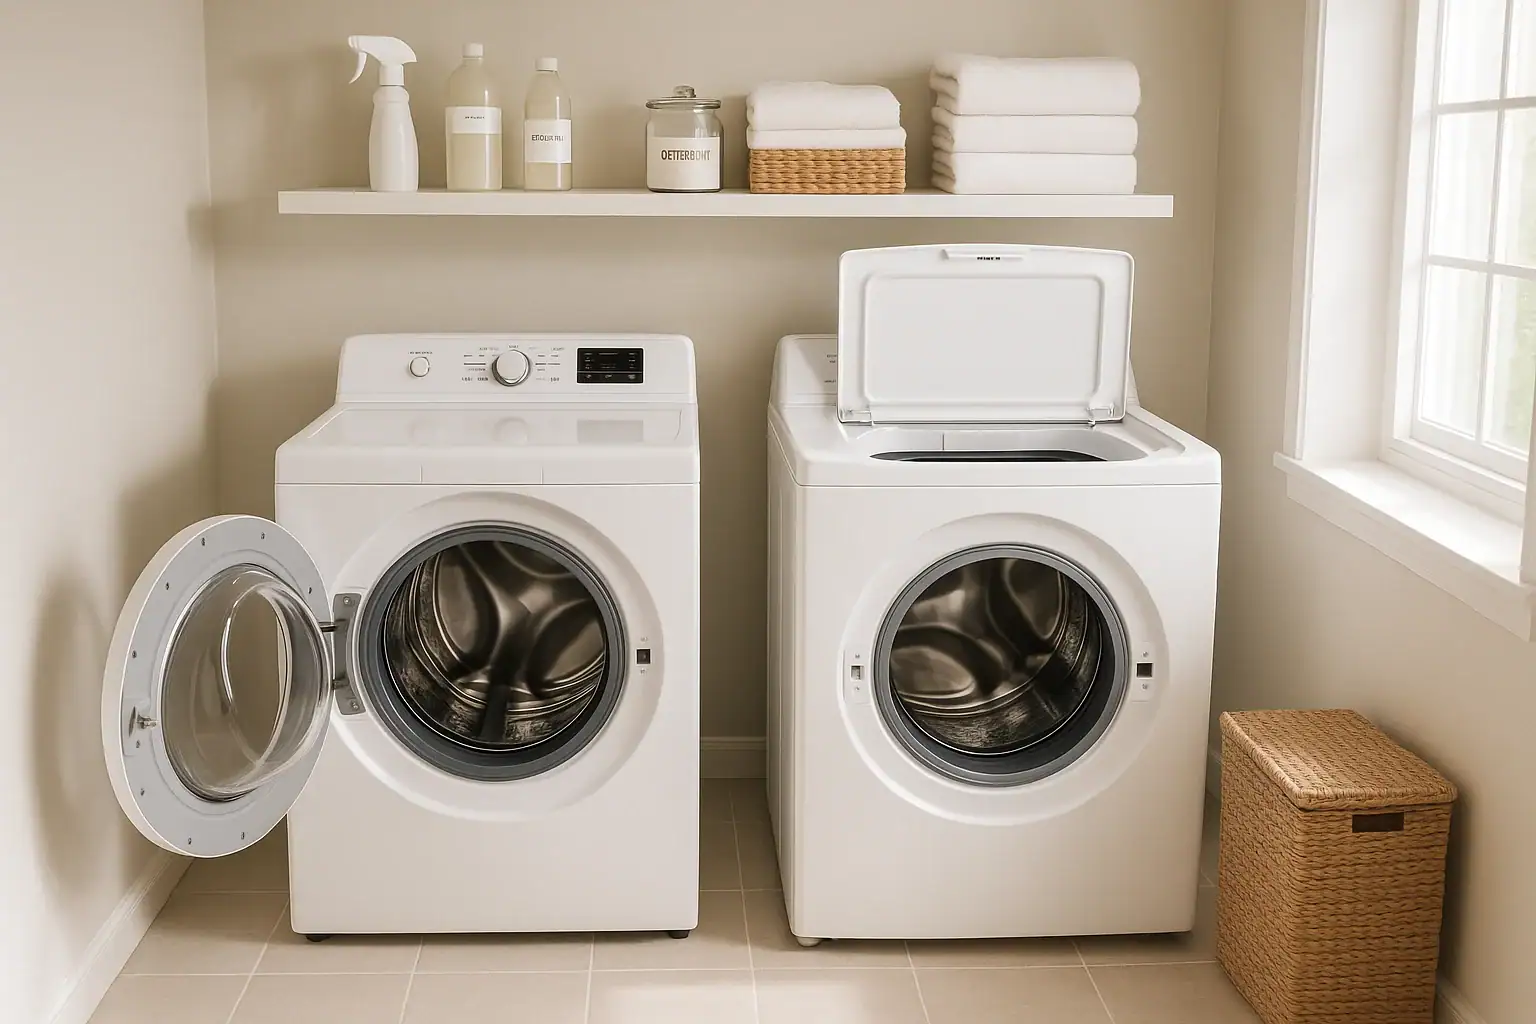
A washing machine is supposed to make things cleaner, but over time it can start to smell, leave residue on clothes, or even grow visible buildup. Detergent, fabric softener, hard water minerals, and lint all collect in places you cannot see. The good news is that a regular cleaning routine can keep your washer fresh, efficient, and odor-free. The steps are slightly different for front-load and top-load models, so it helps to understand what your machine needs and why.
On this page(click to collapse)
- Why Washing Machines Need Regular Cleaning
- Front-Load vs Top-Load: Key Differences for Cleaning
- What You Need to Clean a Washing Machine
- How to Clean a Front-Load Washing Machine
- How to Clean a Top-Load Washing Machine
- Front-Load vs Top-Load: Cleaning Frequency Comparison
- Dealing With Odors, Mold, and Hard Water Buildup
- Everyday Habits to Keep Your Washer Clean
- When to Consider Professional Help or Replacement
- Bringing It All Together
- Related guides
This guide walks you through how to clean a washing machine from the inside out, comparing front-load and top-load care. You will learn what to use, what to avoid, how often to clean, and how to tackle tough smells and mold. Use the step-by-step instructions and quick checklists to keep your laundry room running smoothly with less effort.
Why Washing Machines Need Regular Cleaning
Even if your washer looks clean, it can hide buildup in the drum, gasket, detergent drawer, and drain areas. Over time, this buildup can cause:
- Musty or sour odors on clothes and inside the drum
- Visible residue on dark clothing or towels
- Reduced efficiency and longer wash times
- Mold and mildew growth, especially in damp areas
- Drain issues from lint and soap scum buildup
Front-load and top-load machines both need cleaning, but front-load washers are more prone to mold around the door gasket, while top-load washers often collect grime under the rim and in the agitator area. Understanding these differences helps you target the right spots.
Front-Load vs Top-Load: Key Differences for Cleaning
Before you start, it helps to know how front-load and top-load washers differ in design and typical trouble spots.
Front-Load Washing Machines
Front-load washers are efficient and use less water, but they tend to trap moisture. Common problem areas include:
- Rubber door gasket: Traps water, lint, hair, and detergent residue, leading to mold or black spots.
- Detergent drawer: Can collect thick, sticky buildup and mildew.
- Drain pump filter (if accessible): May hold coins, lint, and debris that cause odors or drainage issues.
Because front-load washers seal tightly, they need extra attention to airflow and drying after each load.
Top-Load Washing Machines
Top-load washers are more open to air and often dry out more easily, but they can hide grime in different spots:
- Under the rim: Soap scum and dirt can cling just above the water line.
- Agitator or impeller area: Can trap lint, hair, and residue.
- Fabric softener dispenser: Often becomes sticky and clogged.
Top-load washers typically have fewer mold issues on seals, but they still need regular deep cleaning to prevent odors and residue.
What You Need to Clean a Washing Machine
You do not need complicated products to clean your washer. Many households already have what is needed.
Basic Supplies
- Distilled white vinegar or a washer-safe cleaning solution
- Baking soda
- Mild dish soap
- Soft cloths or microfiber towels
- Old toothbrush or small scrub brush
- Small bowl or measuring cup
- Optional: rubber gloves
Always check your machine’s manual to confirm what cleaners are safe. Avoid harsh abrasives, bleach mixed with vinegar, or anything that could damage rubber seals or metal parts.
How to Clean a Front-Load Washing Machine
Use this step-by-step routine to deep clean a front-load washer. Plan for about 45 to 60 minutes of hands-on time plus cycle time.
Step 1: Wipe the Door and Gasket
- Turn the washer off and unplug it if possible for safety.
- Open the door and gently pull back the rubber gasket to expose folds.
- Use a damp cloth with a small amount of mild dish soap to wipe around the entire gasket, including hidden folds.
- Remove any lint, hair, or small objects.
- For mold spots, use a cloth dipped in a mixture of equal parts water and distilled white vinegar. Scrub gently with a toothbrush if needed.
- Dry the gasket thoroughly with a clean towel.
Step 2: Clean the Detergent Drawer
- Remove the detergent drawer or tray. Most pull out and then lift or press a release tab.
- Soak the drawer in warm, soapy water for 10 to 15 minutes.
- Use a toothbrush to scrub away residue in corners and compartments.
- Wipe inside the drawer cavity on the machine with a damp cloth.
- Rinse and dry the drawer, then reinstall it.
Step 3: Run a Hot Cleaning Cycle
- Make sure the drum is empty.
- Add 2 cups of distilled white vinegar directly to the drum.
- Sprinkle 1/4 cup of baking soda into the drum or the detergent compartment.
- Run the hottest, longest cycle available, ideally with an extra rinse.
- Allow the cycle to complete fully.
The combination of hot water, vinegar, and baking soda helps break down soap scum, minerals, and odors.
Step 4: Clean the Drain Pump Filter (If Accessible)
Many front-load washers have a small access door near the bottom front.
- Place a shallow pan or towel under the access door to catch water.
- Open the panel and carefully unscrew or pull out the filter.
- Remove lint, coins, and debris by hand.
- Rinse the filter under warm water and scrub gently if needed.
- Reinstall the filter securely and close the panel.
If your model does not have an accessible filter, check the manual for recommended maintenance steps.
Step 5: Wipe the Exterior
- Use a damp cloth with mild dish soap to wipe the control panel, door, and sides.
- Dry with a clean cloth to prevent water spots.
Front-Load Quick Maintenance Checklist
- Wipe gasket dry after the last load of the day.
- Leave the door slightly open to let the interior air out.
- Clean the detergent drawer monthly.
- Run a hot cleaning cycle every 1 to 2 months.
- Check the drain filter every few months or as needed.
How to Clean a Top-Load Washing Machine
Top-load washers are often easier to access, but grime can hide just above the water line and in dispensers. Here is how to deep clean a top-load machine.
Step 1: Clean the Dispensers
- Remove any detachable detergent or fabric softener dispensers.
- Soak them in warm, soapy water for 10 to 15 minutes.
- Scrub with a toothbrush to remove buildup.
- Rinse and dry before putting them back.
- Wipe non-removable dispensers with a cloth dipped in warm, soapy water.
Step 2: Scrub Under the Rim and Around the Drum
- Set the washer to fill with hot water on the largest load setting, then pause it before agitation begins.
- Add 2 cups of distilled white vinegar to the water.
- Use a cloth or sponge dipped in the hot vinegar water to scrub under the rim, around the top of the drum, and any visible surfaces.
- Use a toothbrush for tight spots and around the agitator base if present.
Step 3: Run a Soak and Wash Cycle
- With the hot water and vinegar still in the tub, sprinkle 1/2 cup of baking soda into the water.
- Let the mixture soak for 30 to 60 minutes with the lid open.
- After soaking, close the lid and allow the cycle to run completely.
Step 4: Run an Extra Rinse (Optional but Helpful)
- Run an additional rinse and spin cycle with plain water to remove any loosened residue.
Step 5: Wipe the Exterior
- Use a damp cloth with mild dish soap to wipe the lid, control panel, and sides.
- Dry with a clean towel.
Top-Load Quick Maintenance Checklist
- Leave the lid open after the last load to help the interior dry.
- Clean dispensers monthly to prevent clogs.
- Run a hot cleaning cycle every 1 to 2 months.
- Wipe under the rim periodically to prevent hidden buildup.
Front-Load vs Top-Load: Cleaning Frequency Comparison
The best cleaning schedule depends on how often you do laundry and the type of washer you have. Use this comparison as a starting point.
Front-Load Recommended Schedule
- After each laundry day: Wipe the gasket dry and leave the door open.
- Every 2 to 4 weeks: Clean the detergent drawer and run a quick hot cycle with vinegar.
- Every 2 to 3 months: Perform a full deep clean including gasket, drawer, drum, and drain filter.
Top-Load Recommended Schedule
- After each laundry day: Leave the lid open to air dry.
- Every 2 to 4 weeks: Wipe under the rim and clean dispensers.
- Every 2 to 3 months: Run a full hot cleaning cycle with vinegar and baking soda and scrub the drum area.
If you notice strong odors, visible residue, or slimy buildup, increase the frequency until the washer stays fresh between deep cleans.
Dealing With Odors, Mold, and Hard Water Buildup
Some washers need extra attention because of humidity, heavy use, or hard water. Here is how to handle common issues.
Stubborn Odors
- Run two back-to-back hot cleaning cycles with vinegar and baking soda.
- Check and clean the drain filter (front-load) or dispenser areas (top-load).
- Reduce detergent use; too much soap can leave a film that traps odors.
- Always let the washer dry out between loads by leaving the door or lid open.
Mold and Mildew
- Focus on the rubber gasket (front-load) or under the rim (top-load).
- Use a cloth dipped in a mixture of vinegar and water to scrub affected areas.
- Dry the area completely after cleaning to slow mold growth.
- Increase ventilation in the laundry area if possible.
Hard Water Deposits
- Use vinegar-based cleaning cycles regularly to dissolve mineral buildup.
- Wipe visible white or chalky spots on the drum with vinegar and a cloth.
- If buildup is heavy, repeat cleaning cycles over several weeks.
Everyday Habits to Keep Your Washer Clean
A few simple habits can dramatically reduce how often you need deep cleaning, whether you have a front-load or top-load machine.
- Use the right amount of detergent: Follow the product instructions and consider using less for smaller loads. Too much soap leaves residue.
- Avoid overloading: Overstuffed loads strain the machine and may not rinse clean, adding more buildup.
- Remove wet clothes promptly: Letting laundry sit in the washer encourages musty smells.
- Dry seals and surfaces: Wipe the gasket (front-load) or rim (top-load) after heavy or hot loads.
- Ventilate the room: If possible, keep the laundry area well-ventilated to reduce moisture.
When to Consider Professional Help or Replacement
Most washers respond well to regular cleaning, but sometimes problems point to a bigger issue.
Consider professional service if you notice:
- Persistent odors even after several deep cleans
- Standing water in the drum after cycles finish
- Frequent error codes related to draining or filling
- Visible rust or damage to the drum or seals
If your washer is older, heavily rusted, or requires frequent repairs, it may be more practical to plan for a replacement. Until then, consistent cleaning can help it perform as well as possible.
Bringing It All Together
Keeping a washing machine clean does not have to be complicated. Front-load washers need extra attention to the door gasket, detergent drawer, and drain filter, while top-load washers benefit from regular scrubbing under the rim and in dispensers. Both types stay fresher when you run periodic hot cleaning cycles and allow the interior to dry between loads.
Choose a monthly or bi-monthly schedule that fits your household, and add quick habits like leaving the door or lid open and using the right amount of detergent. With a simple routine, your washer will smell better, run more efficiently, and help your clothes come out truly clean.
For more cleaning and organization tips to streamline your home, explore related guides in the Cleaning & Organization hub at Signature Home Guide.
Recommended next:
Related posts
Browse this topic →
How to Organize a Hall Closet for Coats, Tools, and Everyday Items

How to Remove Dust From Walls Before Painting: A Step-by-Step Guide
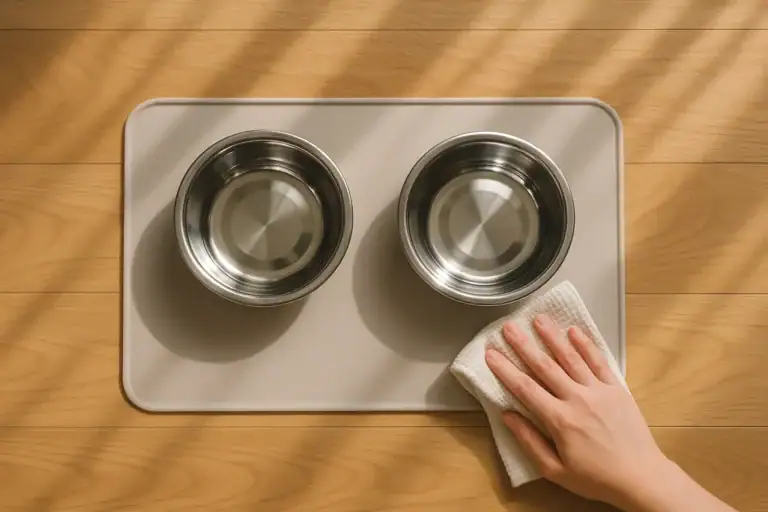
How to Clean Pet Bowls, Mats, and Feeding Areas Safely

How to Store Holiday Decorations Without Adding Basement Clutter

How to Create a Toy Rotation System for Small Living Rooms

How to Clean Lampshades and Fabric Light Fixtures: A Complete Guide
Keep reading

About this site
Signature Home Guide publishes practical, independent home guides. We aim to be clear, helpful, and transparent.
Affiliate disclosure
As an Amazon Associate, we earn from qualifying purchases. Some links on this site may be affiliate links. If you buy through these links, we may earn a small commission at no extra cost to you. This helps support our content. Learn more.