Clear, streak-free windows instantly make a home feel brighter, cleaner, and more inviting. The problem is that window cleaning can feel like a slow, frustrating chore, especially when you wipe and wipe only to see streaks and smudges appear as soon as the sun hits the glass. The good news is that streak-free windows are mostly about using the right tools and a simple, consistent technique. You do not need complicated equipment or harsh products to get professional-looking results in less time.
On this page(click to collapse)
- Why Windows Get Streaky in the First Place
- Essential Tools for Fast, Streak-Free Windows
- Best Window Cleaning Solution for No Streaks
- Prep Steps Before You Start Cleaning
- Step-by-Step: How to Clean Windows Fast Without Streaks
- Fast Technique Tips for Interior vs. Exterior Windows
- How to Avoid Streaks Every Time
- Cleaning Window Tracks, Frames, and Screens
- How Often Should You Clean Your Windows?
- Simple Window Cleaning Routine You Can Stick To
- Related guides
This guide walks you through exactly how to clean windows fast without streaks, from choosing the best tools to using a step-by-step method that actually works. You will learn how to prep the glass, mix an effective cleaning solution, and use a squeegee or cloth the right way so you are not redoing the same window over and over. Whether you are cleaning indoor windows, exterior glass, or even glass doors and mirrors, you can follow these tips for a quick, efficient routine that leaves glass clear and streak free.
Why Windows Get Streaky in the First Place
Understanding what causes streaks makes it easier to avoid them. Streaks usually show up when residue is left behind on the glass or when the cleaner dries unevenly. A few common culprits are:
- Too much cleaner: Overspraying leaves excess liquid that is hard to wipe off completely.
- Dirty cloths or paper towels: Reusing grimy or linty materials just spreads dirt and fibers around.
- Hard water: Minerals in tap water can leave spots and streaks as the water dries.
- Cleaning in direct sun: The solution dries too quickly, leaving visible marks.
- Skipping the dusting step: Dust, pollen, and cobwebs mix with cleaner and smear across the glass.
The streak-free method below is designed to avoid all of these issues by using the right tools, a simple solution, and a fast, systematic technique.
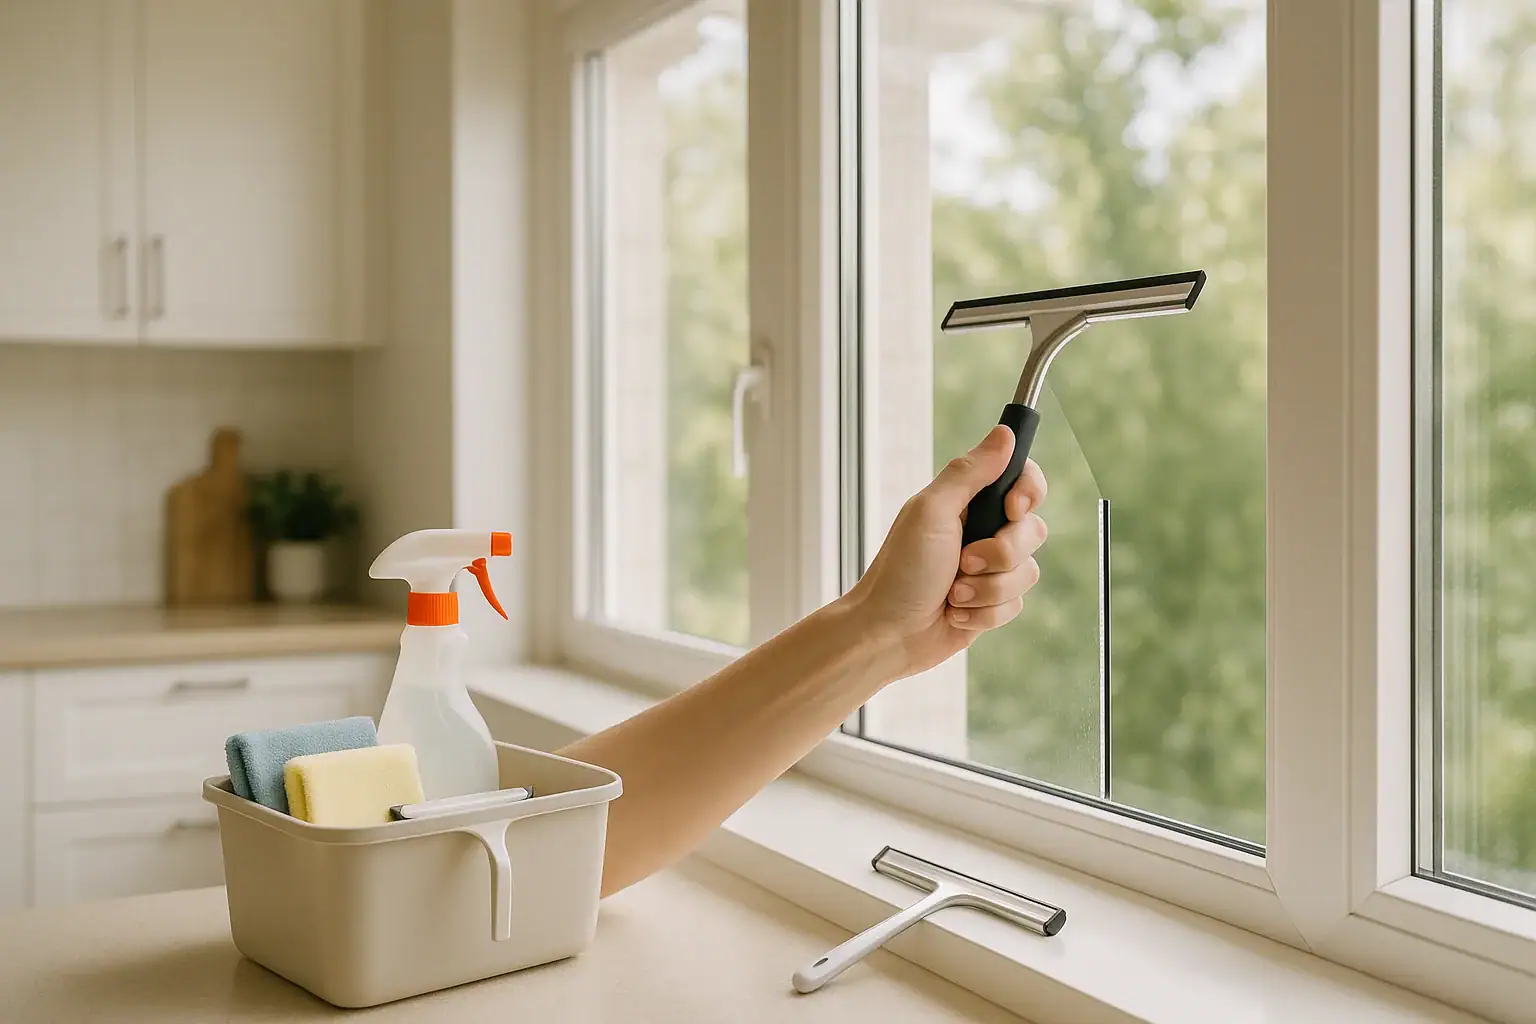
Essential Tools for Fast, Streak-Free Windows
You do not need a lot of equipment to clean windows quickly and well. A few simple tools, kept together in a small caddy, can make the job much faster and less frustrating.
Basic Window Cleaning Kit
- Microfiber cloths: Use several clean, lint-free cloths for washing and drying. Microfiber grabs dirt and leaves fewer fibers behind.
- Small squeegee: A quality squeegee is the secret to fast, streak-free glass. Choose one that fits the width of your typical window panes.
- Soft-bristle brush or duster: For removing loose dust, cobwebs, and debris before you spray cleaner.
- Bucket or spray bottle: To hold your cleaning solution. A spray bottle is convenient indoors; a bucket works well for larger exterior windows.
- Scraper or plastic blade: For removing stuck-on spots like paint specks or bird droppings. Use gently to avoid scratching.
- Step stool or small ladder: For safely reaching higher panes. Make sure it is stable and placed on level ground.
- Old towels: To protect floors, window sills, and trim from drips.
Optional Helpful Extras
- Extension pole: For high exterior windows that are hard to reach.
- Detailing brush or cotton swabs: For cleaning corners, tracks, and edges.
- Rubber gloves: To protect your hands if you have sensitive skin.
Best Window Cleaning Solution for No Streaks
The solution you use matters, but you do not need anything complicated. The keys are using a cleaner that cuts through dirt and grease, does not leave a heavy residue, and dries quickly without spotting.
Simple DIY Window Cleaning Mix
For most homes, a basic homemade solution works extremely well and is budget friendly. In a spray bottle or bucket, combine:
- 2 cups of warm water (distilled if you have very hard tap water)
- 1/4 cup of white vinegar
- 1/2 teaspoon of mild liquid dish soap
Stir or gently shake to combine. The vinegar helps cut through film and water spots, while the small amount of soap breaks down greasy fingerprints. Do not add too much soap; extra suds can leave residue that causes streaks.
When to Use Distilled Water
If you notice white spots or cloudy marks after cleaning, minerals in your tap water may be the cause. In that case, mix your solution with distilled water, especially for the final pass on interior windows and glass doors.
Prep Steps Before You Start Cleaning
Spending a few minutes on preparation can save you a lot of time and prevent streaks later. Follow these quick steps before you spray any cleaner on the glass.
- Choose the right time of day: Clean windows on a cloudy day or when the glass is in the shade. Direct sun makes the solution dry too fast and causes streaks.
- Clear the area: Move furniture, curtains, blinds, or decor away from the window so you have room to work.
- Protect surfaces: Lay old towels or a cloth under the window and along the sill to catch drips.
- Dust first: Use a duster or soft brush to remove cobwebs, loose dirt, and dust from the frame, corners, and screens.
- Remove screens if possible: Take out removable screens and set them aside for a quick rinse later.
Step-by-Step: How to Clean Windows Fast Without Streaks
This method works for most interior and exterior windows. The main idea is to work from top to bottom, use a consistent pattern, and keep your tools clean as you go.
Step 1: Tackle Stubborn Spots First
Before you clean the entire pane, deal with any stuck-on grime:
- Lightly spray the problem area with your cleaning solution.
- Let it sit for 30 to 60 seconds to soften the residue.
- Use a plastic scraper or the corner of a cloth to gently lift off the spot.
- Wipe away loosened debris with a damp microfiber cloth.
Step 2: Apply Cleaner the Smart Way
How you apply the cleaner has a big impact on streaks and speed.
- For interior windows, lightly mist the glass. Aim for an even, thin layer instead of soaking the surface.
- For larger or very dirty exterior windows, dip a microfiber cloth or sponge into your bucket solution and wipe the glass in overlapping strokes.
- Avoid spraying directly onto the top edge of the window frame to prevent drips behind trim or onto walls.
Step 3: Use a Squeegee for Fast, Streak-Free Results
The squeegee is what makes this method both fast and effective. Once the glass is wet with cleaner:
- Start at the top: Place the squeegee at the upper corner of the window, with the rubber edge flat against the glass.
- Pull across horizontally: Draw the squeegee straight across the top of the window in one smooth motion.
- Wipe the blade: After each pass, wipe the squeegee blade with a clean, dry cloth to remove water and dirt.
- Work down the window: Continue making horizontal passes, slightly overlapping each previous stroke, until you reach the bottom.
- Finish the edges: Use a dry microfiber cloth to quickly wipe around the edges and corners where the squeegee cannot reach.
For tall, narrow windows, you can also use vertical strokes: pull the squeegee from top to bottom, overlapping each pass. The key is to be consistent so you do not miss areas.
Step 4: Cloth-Only Method (If You Do Not Have a Squeegee)
If you prefer to skip the squeegee, you can still get streak-free results with microfiber cloths by using two separate cloths:
- Spray lightly: Mist the window with cleaner, avoiding heavy drips.
- Wipe with a damp cloth: Use a slightly damp microfiber cloth to spread the solution and loosen dirt, working in a circular motion.
- Buff with a dry cloth: Immediately follow with a second, completely dry microfiber cloth. Buff the glass using overlapping strokes, either side-to-side or up-and-down.
- Change cloths as needed: As soon as a cloth feels damp or dirty, switch to a fresh one to avoid streaks.
Fast Technique Tips for Interior vs. Exterior Windows
Interior and exterior windows face different kinds of dirt. Adjusting your approach slightly can save time and help keep streaks away.
Interior Windows
- Focus on fingerprints and smudges: Pay extra attention to areas near handles and where children or pets touch the glass.
- Use less solution: Indoor windows usually need less liquid. A light mist is enough for most panes.
- Protect surfaces: Keep towels along the sill and floor to catch any drips, especially when using a squeegee.
- Finish with a quick inspection: Step back and look at the window from different angles to catch any missed spots.
Exterior Windows
- Rinse first if very dirty: For windows covered in pollen, dust, or mud, quickly rinse with a hose before using your cleaning solution.
- Use a slightly stronger mix if needed: For heavy grime, add a bit more vinegar or a drop more dish soap, but avoid making the solution too sudsy.
- Work from top to bottom: Clean the highest windows first so dirty water does not drip onto freshly cleaned glass below.
- Use an extension pole: Attach your squeegee or cleaning pad to a pole for high windows to avoid unsafe ladder use when possible.
How to Avoid Streaks Every Time
Once you know the basics, preventing streaks is mostly about a few simple habits. Keep these guidelines in mind each time you clean.
- Do not over-spray: More cleaner does not mean cleaner windows. Use just enough to wet the glass evenly.
- Use clean tools: Wash microfiber cloths regularly and replace squeegee blades when they become nicked or worn.
- Work quickly: Do not let the solution sit and dry on the glass. Wipe or squeegee while it is still wet.
- Dry edges and frames: Water trapped along the edges can run down later and leave streaks. A quick wipe around the frame prevents this.
- Check in natural light: After cleaning, look at the window from different angles in natural light to spot any faint streaks.
Cleaning Window Tracks, Frames, and Screens
Even if the glass is perfectly clear, dirty tracks and screens can make windows look neglected. Adding a few extra minutes to clean these areas can make a big difference.
Window Tracks
- Vacuum loose debris: Use a vacuum with a crevice tool to remove dust, bugs, and dirt from the tracks.
- Loosen grime: Spray a small amount of your cleaning solution into the track and let it sit for a minute.
- Scrub corners: Use a small brush or an old toothbrush to scrub built-up dirt.
- Wipe clean: Use a damp cloth to wipe out the loosened grime, then follow with a dry cloth to prevent mold or mildew.
Window Frames
- Wipe frames with a damp cloth and mild soap solution.
- Avoid harsh abrasives that can scratch or dull the finish.
- Dry frames thoroughly to prevent water damage or discoloration.
Screens
- Remove screens: Carefully take them out and label them if needed so you remember where they go.
- Rinse gently: Use a hose on a low setting to rinse away dust and pollen.
- Wash lightly: If needed, scrub with a soft brush and mild soapy water.
- Air dry completely: Allow screens to dry before reinstalling to avoid streaks or drips on freshly cleaned glass.
How Often Should You Clean Your Windows?
The ideal window cleaning schedule depends on where you live and how much dust, pollen, or pollution is in the air. As a general guideline:
- Interior windows: Every 3 to 6 months is usually enough for most homes. High-traffic areas, such as glass doors and windows near sinks, may need monthly touch-ups.
- Exterior windows: Aim for twice a year, typically in spring and fall. Homes near busy roads, construction, or heavy pollen may need more frequent cleaning.
- Quick spot cleaning: Wipe fingerprints, pet nose prints, and obvious smudges as needed between full cleanings.
Sticking to a regular schedule actually makes each cleaning session faster, because you are not dealing with months of built-up grime.
Simple Window Cleaning Routine You Can Stick To
To keep the process manageable, break window cleaning into small, repeatable tasks instead of trying to do the entire house at once.
- Zone your home: Divide windows into zones, such as front of house, back of house, upstairs, and downstairs. Tackle one zone at a time.
- Pair with other chores: Combine window cleaning with seasonal tasks like deep cleaning the kitchen or refreshing outdoor spaces.
- Keep a caddy ready: Store your window cleaning tools together so you can grab them quickly for short sessions.
- Set a timer: Give yourself 20 to 30 minutes to complete a few windows. A time limit can keep you focused and efficient.
With the right tools and a simple technique, cleaning windows does not have to be an all-day project. A consistent, streamlined routine will keep glass looking clear and bright with much less effort.
Recommended next:
Related posts
Browse this topic →
How to Organize a Hall Closet for Coats, Tools, and Everyday Items

How to Remove Dust From Walls Before Painting: A Step-by-Step Guide
How to Clean Pet Bowls, Mats, and Feeding Areas Safely
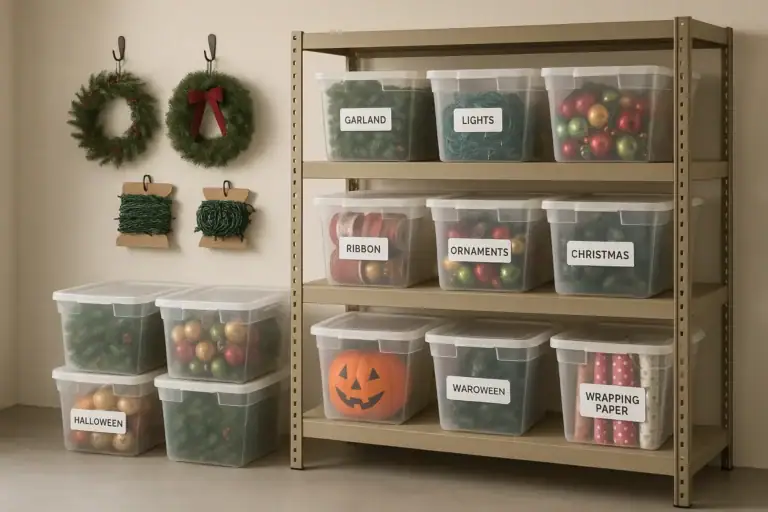
How to Store Holiday Decorations Without Adding Basement Clutter

How to Create a Toy Rotation System for Small Living Rooms

How to Clean Lampshades and Fabric Light Fixtures: A Complete Guide
Keep reading


About this site
Signature Home Guide publishes practical, independent home guides. We aim to be clear, helpful, and transparent.
Affiliate disclosure
As an Amazon Associate, we earn from qualifying purchases. Some links on this site may be affiliate links. If you buy through these links, we may earn a small commission at no extra cost to you. This helps support our content. Learn more.