Window coverings collect dust, pet hair, and everyday grime faster than most of us realize. The problem is that taking everything down to wash or scrub can feel like a major project. The good news is you can clean most blinds and curtains effectively while they are still hanging. With the right tools, a simple routine, and a few smart tricks, you can refresh your window treatments, improve indoor air quality, and brighten your rooms without a full weekend overhaul.
On this page(click to collapse)
This guide walks you through how to clean different types of blinds and curtains in place, how often to do it, and what cleaning solutions are safe to use. You will also find tips for dealing with common issues like dust buildup, light stains, and lingering odors. Everything here is designed for a typical home, using simple supplies you likely already own.
Before You Start: Know Your Materials and Tools
Not all blinds and curtains are made from the same materials, and that matters when you are cleaning them without taking them down. Some fabrics tolerate more moisture, while others do better with dry cleaning methods only. Take a minute to identify what you have and gather the right tools.
Common Types of Blinds and How They React to Cleaning
- Faux wood or vinyl blinds: Durable, moisture-resistant, and usually safe for light wet cleaning.
- Real wood blinds: Sensitive to excess water. Best cleaned with dry or very lightly damp methods.
- Aluminum or metal blinds: Can handle careful wet cleaning but may bend if you press too hard.
- Fabric vertical blinds: Prefer gentle vacuuming and spot cleaning rather than heavy moisture.
Common Curtain and Drape Fabrics
- Cotton or cotton blends: Usually sturdy and can handle light wet cleaning and gentle stain treatment.
- Polyester or synthetic blends: Resist wrinkles and are generally easy to maintain with vacuuming and spot cleaning.
- Linen or delicate fabrics: Prone to water spots and shrinking; stick to very light moisture and test in an inconspicuous area.
- Blackout or thermal curtains: Often have a coated backing that should not be soaked; use gentle, minimal-moisture methods.
Basic Tools and Supplies
Gather a small cleaning kit so you can move quickly from window to window:
- Vacuum with a soft brush or upholstery attachment
- Microfiber cloths (several, so you can swap out as they get dirty)
- Soft duster or electrostatic duster with a long handle
- Bucket or bowl of warm water
- Mild dish soap or a gentle all-purpose cleaner
- Spray bottle for diluted cleaning solution
- Old towel or sheet to protect the floor and sill
- Step stool for high windows, if needed
- Optional: lint roller for pet hair, soft toothbrush for tight spots
Before using any cleaner, test it on a hidden corner of the blind or curtain to make sure it does not discolor or damage the material.
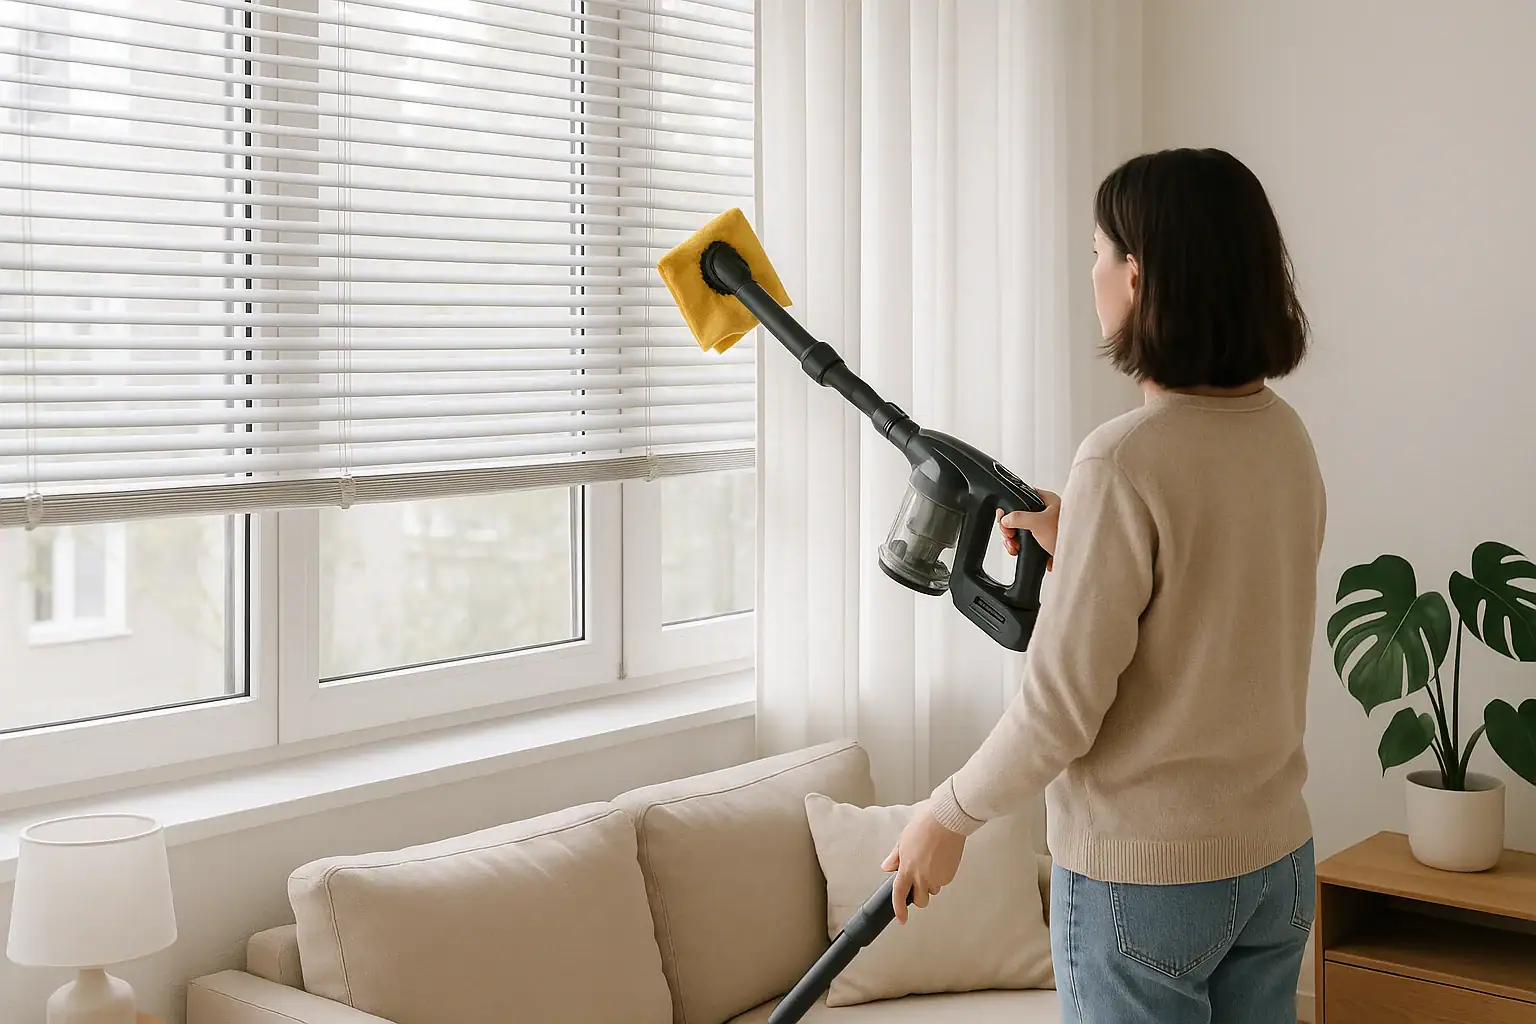
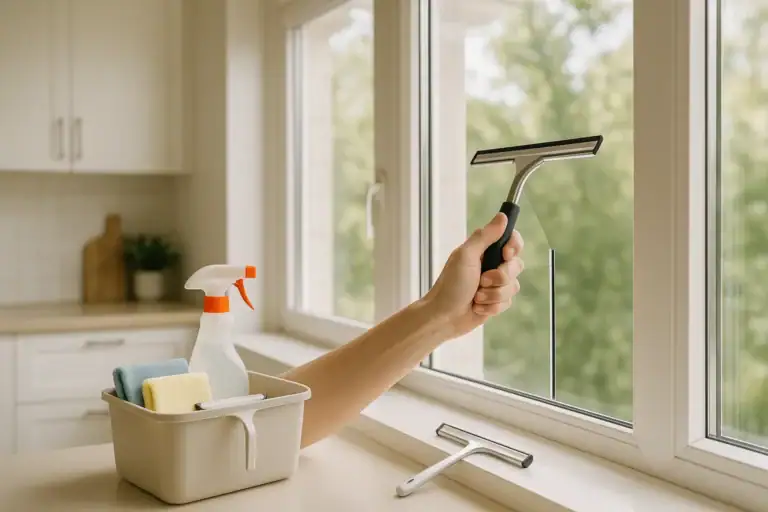
How to Clean Blinds Without Taking Them Down
Blinds tend to collect dust on every slat, so a methodical approach saves time and effort. The steps below work for most horizontal and vertical blinds with small adjustments based on material.
Step 1: Dust the Blinds Thoroughly
Start with dry dusting so you are not turning dust into mud when you wipe with a damp cloth.
- Close the blinds so the slats form a flat surface facing you.
- Place a towel or sheet on the sill and floor to catch falling dust.
- Use a soft duster or vacuum brush attachment to go from top to bottom, working across the width.
- Reverse the slats (tilt them the opposite way) and repeat to catch dust on the other side.
For quick weekly upkeep, this dry dusting alone can be enough to keep blinds looking clean.
Step 2: Wipe Slats With a Damp Cloth
Once the loose dust is gone, move on to a gentle wet cleaning to remove grime and fingerprints.
- Fill a small bucket or bowl with warm water and add a few drops of mild dish soap.
- Dip a microfiber cloth into the solution and wring it out thoroughly. The cloth should be damp, not dripping.
- Close the blinds so the slats are flat and horizontal.
- Starting at the top, wipe each slat from one side to the other, supporting it gently with your free hand if needed.
- Rinse and wring the cloth regularly so you are not spreading dirt around.
- Reverse the tilt of the slats and repeat on the other side.
Special Care for Different Blind Materials
Faux Wood and Vinyl Blinds
These are the easiest to clean in place.
- Use your mild soapy solution or a diluted all-purpose cleaner.
- For greasy buildup (often in kitchens), let the damp cloth sit on the spot for a few seconds before wiping.
- Dry with a clean microfiber cloth to prevent water spots.
Real Wood Blinds
Real wood blinds should never be soaked. Too much water can warp or stain the wood.
- Stick to dry dusting weekly with a soft duster or vacuum brush.
- If needed, use a barely damp cloth and immediately follow with a dry cloth.
- Avoid spraying cleaner directly onto the wood; apply it to the cloth instead.
Aluminum or Metal Blinds
Metal blinds can handle more moisture, but the slats can bend easily.
- Use gentle pressure when wiping to avoid bending the slats.
- For stubborn spots, use a soft toothbrush dipped in your cleaning solution, then wipe dry.
- Finish with a dry cloth to prevent water spots or streaks.
Fabric Vertical Blinds
Fabric vanes need a softer touch.
- Vacuum each vane from top to bottom with an upholstery attachment.
- For small stains, blot gently with a cloth dampened with mild soapy water, then blot again with plain water.
- Avoid rubbing, which can distort the fabric or leave marks.
Step 3: Tackle Stubborn Spots and Stains
If you notice fingerprints, splatters, or sticky spots that do not come off with basic wiping, try this:
- Mix a slightly stronger solution of warm water and mild soap in a small bowl.
- Dip a corner of a microfiber cloth or a soft toothbrush in the solution.
- Gently work on the spot in a small circular motion.
- Wipe the area with a clean, damp cloth to remove any residue.
- Dry with a soft cloth, especially on wood or metal.
Step 4: Final Touches and Quick Maintenance Tips
Once your blinds are clean, a little ongoing maintenance will keep them that way with minimal effort.
- Dust weekly or every other week, depending on how quickly dust builds up in your home.
- Keep windowsills and nearby surfaces clean so dust does not transfer back onto the blinds.
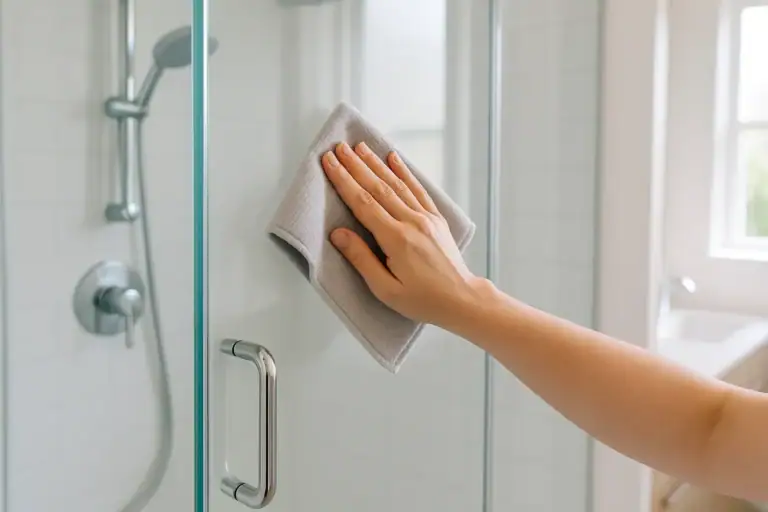
- In high-humidity rooms like bathrooms, open windows or use a fan to help blinds dry after cleaning.
How to Clean Curtains Without Taking Them Down
Cleaning curtains while they are hanging is mostly about removing dust and refreshing the fabric. Heavy washing is usually not necessary unless there are visible stains or strong odors. The steps below work for most standard curtains and drapes.
Step 1: Vacuum Curtains From Top to Bottom
Regular vacuuming keeps dust, pollen, and pet hair from building up in the fabric.
- Attach the soft brush or upholstery tool to your vacuum.
- Set the suction to a lower level if your curtains are lightweight or delicate.
- Starting at the top, vacuum down the length of each panel, working in vertical sections.
- Pay extra attention to folds, pleats, and the top header where dust collects.
- Repeat on the back side of the curtains if you can access it easily.
Step 2: Remove Pet Hair and Lint
Pet hair and lint can cling to curtain fabric even after vacuuming.
- Use a lint roller to go over areas where hair is visible, especially near the bottom.
- For thicker fabrics, a slightly damp microfiber cloth can help lift hair and lint. Wipe gently in one direction.
Step 3: Spot Clean Stains While Curtains Hang
For small stains, you can often treat them without removing the curtain panel.
- Identify the stained area and support it from behind with a clean, folded towel.
- Mix a mild cleaning solution: warm water with a few drops of gentle dish soap.
- Dampen a clean cloth with the solution and blot the stain gently. Avoid soaking the fabric.
- Blot with a separate cloth dampened with plain water to rinse.
- Press with a dry towel to absorb excess moisture and let the area air dry.
Always test your cleaning solution on a hidden section of the curtain first to check for colorfastness.
Step 4: Refresh Curtains and Reduce Odors
Over time, curtains can pick up cooking smells, smoke, or general household odors. You can freshen them without a full wash.
- Open windows on a mild day and let fresh air circulate through the room.
- Lightly mist curtains with plain water from a spray bottle to help release wrinkles and odors. Do not soak.
- For a deeper refresh, use a garment steamer on a low setting, moving from top to bottom. Keep the steamer a few inches away from the fabric and keep it moving to avoid water spots.
- Allow curtains to dry completely before closing windows or turning on air conditioning.
Special Considerations for Different Curtain Types
Sheer and Lightweight Curtains
Sheers are delicate and can stretch or tear if handled roughly.
- Use the lowest vacuum suction setting and a very soft brush attachment.
- Avoid heavy steam; a very light mist of water may be enough to relax wrinkles.
- Do not pull or tug on the fabric while cleaning.
Heavy Drapes and Lined Curtains
Heavier drapes often hold more dust but are sturdy enough for thorough vacuuming.
- Vacuum regularly, including the back side and any decorative folds.
- Be cautious with steam on lined or blackout curtains, as the backing can be sensitive to heat and moisture.
- If the lining shows signs of cracking or peeling, stick to dry methods and consider professional cleaning for deep stains.
Blackout and Thermal Curtains
These curtains usually have a special coating that should not be heavily saturated.
- Focus on vacuuming and light spot cleaning.
- When using a steamer, keep it on a low setting and avoid direct contact with the backing.
- Never scrub the coated side, as this can damage the finish.
How Often Should You Clean Blinds and Curtains?
The right cleaning schedule depends on your home, but a simple routine can keep dust and allergens under control without much effort.
Suggested Cleaning Schedule
- Weekly or every other week: Light dusting of blinds and vacuuming of curtains.
- Every 2 to 3 months: More thorough wipe-down of blinds and detailed vacuuming of curtains, including folds and backs.
- As needed: Spot cleaning stains, treating odors, and addressing heavy buildup in kitchens or high-traffic rooms.
Homes with pets, smokers, or open windows during pollen season may need more frequent attention. On the other hand, rarely used rooms can be cleaned less often.
Safety Tips and Common Mistakes to Avoid
Cleaning blinds and curtains without taking them down is convenient, but it still pays to be careful. A few simple precautions will help you avoid damage and stay safe.
Protect Your Home and Yourself
- Use a sturdy step stool for high windows and avoid overreaching.
- Lay towels or an old sheet on the floor and sill to catch drips and dust.
- Open windows for ventilation if you are using any cleaning solution, even mild ones.
- Wear a dust mask if you are sensitive to dust or have allergies.
Cleaning Mistakes to Avoid
- Using too much water on wood or coated fabrics: Excess moisture can warp wood and damage special coatings.
- Skipping the test spot: Always test new cleaners on a hidden area first.
- Scrubbing aggressively: Rubbing can distort fabric and scratch delicate surfaces. Blot and wipe gently instead.
- Forgetting to clean nearby surfaces: Dust from blinds and curtains can settle on sills, frames, and baseboards, so wipe those too.
Simple Routine to Keep Window Coverings Fresh
Once you have done a thorough cleaning, keeping blinds and curtains fresh without taking them down becomes much easier. A short routine built into your regular cleaning schedule can make a big difference.
- Dust or vacuum blinds and curtains in one room each week, rotating through the house.
- Wipe windowsills and frames right after you clean the blinds.
- Open windows when weather allows to help reduce stale odors.
- Address small stains as soon as you notice them so they do not set.
By handling a little bit at a time, you avoid the need for major deep cleaning sessions and keep your home looking and feeling fresher day to day.
If you want more ideas for maintaining a tidy home, explore additional cleaning and organization tips at Signature Home Guide.
Recommended next:
Related posts
Browse this topic →
How to Organize a Hall Closet for Coats, Tools, and Everyday Items
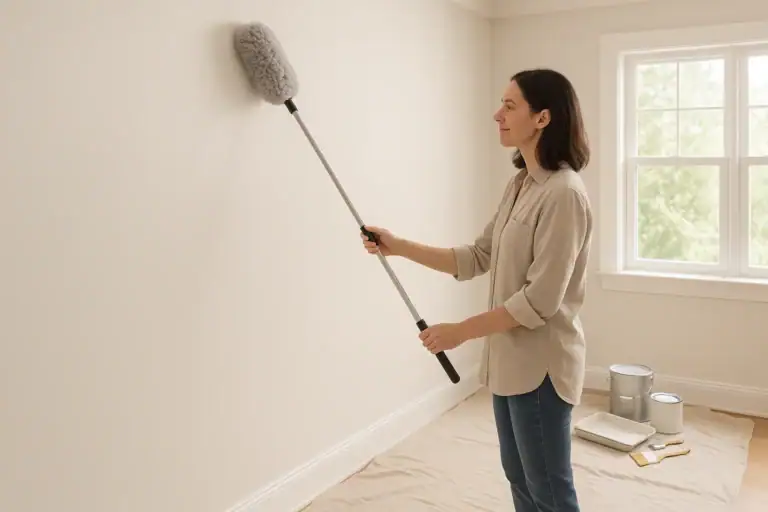
How to Remove Dust From Walls Before Painting: A Step-by-Step Guide
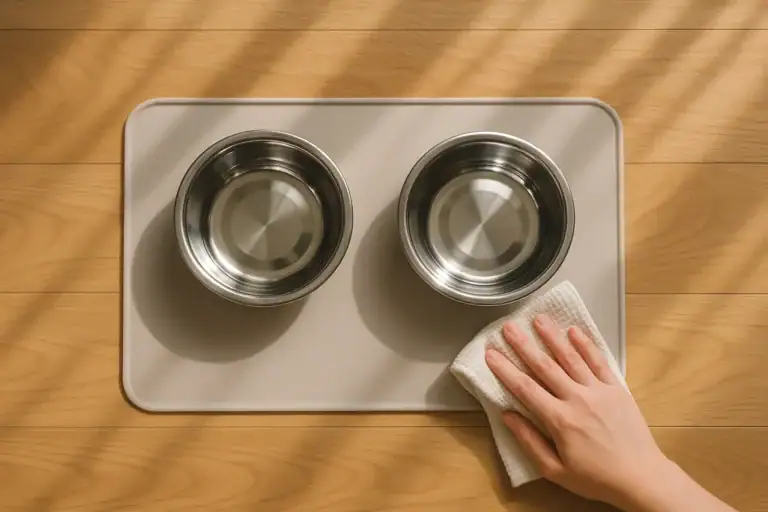
How to Clean Pet Bowls, Mats, and Feeding Areas Safely
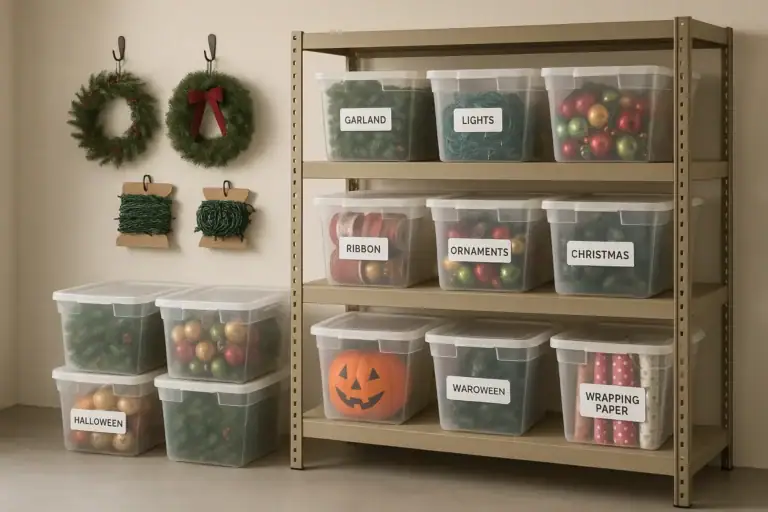
How to Store Holiday Decorations Without Adding Basement Clutter

How to Create a Toy Rotation System for Small Living Rooms

How to Clean Lampshades and Fabric Light Fixtures: A Complete Guide
Keep reading
About this site
Signature Home Guide publishes practical, independent home guides. We aim to be clear, helpful, and transparent.
Affiliate disclosure
As an Amazon Associate, we earn from qualifying purchases. Some links on this site may be affiliate links. If you buy through these links, we may earn a small commission at no extra cost to you. This helps support our content. Learn more.