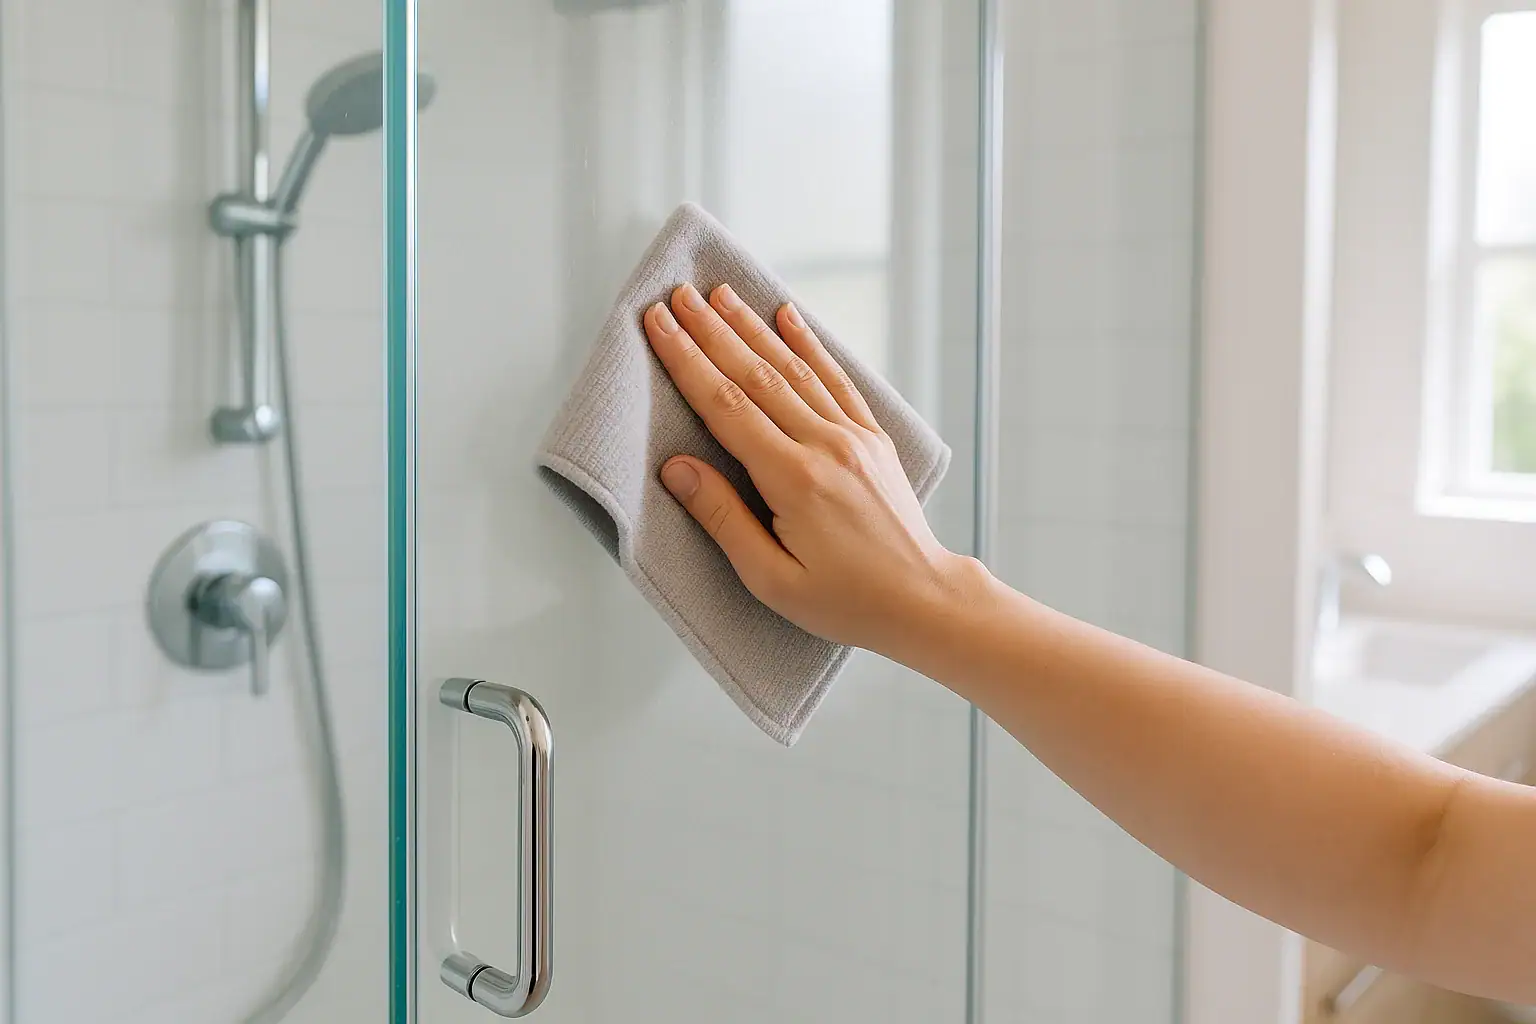
Soap scum can make even a freshly cleaned bathroom look dull and grimy. The cloudy film on shower doors, tubs, and faucets is more than just an eyesore; if it is not removed correctly, it can slowly damage finishes and make future cleaning harder. Many people reach for harsh scrub pads or strong chemicals, only to end up with scratched fixtures and etched glass. The good news is you can remove stubborn soap scum safely using gentle tools and the right technique. This guide walks you through how to get rid of soap scum without scratching your fixtures, plus how to keep it from coming back so quickly.
On this page(click to collapse)
- Understanding Soap Scum and Why It Is So Stubborn
- Tools and Supplies: What to Use and What to Avoid
- Step-by-Step: How to Remove Soap Scum Without Scratching Fixtures
- Surface-by-Surface Tips for Safe Soap Scum Removal
- Dealing with Stubborn, Long-Term Soap Scum
- How to Prevent Soap Scum from Coming Back So Quickly
- Simple Cleaning Routine to Keep Fixtures Scratch-Free
- When to Be Extra Cautious and Seek Guidance
- Related guides
Whether you have shiny chrome, brushed metal, acrylic, fiberglass, or glass, the key is to loosen the buildup first, then wipe it away with non-scratch tools. With a little patience and a simple routine, you can restore the sparkle in your bathroom and protect your fixtures for the long term.
Understanding Soap Scum and Why It Is So Stubborn
Knowing what you are dealing with makes it easier to choose the right cleaning method.
What Is Soap Scum?
Soap scum is the chalky or filmy residue that forms when:
- Soap mixes with minerals in hard water
- Body oils, dirt, and skin cells cling to that mixture
- The water evaporates and leaves a film behind
Over time, thin layers build up into a stubborn coating on tubs, shower walls, doors, and fixtures. It often appears white, gray, or slightly yellow and may feel rough or sticky to the touch.
Why Soap Scum Is Hard to Remove
Soap scum bonds tightly to surfaces, especially textured ones. If you try to scrub it off while it is still dry and hardened, you are more likely to scratch the surface than remove the buildup. This is especially risky on:
- Glass shower doors
- Chrome and other shiny metal fixtures
- Acrylic or fiberglass tubs and surrounds
- Stone or cultured marble surfaces
The trick is to soften and dissolve the film first, then wipe it away with a non-abrasive tool.
Tools and Supplies: What to Use and What to Avoid
Choosing the right tools is the most important step in removing soap scum without scratching your fixtures.
Safe, Non-Scratch Tools
Gather a few gentle, effective items before you start:
- Soft microfiber cloths for wiping and polishing
- Non-scratch sponges or scrub pads labeled safe for nonstick cookware
- Soft-bristle brush or old soft toothbrush for corners and crevices
- Spray bottle for applying your cleaning solution
- Plastic scraper (such as a plastic putty tool) for thick buildup on hard surfaces
- Rubber gloves to protect your hands from dryness and irritation
Gentle Cleaning Ingredients
For most bathrooms, you can tackle soap scum with simple, mild ingredients:
- White vinegar (for glass, ceramic tile, and many metals)
- Baking soda (a mild, non-scratch abrasive when used as a paste)
- Dish soap (to cut body oils and residue)
- Warm water (helps soften buildup)
Always test any solution in an inconspicuous spot first, especially on stone, specialty finishes, or older fixtures.
Tools and Products to Avoid on Delicate Fixtures
To protect your fixtures from scratches and permanent damage, avoid:
- Steel wool or metal scrub pads
- Rough scouring powders
- Razor blades on acrylic or fiberglass
- Harsh cleaners that warn against use on metal, glass, or stone
- Colored scrub pads not labeled as non-scratch
If you are unsure whether a tool is safe, err on the side of caution and choose the gentlest option.
Step-by-Step: How to Remove Soap Scum Without Scratching Fixtures
The basic process is the same for most surfaces: pre-rinse, apply a gentle cleaner, let it sit, then wipe away with a non-scratch tool.
Step 1: Pre-Rinse and Warm the Surface
Start by rinsing the area with warm water. This helps:
- Loosen loose debris and hair
- Slightly soften the soap scum layer
- Make your cleaning solution more effective
If possible, run the shower on warm for a few minutes to create steam. This can help loosen buildup on walls and doors.
Step 2: Apply a Gentle Cleaning Solution
Choose one of these simple options based on your surface:
For Glass Shower Doors and Ceramic Tile
- Fill a spray bottle with equal parts white vinegar and warm water.
- Spray generously over the soap scum, focusing on cloudy areas.
- Let it sit for 10–15 minutes so the vinegar can break down the mineral deposits.
If the smell of vinegar bothers you, you can dilute it a bit more with water, but it may take slightly longer to work.
For Chrome and Metal Fixtures
- Mix a few drops of dish soap with warm water in a small bowl or spray bottle.
- Dip a soft cloth or non-scratch sponge into the soapy water or spray it directly on the fixture.
- Allow it to sit for 5–10 minutes to soften the film.
For stubborn spots, you can lay a vinegar-dampened cloth over the area for a few minutes, then rinse and wipe gently.
For Acrylic or Fiberglass Tubs and Surrounds
- Sprinkle baking soda lightly over the wet surface.
- Spray or drizzle a mixture of dish soap and warm water over the baking soda to form a paste.
- Let it sit for 10–15 minutes to loosen the buildup.
Baking soda is a mild abrasive, but when used as a soft paste with a gentle sponge, it is usually safe for these surfaces. Always test a small area first.
Step 3: Gently Scrub with a Non-Scratch Tool
Once your cleaner has had time to work, start gently scrubbing.
- Use a non-scratch sponge or soft microfiber cloth.
- Work in small sections, using light to moderate pressure.
- For corners, edges, and around fixtures, use a soft-bristle brush or old soft toothbrush.
If you encounter a thick, stubborn patch of soap scum on glass or tile, you can carefully use a plastic scraper at a very shallow angle. Keep the area wet and move slowly to avoid scratching.
Step 4: Rinse Thoroughly
After scrubbing, rinse the area well with warm water to remove loosened soap scum and any remaining cleaner. Leftover residue can dry into a new film, undoing your work.
- Use a detachable shower head if you have one to direct water where needed.
- For fixtures, wipe with a clean, damp cloth to remove any remaining cleaner, then rinse.
Step 5: Dry and Polish to Prevent Water Spots
Drying is an often-overlooked step that helps prevent new soap scum and water spots.
- Use a clean, dry microfiber cloth to buff glass doors, metal fixtures, and tile.
- For large glass areas, you can also use a squeegee after each shower to remove water.
Polishing surfaces dry helps restore shine and slows down the return of that cloudy film.
Surface-by-Surface Tips for Safe Soap Scum Removal
Different bathroom surfaces need slightly different care to avoid scratches and damage.
Glass Shower Doors
Glass doors show soap scum quickly, but they are also easy to scratch if you use the wrong tools.
- Stick with vinegar and water for regular cleaning.
- Use a soft microfiber cloth or non-scratch sponge only.
- For heavy buildup, repeat the vinegar soak and scrub instead of scrubbing harder.
- Dry with a clean cloth or use a squeegee after each shower to prevent new film.
Chrome and Other Shiny Metal Fixtures
Shiny fixtures can lose their luster if they are scratched or exposed to harsh chemicals.
- Use mild dish soap and water for everyday cleaning.
- For mineral spots, apply a cloth dampened with vinegar for a few minutes, then rinse and dry.
- Avoid abrasive powders, rough pads, and strong acidic products.
- Always dry fixtures after cleaning to prevent water spots and buildup.
Acrylic and Fiberglass Tubs and Showers
These surfaces are lightweight and affordable but can scratch more easily than tile or porcelain.
- Use a baking soda and dish soap paste with a non-scratch sponge.
- Do not use metal scrapers or harsh scouring powders.
- Rinse thoroughly to remove all residue, then wipe dry.
- Address stains and soap scum early; thick buildup is harder to remove gently.
Ceramic Tile and Grout
Ceramic tile is fairly durable, but grout lines can trap soap scum and mildew.
- Use vinegar and water on tile surfaces to cut through film.
- Scrub grout gently with a soft brush and mild cleaner.
- Rinse well so cleaner does not dry in the grout lines.
- Dry tile with a cloth to reduce water spots and new buildup.
If you have natural stone tile, avoid vinegar and use a stone-safe cleaner instead, following the manufacturer’s guidance.
Dealing with Stubborn, Long-Term Soap Scum
If your bathroom has not had a deep clean in a while, you may be facing layers of hardened soap scum. Removing it safely may take more than one session.
Soak and Repeat Instead of Scrubbing Harder
When buildup is thick, resist the urge to scrub aggressively. Instead:
- Apply your chosen cleaner generously.
- Let it sit longer, adding more if it starts to dry.
- Scrub gently, rinse, and then repeat the process.
Several gentle passes are far safer for your fixtures than one harsh, abrasive scrubbing session.
Using a Plastic Scraper Carefully
On hard surfaces like glass and ceramic tile, a plastic scraper can help lift thick layers of scum after soaking.
- Keep the area wet with your cleaning solution.
- Hold the scraper at a very shallow angle.
- Apply light pressure and move slowly.
- Wipe the blade frequently to avoid dragging grit across the surface.
Never use a metal scraper on delicate finishes, and avoid scraping acrylic or fiberglass unless the manufacturer specifically says it is safe.
How to Prevent Soap Scum from Coming Back So Quickly
Once you have restored your fixtures, a few simple habits can keep them looking clean longer and make future cleaning much easier.
Daily or Weekly Quick Habits
- Rinse surfaces after each shower. A quick spray of warm water helps wash away soap before it dries.
- Use a squeegee on glass doors. A few seconds of work can greatly reduce water spots and film.
- Wipe fixtures dry. A small microfiber cloth by the sink or shower makes this easy.
- Do a light weekly clean. A fast wipe with a mild cleaner keeps buildup from getting out of hand.
Consider Product Choices and Water Type
Certain factors in your home can make soap scum worse:
- Hard water has more minerals that combine with soap to create film.
- Heavy, creamy soaps may leave more residue than lighter options.
If you have very hard water, you may notice faster buildup. In that case, staying consistent with quick daily or weekly maintenance makes a big difference.
Simple Cleaning Routine to Keep Fixtures Scratch-Free
To keep your bathroom looking fresh without damaging your fixtures, follow this basic routine:
- After showers: Rinse walls and doors, then use a squeegee or towel to remove excess water.
- Once a week: Wipe down glass, tile, and fixtures with a mild cleaner and a soft cloth.
- Once a month: Do a more thorough clean, using vinegar or baking soda methods as needed for any buildup.
- As needed: Address new spots or film as soon as you notice them, before they harden.
By focusing on gentle methods and regular upkeep, you can remove soap scum effectively without scratching your fixtures or dulling their finish.
When to Be Extra Cautious and Seek Guidance
Some surfaces and finishes need special care. Use extra caution if you have:
- Natural stone tile or countertops
- Specialty coated glass or fixtures
- Older or heavily worn finishes
In these cases, check the manufacturer’s cleaning recommendations before using vinegar, baking soda, or any new product. When in doubt, test a small, hidden area first and use the mildest option that still gets results.
With the right tools, gentle cleaners, and a bit of patience, you can remove soap scum without scratching your fixtures and keep your bathroom looking bright and clear. For more practical cleaning and organization tips, explore related guides at Signature Home Guide.
Recommended next:
Related posts
Browse this topic →
How to Organize a Hall Closet for Coats, Tools, and Everyday Items
How to Remove Dust From Walls Before Painting: A Step-by-Step Guide
How to Clean Pet Bowls, Mats, and Feeding Areas Safely
How to Store Holiday Decorations Without Adding Basement Clutter

How to Create a Toy Rotation System for Small Living Rooms
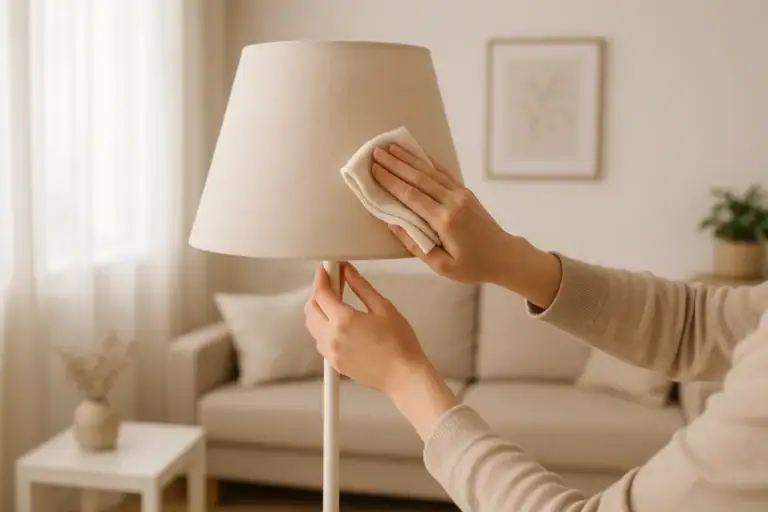
How to Clean Lampshades and Fabric Light Fixtures: A Complete Guide
Keep reading
About this site
Signature Home Guide publishes practical, independent home guides. We aim to be clear, helpful, and transparent.
Affiliate disclosure
As an Amazon Associate, we earn from qualifying purchases. Some links on this site may be affiliate links. If you buy through these links, we may earn a small commission at no extra cost to you. This helps support our content. Learn more.