Trash and recycling are a part of everyday life, but the way you set them up in your home makes a huge difference in smells, pests, and overall cleanliness. A thoughtful system can keep odors under control, discourage insects and rodents, and make it easier for everyone in the household to sort waste correctly. You do not need a complicated system or expensive gear. With smart container choices, good placement, and a few simple routines, you can keep your kitchen and garage fresher, cleaner, and more organized while reducing the time you spend dealing with trash.
On this page(click to collapse)
- Step 1: Plan Your Overall Trash and Recycling Flow
- Step 2: Choose the Right Indoor Trash and Recycling Bins
- Step 3: Control Odors at the Source
- Step 4: Make Your Setup Pest-Resistant
- Step 5: Organize Indoor Trash and Recycling for Daily Use
- Step 6: Organize Outdoor Trash and Recycling Areas
- Step 7: Adjust for Your Household Size and Lifestyle
- Simple Checklist: A Trash and Recycling Setup That Works
- Related guides
This guide walks through how to design a trash and recycling setup that works for your space. You will learn how to choose the right bins, control odors, keep pests out, and organize indoor and outdoor areas. Use these ideas to build a system that feels low-maintenance, hygienic, and easy for your family to follow.
Step 1: Plan Your Overall Trash and Recycling Flow
Before buying containers, think about how trash and recycling move through your home. A clear flow makes it easier to keep things tidy and less likely that bags sit around attracting smells and pests.
Map the path from room to curb
- Start in the kitchen: This is usually the main source of food waste and packaging.
- Include bathrooms and bedrooms: These add smaller amounts of trash that still need a clear route to the main bin.
- End at the outdoor pickup point: Usually the curb, alley, or shared collection area.
Ask yourself:
- Where does most of my trash come from?
- Where do I want people to sort recycling?
- Where do outdoor carts or cans live between pickup days?
Design your setup so trash and recycling move in one direction: small room bins → main indoor station → outdoor carts or cans → curb. This reduces clutter and keeps bags from lingering in random spots.
Step 2: Choose the Right Indoor Trash and Recycling Bins
The right containers go a long way toward controlling smells and pests. Focus on size, lid style, and materials that are easy to clean.
Pick a main kitchen trash bin with a tight lid
Your main kitchen bin handles the smelliest items, so it needs to be sturdy and easy to seal.
- Size: For most households, 10–13 gallons works well in the kitchen. Larger bins can lead to trash sitting too long and smelling more.
- Lid: Choose a lid that closes fully. Step-on or swing-top lids are convenient, but make sure they actually seal and do not stay propped open.
- Shape: Rectangular bins fit well against walls or cabinets and waste less space.
- Material: Smooth plastic or metal with minimal seams is easier to wipe down and disinfect.
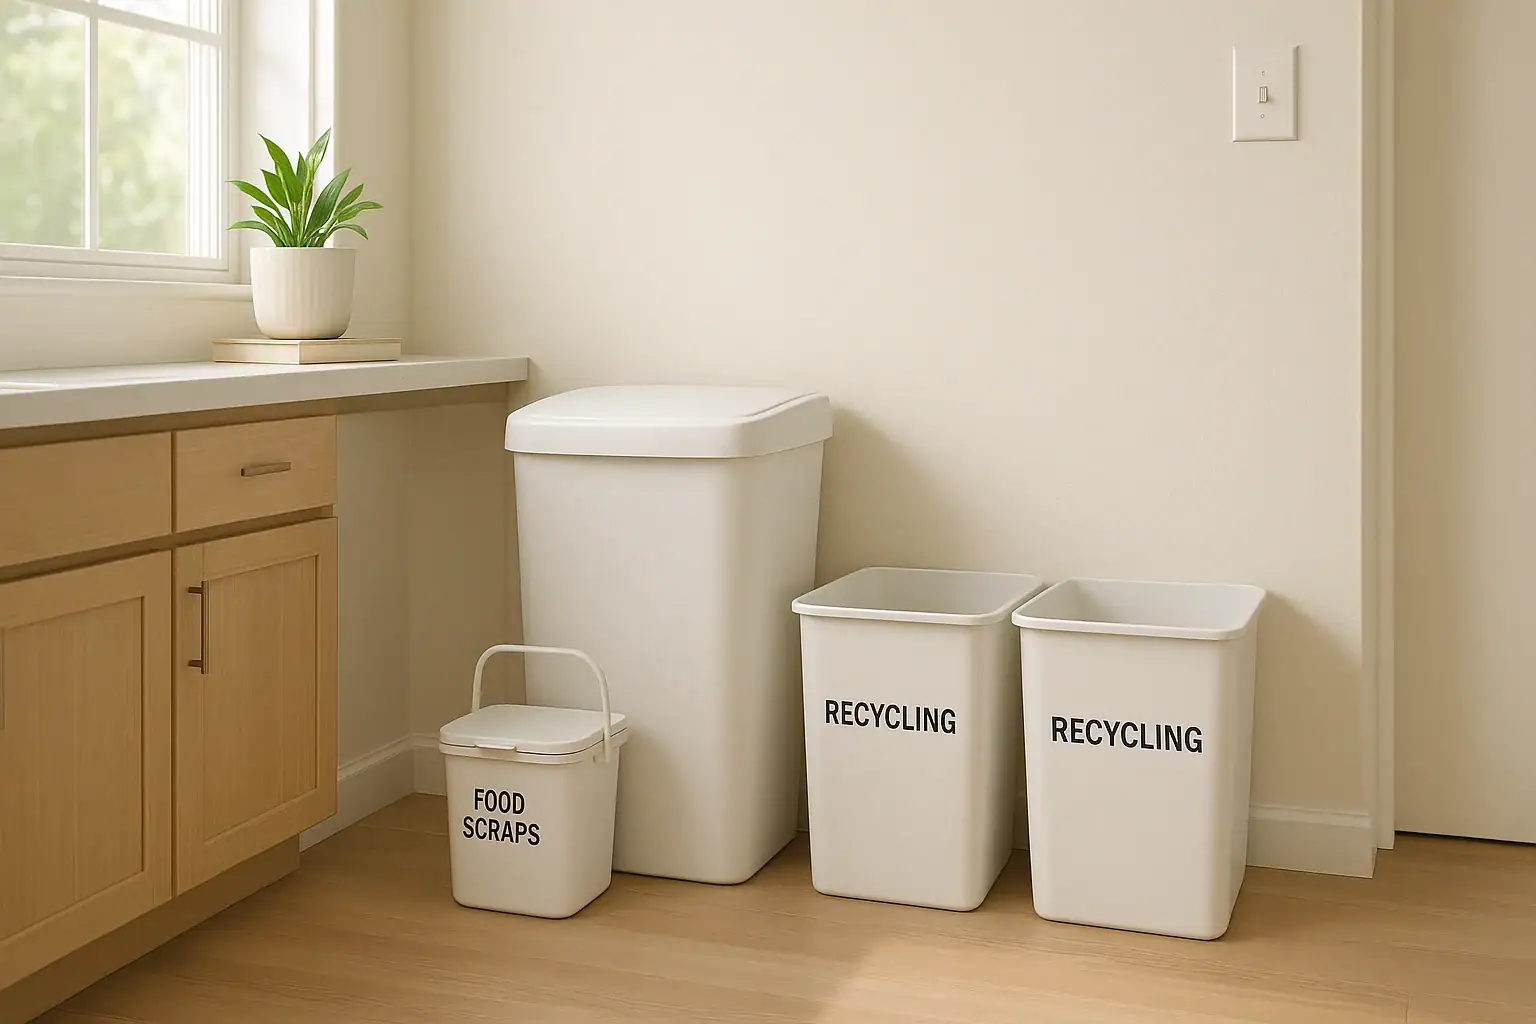
Use a separate, smaller bin for food scraps
Food waste is the main source of odor and pests. Separating it from regular trash can dramatically reduce smells.
- Size: A 1–3 gallon countertop or under-sink bin is enough for most households.
- Lid: A tight-fitting lid is essential. A simple snap or flip lid works well.
- Location: Keep it near your food prep area so it is easy to use while cooking.
If your city offers food waste collection or you compost at home, this bin can feed directly into that system. If not, you can still bag food scraps separately and take them out more often to cut down on kitchen odors.
Set up an easy-to-use indoor recycling station
Recycling should be as convenient as throwing something away. When it is easy, people are more likely to do it correctly.
- At least two compartments: One for containers (cans, bottles, cartons) and one for paper and cardboard. If space is tight, use two stackable bins.
- Clear labels: Use simple words or icons showing what goes where. This reduces contamination and keeps the system running smoothly.
- Ventilated or open top: Recycling usually does not smell if containers are rinsed, so lids are optional. An open top makes it faster to use.
Place the recycling station next to or very close to your main trash bin. If you have to walk across the room to recycle, items are more likely to end up in the trash instead.
Use small, lidded bins in bathrooms and bedrooms
Smaller rooms benefit from compact bins that are easy to empty regularly.
- Size: 1–3 gallons is usually enough.
- Lid: A simple lid helps contain bathroom odors and keeps pets out.
- Liners: Use small liners to keep bins clean and make emptying faster.
Plan a routine to empty these smaller bins into your main trash at least once a week, or more often if needed.
Step 3: Control Odors at the Source
Odor control is about more than just scented bags. The best approach is to prevent smells from building up in the first place.
Handle food waste carefully
- Rinse containers: Quickly rinse cans, jars, and food containers before putting them in recycling. Even a brief rinse cuts down on smells and insects.
- Wrap or bag strong-smelling items: Double-bag meat scraps, seafood, and very wet leftovers before placing them in the trash.
- Use the freezer trick: If pickup is several days away, store the smelliest food scraps in a sealed bag in the freezer and toss them in the outdoor cart the night before collection.
Use simple odor absorbers
You can reduce odors without heavy fragrances.
- Baking soda: Sprinkle a thin layer in the bottom of trash bins and replace it every few weeks.
- Dry layer: Place a piece of newspaper or a paper towel at the bottom of the liner to absorb leaks.
- Charcoal-based absorbers: Small odor-absorbing packets can be placed inside lids or under liners.
Empty and clean bins regularly
- Do not overfill: Once a bag is full, take it out. Overstuffed bags are more likely to leak and tear.
- Weekly wipe-down: Wipe the inside and outside of your main kitchen bin with warm, soapy water or a mild disinfecting solution.
- Monthly deep clean: Rinse outdoor carts and allow them to dry completely with the lids open before using again.
Step 4: Make Your Setup Pest-Resistant
Insects and rodents are attracted to food residue, moisture, and easy access. A few structural choices and habits can make your trash and recycling far less appealing to pests.
Seal and secure indoor bins
- Choose bins with snug lids: Lids should sit flat and not wobble. Check that they still close well when the bin is nearly full.
- Use liners correctly: Tuck bag edges fully inside the bin or under the rim so lids can close completely.
- Keep the area dry: Wipe up spills around the bin promptly. Moisture attracts pests.
Store outdoor carts and cans wisely
Outdoor storage is a common weak point. A few adjustments can dramatically reduce pest activity.
- Keep lids closed at all times: Do not leave lids propped open, even if the cart is not full.
- Position on a hard surface: Place carts on concrete, pavers, or a solid platform instead of bare soil or grass.
- Allow airflow: If possible, store carts where air can circulate around them rather than pressed tightly against walls.
- Use bungee or latch systems if needed: If animals are an issue in your area, secure lids with a simple latch or strap that you can easily remove on pickup day.
Reduce what pests can smell and reach
- Bag all trash: Do not dump loose trash into outdoor carts. Always use bags and tie them tightly.
- Rinse recycling: Even a quick rinse removes most residue that attracts insects.
- Avoid liquid-heavy bags: Drain liquids from containers and leftovers before tossing them. Liquids leak, smell, and attract pests.
Step 5: Organize Indoor Trash and Recycling for Daily Use
A well-organized setup saves time and makes it easier for everyone in the home to follow the system without thinking about it.
Create a central waste station in the kitchen
Consider a single area where all waste decisions happen.
- Main trash bin
- Food scrap bin or compost container
- Recycling bins (at least two categories)
- Extra liners stored nearby
Place this station near where you cook and unload groceries. The fewer steps between your work area and the bins, the more likely everyone is to sort correctly.
Label clearly for the whole household
- Use large, simple labels: Words like “Trash,” “Food Scraps,” “Paper,” and “Cans & Bottles” are easy to understand.
- Add quick examples: Under each label, list a few common items that belong there.
- Post a small guide: If your area has specific recycling rules, tape a short list or chart inside a cabinet door near the bins.
Set up a routine for emptying and taking out trash
Consistent habits keep smells and pests from building up.
- Daily: Take out kitchen trash if it contains food waste, even if the bag is not completely full.
- Every 2–3 days: Empty food scrap bins and rinse them.
- Weekly: Empty all bathroom and bedroom bins into the main trash before pickup day.
- Pickup eve: Roll outdoor carts to the curb the night before collection to avoid missed pickups.
Step 6: Organize Outdoor Trash and Recycling Areas
Your outdoor setup should be just as intentional as your indoor system. A tidy, well-planned area reduces smells, pests, and visual clutter.
Choose the best location for outdoor carts
- Close but not too close: Store carts near the house for convenience, but not right under bedroom windows or next to frequently used doors.
- Shaded if possible: Heat intensifies odors. A shaded spot helps keep smells down.
- Accessible path: Make sure you can roll carts to the curb without navigating tight corners or stairs.
Keep the area clean and contained
- Use a defined pad: A small concrete pad, pavers, or a plastic mat keeps carts level and easier to clean around.
- Rinse occasionally: Hose down the area under and around the carts to remove spills and residue.
- Consider a screen or enclosure: A simple fence panel or enclosure can hide carts from view while still allowing airflow.
Manage overflow and bulky items
Overflowing carts are more likely to attract pests and cause spills.
- Break down boxes: Flatten cardboard before placing it in recycling to save space.
- Schedule extra pickups if needed: If you consistently overflow, check whether your service offers additional pickups or larger carts.
- Store bulky items separately: Keep large cardboard or bulky waste stacked neatly until collection day.
Step 7: Adjust for Your Household Size and Lifestyle
There is no single perfect setup. Tailor your system to the number of people in your home, your cooking habits, and your local collection schedule.
For small households or apartments
- Use a smaller kitchen trash bin so bags fill quickly and get taken out more often.
- Combine trash and recycling in a single cabinet pull-out with two compartments.
- Use compact, stackable bins for recycling if floor space is limited.
For larger households or frequent cooking
- Choose a sturdy, lidded food scrap bin and empty it daily.
- Use larger or multiple indoor recycling bins to handle packaging and containers.
- Consider two outdoor trash carts if your service allows it and your trash volume is consistently high.
For limited collection schedules
- Rely more on the freezer trick for strong-smelling food scraps.
- Double-bag trash with a lot of moisture or odor.
- Be extra consistent about rinsing containers and cleaning bins.
Simple Checklist: A Trash and Recycling Setup That Works
Use this quick checklist to tune up your current system or design a new one:
- A main kitchen trash bin with a tight lid and the right size for your household
- A separate, lidded food scrap bin near your prep area
- An indoor recycling station with at least two clearly labeled categories
- Small, lidded bins in bathrooms and bedrooms, emptied weekly
- Regular habits for rinsing containers and wrapping strong-smelling items
- Baking soda or other simple odor absorbers in main bins
- Outdoor carts stored on a hard surface with lids always closed
- A routine for emptying bins and taking carts to the curb on schedule
With these pieces in place, your trash and recycling setup will do more of the work for you. Fewer smells, fewer pests, and a smoother daily routine all start with a system that fits your home and is easy to maintain.
Recommended next:
Related posts
Browse this topic →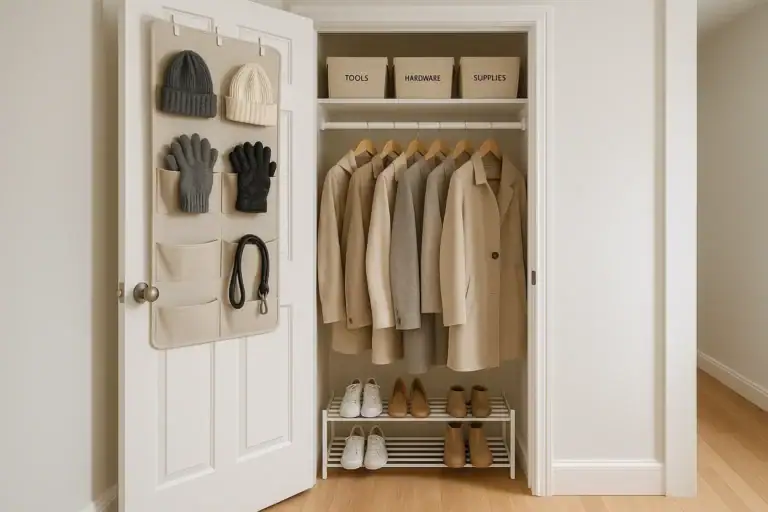
How to Organize a Hall Closet for Coats, Tools, and Everyday Items
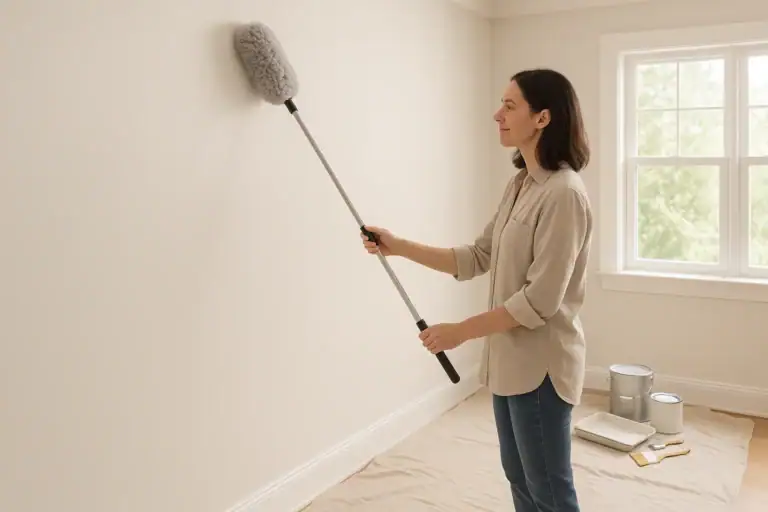
How to Remove Dust From Walls Before Painting: A Step-by-Step Guide
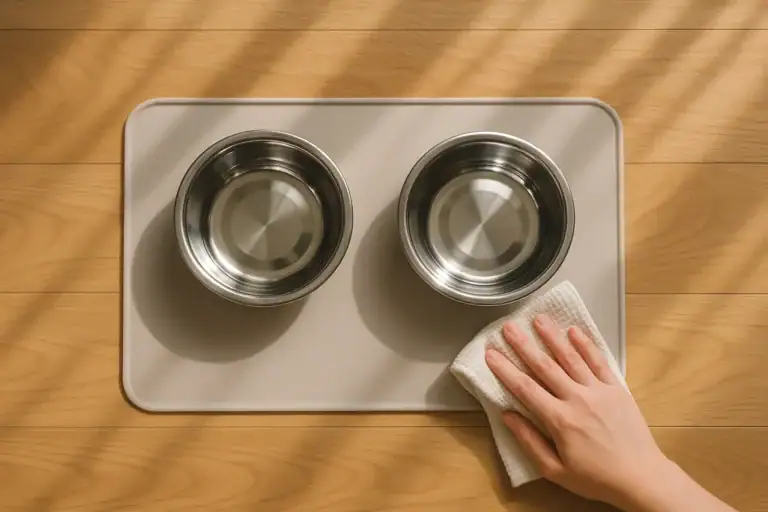
How to Clean Pet Bowls, Mats, and Feeding Areas Safely
How to Store Holiday Decorations Without Adding Basement Clutter

How to Create a Toy Rotation System for Small Living Rooms
How to Clean Lampshades and Fabric Light Fixtures: A Complete Guide
Keep reading
About this site
Signature Home Guide publishes practical, independent home guides. We aim to be clear, helpful, and transparent.
Affiliate disclosure
As an Amazon Associate, we earn from qualifying purchases. Some links on this site may be affiliate links. If you buy through these links, we may earn a small commission at no extra cost to you. This helps support our content. Learn more.