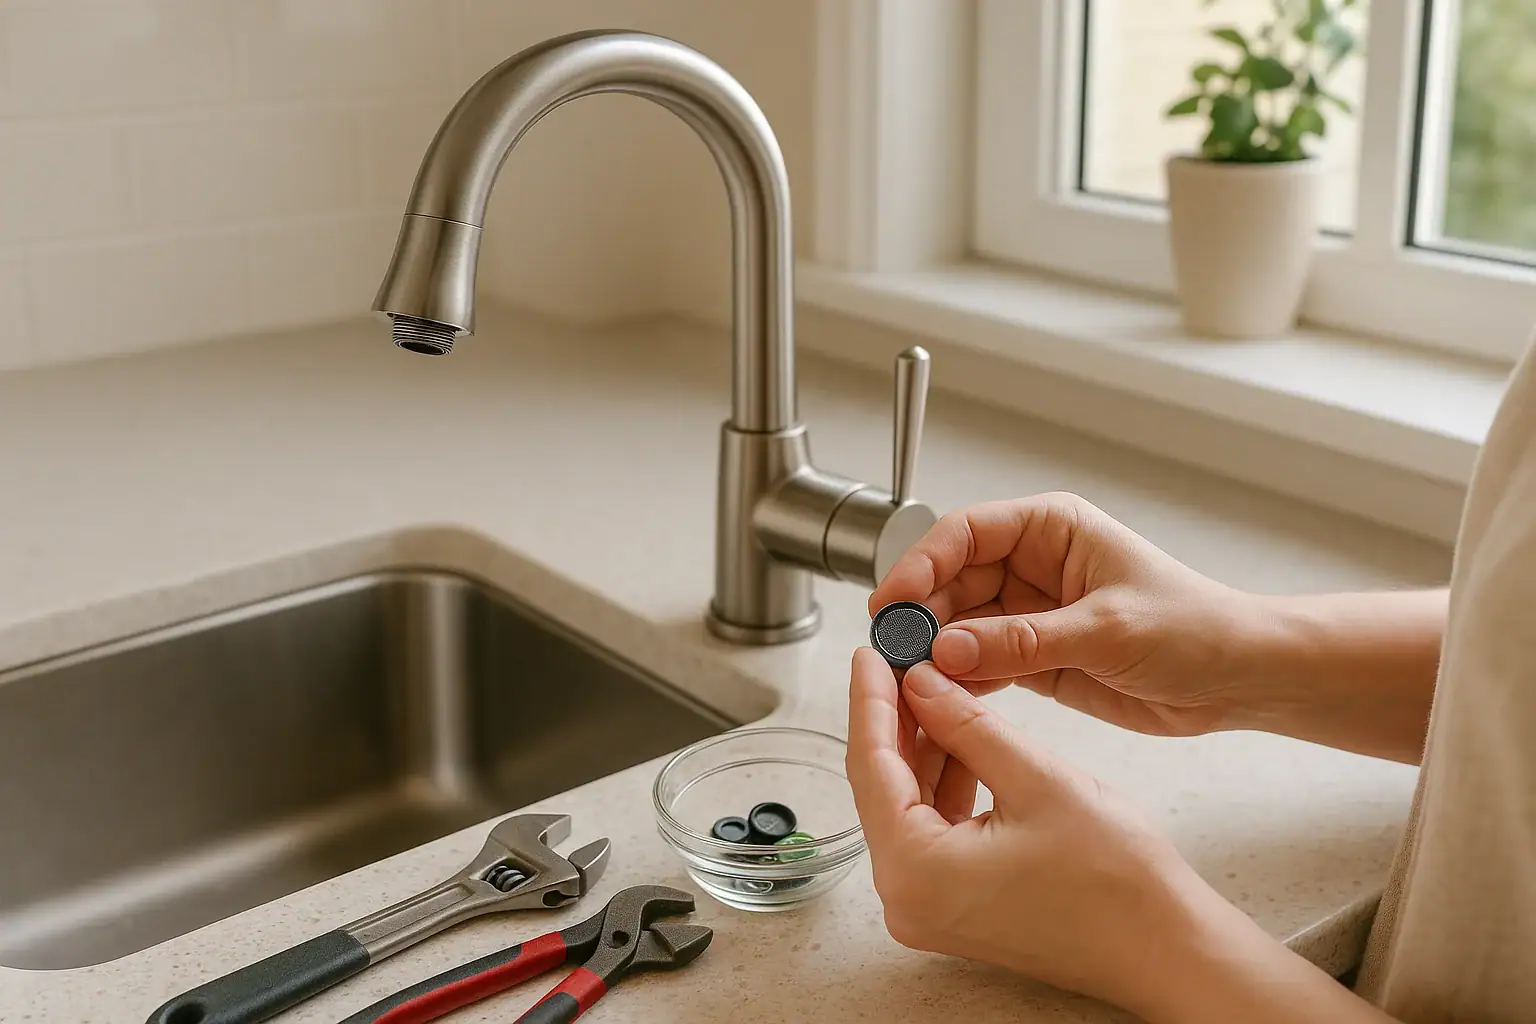
Why black debris shows up in a faucet aerator
Black particles caught in or coming out of a faucet aerator usually come from one of a few sources: deteriorating rubber or plastic parts, mineral buildup mixed with metal corrosion, or sediment from your plumbing or water supply. The aerator acts like a small filter, so it traps this material and can make it look like the faucet itself is failing.
In many homes, the most common cause is aging rubber washers or flexible supply hoses breaking down over time. However, you should not assume the cause without a quick check, because some sources point to wider plumbing or water-quality issues.
The basic approach is:
- Inspect and clean the aerator
- Look for obvious plumbing material breakdown nearby
- Check whether the issue is isolated to one faucet or the whole house
- Decide if you can correct it yourself or need a plumber or your water utility
The steps below walk through that troubleshooting process.
Step 1: Confirm what the black debris looks and feels like
A quick look and feel can narrow down the likely cause:
- Soft, rubbery specks or flakes – Often from deteriorating rubber washers, O-rings, or flexible supply hoses.
- Soft, slimy, or gel-like particles – Could be biofilm or organic material, especially if the faucet is rarely used.
- Hard, gritty grains – More like sand or grit; may be mineral sediment or corrosion particles from pipes or a water heater.
- Black, sooty film on the screen – Sometimes a mix of fine corrosion particles and trapped debris.
If the particles are clearly rubbery and you can see worn gaskets or hoses nearby, the fix is often straightforward. Gritty particles or debris affecting multiple fixtures may point to a larger plumbing or water-supply issue.
Step 2: Safely remove and inspect the aerator
Most troubleshooting starts with taking the aerator off and seeing what is trapped inside.
How to remove a faucet aerator
- Turn off the water at the faucet.
- Plug the sink drain with a stopper or cloth so small parts cannot fall in.
- Look for a small metal or plastic cap at the tip of the spout. This is the aerator housing.
- Try unscrewing it by hand, turning counterclockwise as you face the faucet.
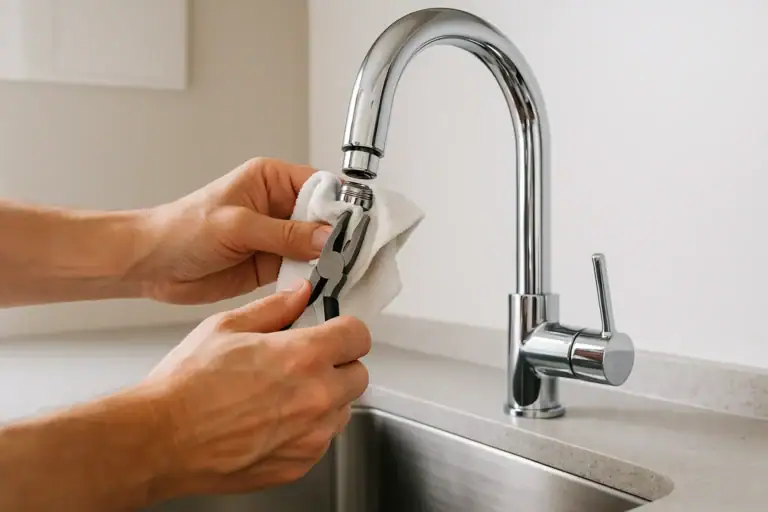
- If it is stuck, wrap the housing with a cloth and gently use adjustable pliers to loosen it. Avoid squeezing so hard that you deform the metal.
Set the aerator parts on a towel in order as you remove them so you can reassemble them correctly.
What to look for inside the aerator
- Black flakes or bits embedded in the screen or plastic insert
- Cracked or brittle rubber washers or O-rings
- Discolored or corroded metal parts
If the washer or O-ring is obviously breaking down, that is a likely source of the black debris at this faucet.
Step 3: Clean the aerator and flush the faucet
Even if you plan to replace parts, cleaning and flushing help clear loose debris from the faucet and nearby piping.
Clean the aerator parts
- Disassemble the aerator: housing, screen, plastic insert, and washers.
- Rinse each piece under running water, gently brushing with an old toothbrush to remove particles.
- If there is mineral scale (white or green crust), soak the metal parts in plain white vinegar for 15–30 minutes, then scrub gently.
- Rinse thoroughly so no vinegar or loosened debris remains.
If any rubber parts are cracked, sticky, or misshapen, plan to replace them instead of reusing.
Flush the faucet without the aerator
- With the aerator still removed, slowly turn on the cold water for 10–20 seconds.
- Then run the hot water for 10–20 seconds.
- Watch the flow: note any black particles coming directly from the faucet without the aerator in place.
Flushing helps clear loose debris from the faucet body and nearby piping. If you see a lot of black material during this step, the source may be upstream of the aerator.
Step 4: Decide what is causing the black debris
Use what you saw during cleaning and flushing to narrow down the cause.
1. Deteriorating rubber washers, O-rings, or hoses
Signs:
- Black debris is soft and rubbery.
- Only one faucet is affected, usually a sink with older supply hoses or a pull-out sprayer.
- Visible rubber parts look cracked, sticky, or misshapen.
What to do:
- Replace worn washers and O-rings in the aerator and faucet.
- Inspect flexible supply hoses under the sink. If the rubber looks aged or bulged, consider replacing the hoses.
- After replacement, flush again and monitor the aerator over the next few days.
2. Mineral and corrosion particles from plumbing or water heater
Signs:
- Particles feel hard or gritty, like sand.
- Multiple faucets show similar debris in their aerators.
- You may also see reddish or brown particles, suggesting rust.
What to do:
- Clean and flush aerators on several fixtures to see how widespread the issue is.
- If debris appears mostly in hot water, the water heater may be contributing. Sediment can build up in tanks over time.
- Consider having a licensed plumber inspect older galvanized or corroded piping and, if needed, flush or service the water heater according to the manufacturer’s instructions.
The U.S. Environmental Protection Agency’s guidance for household water systems notes that corrosion and sediment can affect both water quality and plumbing performance, especially in older systems.
3. Sediment or material from the water supply
Signs:
- Black or dark particles appear at several fixtures, even after you clean the aerators.
- Neighbors on the same supply report similar issues, or the problem started after utility work or a main break.
What to do:
- Contact your local water utility and describe what you are seeing. Ask if there has been recent work or changes that could stir up sediment.
- Follow any flushing instructions they provide for your home.
- If you are on a private well, consider having a qualified well contractor inspect the system and, if appropriate, test the water. The EPA provides an overview of protecting your home’s well water.
4. Biofilm or organic buildup
Signs:
- Particles are soft, slimy, or gel-like.
- The faucet is rarely used, or water has been stagnant for long periods.
What to do:
- Clean or replace the aerator and run the water for several minutes to refresh the line.
- Use fixtures regularly to reduce stagnation.
- If you notice persistent odors, discoloration, or slimy buildup in multiple fixtures, consult a plumber or local health department for guidance.
For general information on household water safety and potential contaminants, see the Centers for Disease Control and Prevention’s drinking water resources.
Step 5: When to be concerned and call for help
Black debris from an aerator is often a maintenance issue, but there are times when it deserves more attention.
Consider calling a licensed plumber or your water provider if:
- Black particles return quickly after you clean and flush the aerator.
- Multiple faucets and fixtures are affected, especially both hot and cold water.
- You see other changes in your water, such as unusual color, odor, or taste.
- Your home has very old plumbing (for example, original galvanized steel pipes) and you are seeing rust or scale along with black debris.
If you have specific health concerns or vulnerable household members, your local or state health department can advise you on whether water testing is appropriate. The EPA’s page on basic information about drinking water explains how public water systems are regulated and tested.
Simple prevention and maintenance tips
- Clean aerators periodically. In most homes, removing and rinsing aerators every few months helps keep flow steady and catches early signs of debris.
- Replace aging rubber parts. When you notice stiff or cracked washers, O-rings, or hoses, replace them before they start shedding particles.
- Flush lines after plumbing work. After any repair or installation, run water without aerators for several minutes to clear loosened debris.
- Monitor older plumbing. If your home has older pipes or fixtures, keep an eye on aerators and consider periodic professional inspections.
For more practical water and kitchen maintenance tips, you can explore additional guides in the Water & Kitchen section of Signature Home Guide.
Summary: Clearing and preventing black debris in aerators
Black debris in a faucet aerator is usually a sign of something breaking down or building up in your plumbing system, not a problem with the aerator alone. By removing and cleaning the aerator, flushing the faucet, and checking nearby rubber and plumbing components, you can often identify the source and correct it. When the issue affects multiple fixtures, keeps returning, or comes with other changes in your water, involve a plumber or your water provider to rule out broader plumbing or supply problems.
 Fixing Low Hot Water Pressure at One Faucet
 Kitchen Sink Aerator Cleaning for Low Water Flow: A Step-by-Step Guide
 Ice Maker Water Tastes Bad: Common Causes and Easy Fixes