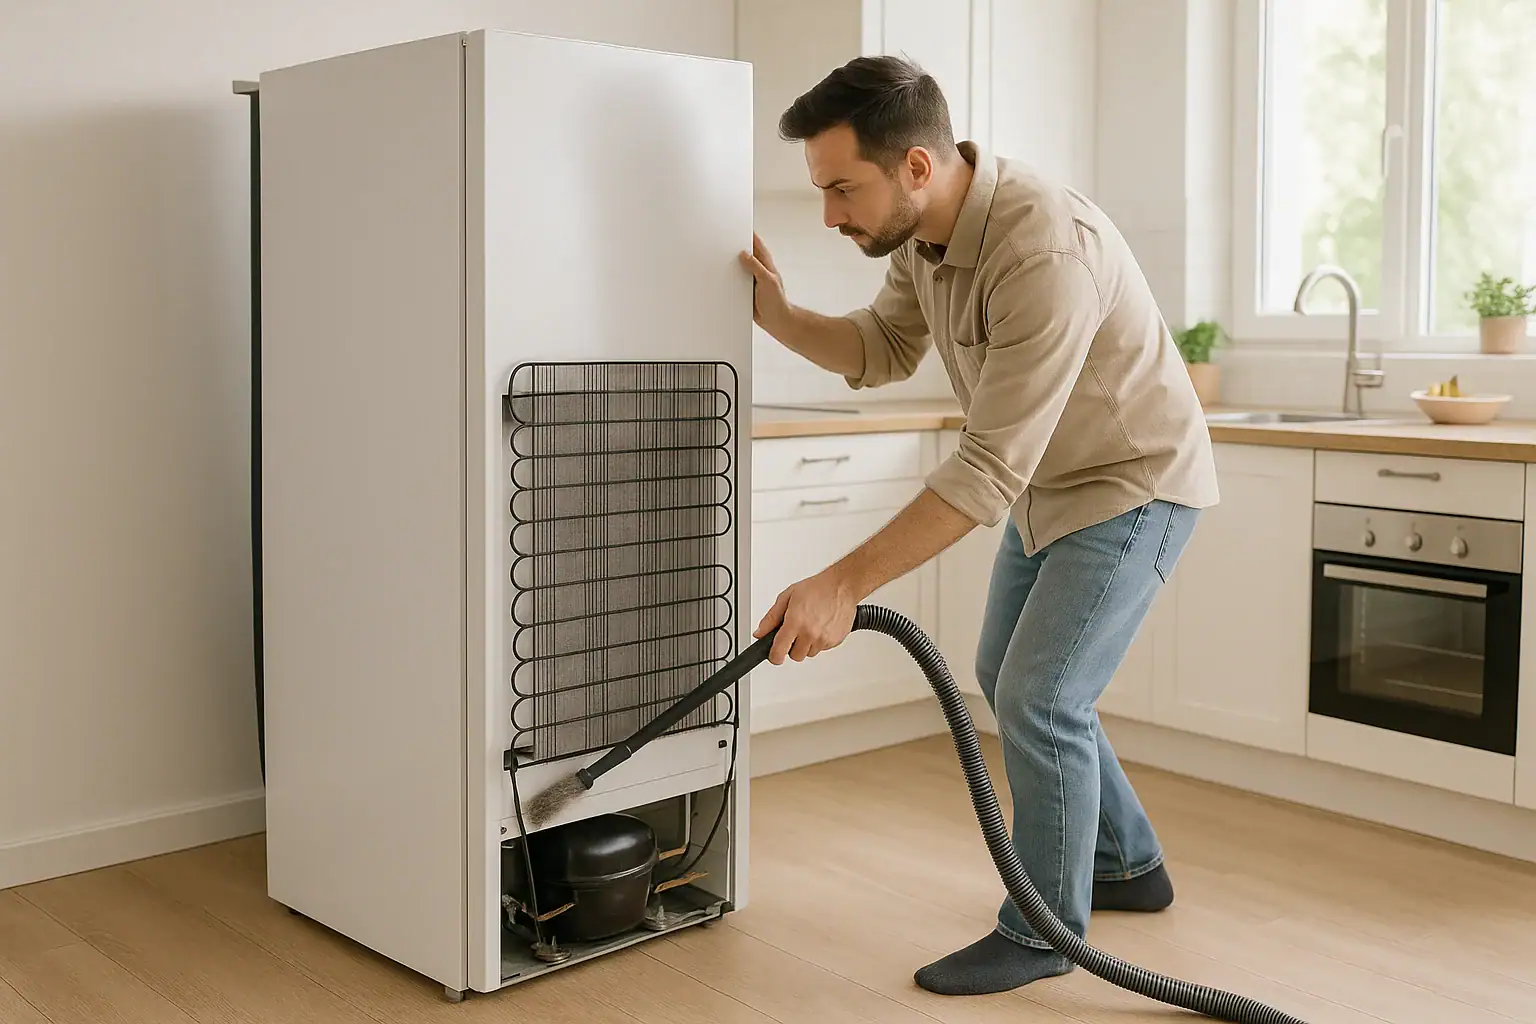
Your refrigerator quietly runs all day, every day, keeping food safe and cold. But behind that steady hum is a hard‑working cooling system that needs a little attention to stay efficient: the condenser coils. When these coils are covered in dust, pet hair, and kitchen grease, your refrigerator has to work much harder to stay cold. That extra strain can raise your energy bills, shorten the life of the appliance, and even affect food safety if temperatures fluctuate. The good news is that coil cleaning is simple, inexpensive, and only takes a few minutes a couple of times a year. This guide explains how often to clean refrigerator coils, why it matters, and gives you a step‑by‑step checklist you can follow safely and confidently.
What Refrigerator Coils Do and Why They Get Dirty
Refrigerator condenser coils are metal tubes, often shaped like a grid or radiator, that release heat from inside the fridge into the surrounding air. As refrigerant flows through these coils, it carries heat away from the interior so your food stays cold.
Because the coils are usually near the floor or behind the appliance, they naturally collect:
- Dust and lint from the air
- Pet hair and dander
- Grease particles from cooking
- General kitchen debris
Over time, this buildup acts like a blanket, trapping heat and making it harder for the coils to release it. That is when performance and efficiency start to suffer.
How Often Should You Clean Refrigerator Coils?
Most households should plan to clean refrigerator coils every 6 to 12 months. However, the right schedule for your home depends on a few factors.
General Guidelines
- Low dust, no pets: Every 12 months is usually enough.
- Average home, some dust: Every 6 months is a good target.
- Pets or heavy cooking: Every 3 to 4 months may be needed.
If you notice visible dust buildup on or around the coils, or if the refrigerator seems to run constantly, it is a sign you should clean them sooner.
Signs Your Coils Need Cleaning
Watch for these indicators that it is time to add coil cleaning to your to‑do list:
- The refrigerator runs almost nonstop or cycles on more often than usual
- The sides or back of the refrigerator feel unusually warm
- Food is not staying as cold, or ice cream is softer than normal
- You hear the compressor running louder than before
- There is visible dust, lint, or pet hair on the grille or under the fridge
Why Refrigerator Coil Cleaning Matters
Coil cleaning is more than just a cosmetic chore. It has real impacts on your home, budget, and food safety.
1. Lower Energy Use and Utility Bills
Dirty coils force the refrigerator to work harder and run longer to maintain the same temperature. That extra running time uses more electricity. Keeping coils clean helps the appliance operate efficiently, which can reduce energy use and lower your monthly utility bills.
2. Longer Appliance Life
When a refrigerator struggles to release heat, the compressor and other components are under constant stress. Over time, this can lead to premature wear and more frequent breakdowns. Regular coil cleaning is a simple way to reduce strain and help your refrigerator last longer before it needs major repairs or replacement.
3. More Stable Food Temperatures
Efficient coils help the refrigerator maintain consistent interior temperatures. When coils are clogged, the temperature inside can fluctuate, especially during hot weather or when the door is opened frequently. Stable temperatures are important for keeping food fresh and reducing the risk of spoilage.
4. Better Performance in Hot Weather
During warm months, your refrigerator already works harder because the surrounding air is warmer. Dirty coils make this even more challenging. Cleaning them before summer or during a heat wave can help the appliance keep up and maintain safe temperatures.
Safety First: Preparing to Clean Refrigerator Coils
Before you start cleaning, take a few safety steps to protect yourself and the appliance.
- Unplug the refrigerator: Always disconnect power before working around coils or electrical parts.
- Move the appliance carefully: If coils are on the back, gently pull the refrigerator straight out from the wall. Use a helper if needed.
- Protect your floor: Place a piece of cardboard or a mat under the wheels or feet if you are worried about scratches.
- Use the right tools: A coil cleaning brush, soft brush attachment on a vacuum, and a flashlight are usually all you need.
Where to Find Your Refrigerator Coils
Coil location varies by model, but they are typically in one of these places:
- Back of the refrigerator: A grid or tubing visible once you pull the appliance away from the wall.
- Underneath the refrigerator: Coils behind a toe‑kick grille at the front, or accessible from the back near the floor.
- Behind a front grille: A removable panel at the bottom front that hides the coils and fan.
If you are unsure, look for a grille or vent near the floor or check the user manual for your specific model.
Refrigerator Coil Cleaning Checklist
Use this step‑by‑step checklist each time you clean your refrigerator coils. You can print it or save it for your regular home maintenance routine.
Step 1: Unplug and Clear the Area
- Unplug the refrigerator from the wall outlet.
- Move items away from the back or front so you have room to work.
- If needed, gently pull the refrigerator away from the wall.
Step 2: Remove Grilles or Panels
- Locate the toe‑kick grille or rear access panel.
- Carefully remove it by pulling, unclipping, or unscrewing, depending on the design.
- Set screws or clips aside in a small container so they do not get lost.
Step 3: Vacuum Loose Dust and Debris
- Attach a soft brush to your vacuum cleaner hose.
- Gently vacuum around and between the coils, avoiding hard contact that could bend them.
- Vacuum the floor under and behind the refrigerator to remove dust and crumbs.
Step 4: Use a Coil Cleaning Brush
- Slide a long, narrow coil brush between the coils to loosen stubborn dust and pet hair.
- Work from top to bottom so debris falls to the floor instead of deeper into the coils.
- Pull the brush out and wipe or vacuum off the collected dust frequently.
Step 5: Vacuum Again
- Once you have brushed the coils thoroughly, vacuum again to pick up all loose debris.
- Check corners, fan openings, and around any wiring or tubing for leftover dust.
Step 6: Wipe Surrounding Surfaces
- Use a slightly damp cloth to wipe the floor and nearby surfaces.
- Avoid getting water on electrical parts or directly on the coils.
Step 7: Reassemble and Restore Power
- Reinstall the toe‑kick grille or rear panel securely.
- Carefully slide the refrigerator back into place, leaving a small gap from the wall for air circulation.
- Plug the refrigerator back in and confirm it is running normally.
Extra Tips to Keep Coils Cleaner Longer
A few simple habits can reduce how quickly coils collect dust and debris.
- Sweep and vacuum regularly: Pay attention to the floor around and under the refrigerator.
- Control pet hair: Brush pets frequently and vacuum pet areas to reduce shedding near the kitchen.
- Use a range hood or vent when cooking: This helps capture grease particles that can settle on coils.
- Leave space around the refrigerator: Adequate clearance allows better airflow and less dust buildup.
How Coil Cleaning Fits Into Overall Refrigerator Maintenance
Coil cleaning works best as part of a broader refrigerator care routine. Consider pairing it with these quick tasks:
- Wiping door gaskets and checking for cracks or gaps
- Adjusting the temperature to recommended settings for the fresh food and freezer sections
- Decluttering shelves so air can circulate freely around food
- Checking and replacing water filters according to the manufacturer schedule, if your model has them
Doing these tasks together a couple of times a year keeps your refrigerator efficient and helps you spot small issues before they become bigger problems.
Frequently Asked Questions About Refrigerator Coil Cleaning
Can I clean refrigerator coils without unplugging the appliance?
It is strongly recommended to unplug the refrigerator before cleaning coils. This reduces the risk of electric shock and prevents moving parts, such as fans, from turning on while you are working.
Is it safe to use water or cleaning sprays on the coils?
Coils should generally be cleaned dry with a brush and vacuum. Avoid spraying water or liquid cleaners directly on them, as moisture can cause corrosion or electrical issues. A slightly damp cloth can be used on nearby surfaces, but keep liquids away from electrical components.
What if the coils are hard to reach?
If access is limited, a flexible coil brush and a vacuum with a crevice tool can help. If you still cannot reach the coils safely, consider having a professional perform a deep cleaning during a routine service visit.
Can dirty coils cause the refrigerator to stop cooling completely?
Yes, in some cases. Severely clogged coils can cause the compressor to overheat or shut down, leading to poor or no cooling. Cleaning the coils can sometimes restore normal operation, but if the refrigerator still does not cool properly, a technician should inspect it.
Set a Reminder and Make Coil Cleaning Routine
Refrigerator coil cleaning is one of those small maintenance tasks that is easy to forget but pays off over time. A few minutes with a vacuum and brush can help lower energy use, protect your appliance investment, and keep food at safer temperatures. For most homes, cleaning coils every 6 to 12 months is enough, with more frequent cleanings in homes with pets or heavy dust.
Consider adding coil cleaning to your seasonal home checklist or setting a reminder on your phone or calendar. With a simple routine and the checklist above, you can keep your refrigerator running smoothly and efficiently for years to come.
If you are organizing other kitchen and water‑related maintenance tasks, you can group coil cleaning with checking sink connections for leaks, inspecting the dishwasher filter, and reviewing your overall kitchen safety and efficiency habits. A little preventive care goes a long way toward a more comfortable, efficient home.
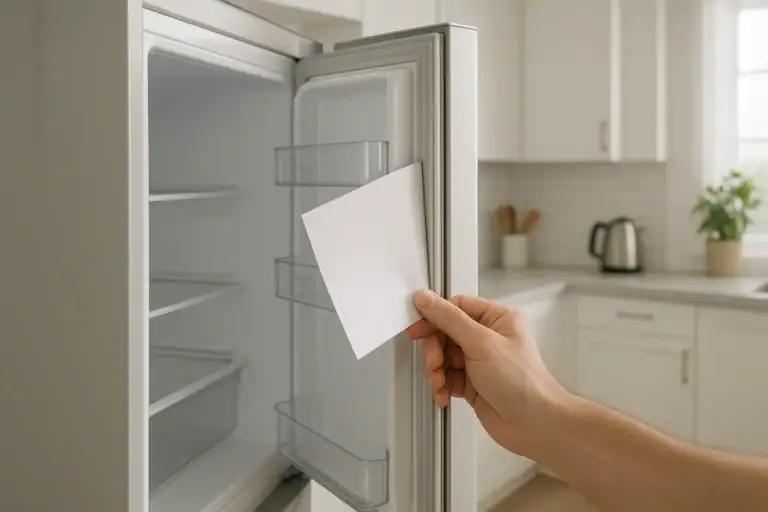 Fridge Door Seal Test Checklist for Better Energy Use and Food Safety
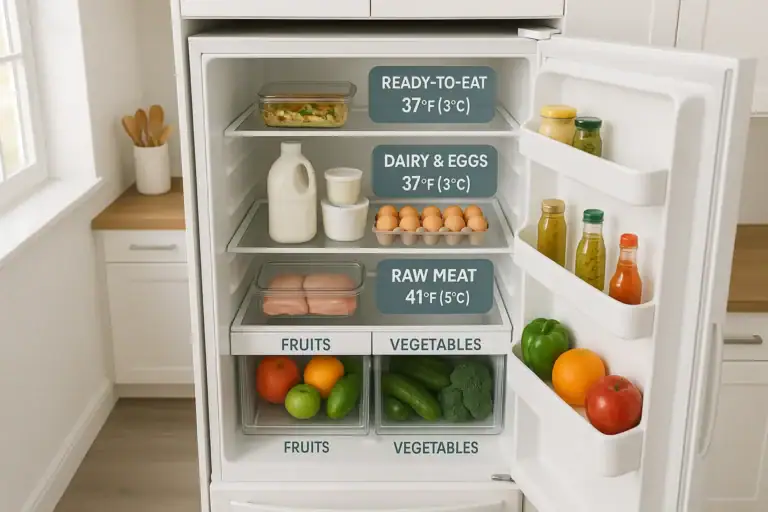 Refrigerator Temperature Zones: A Food Safety Guide for Every Shelf
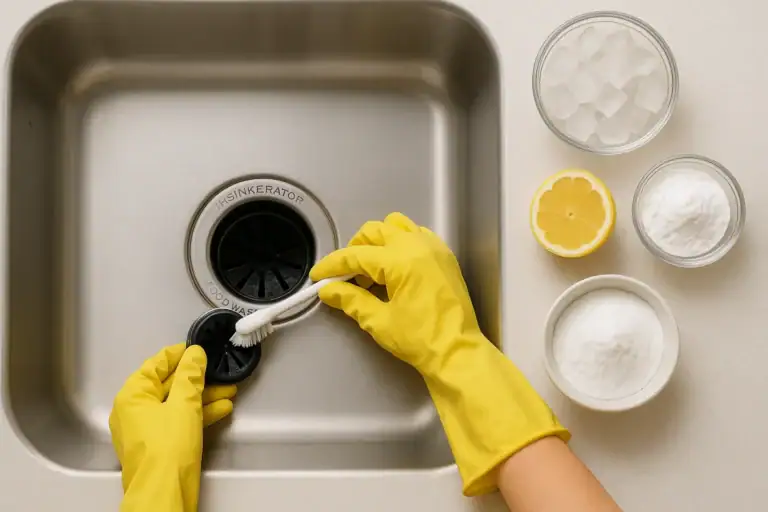 Garbage Disposal Smell Causes and a Simple Cleaning Routine That Works