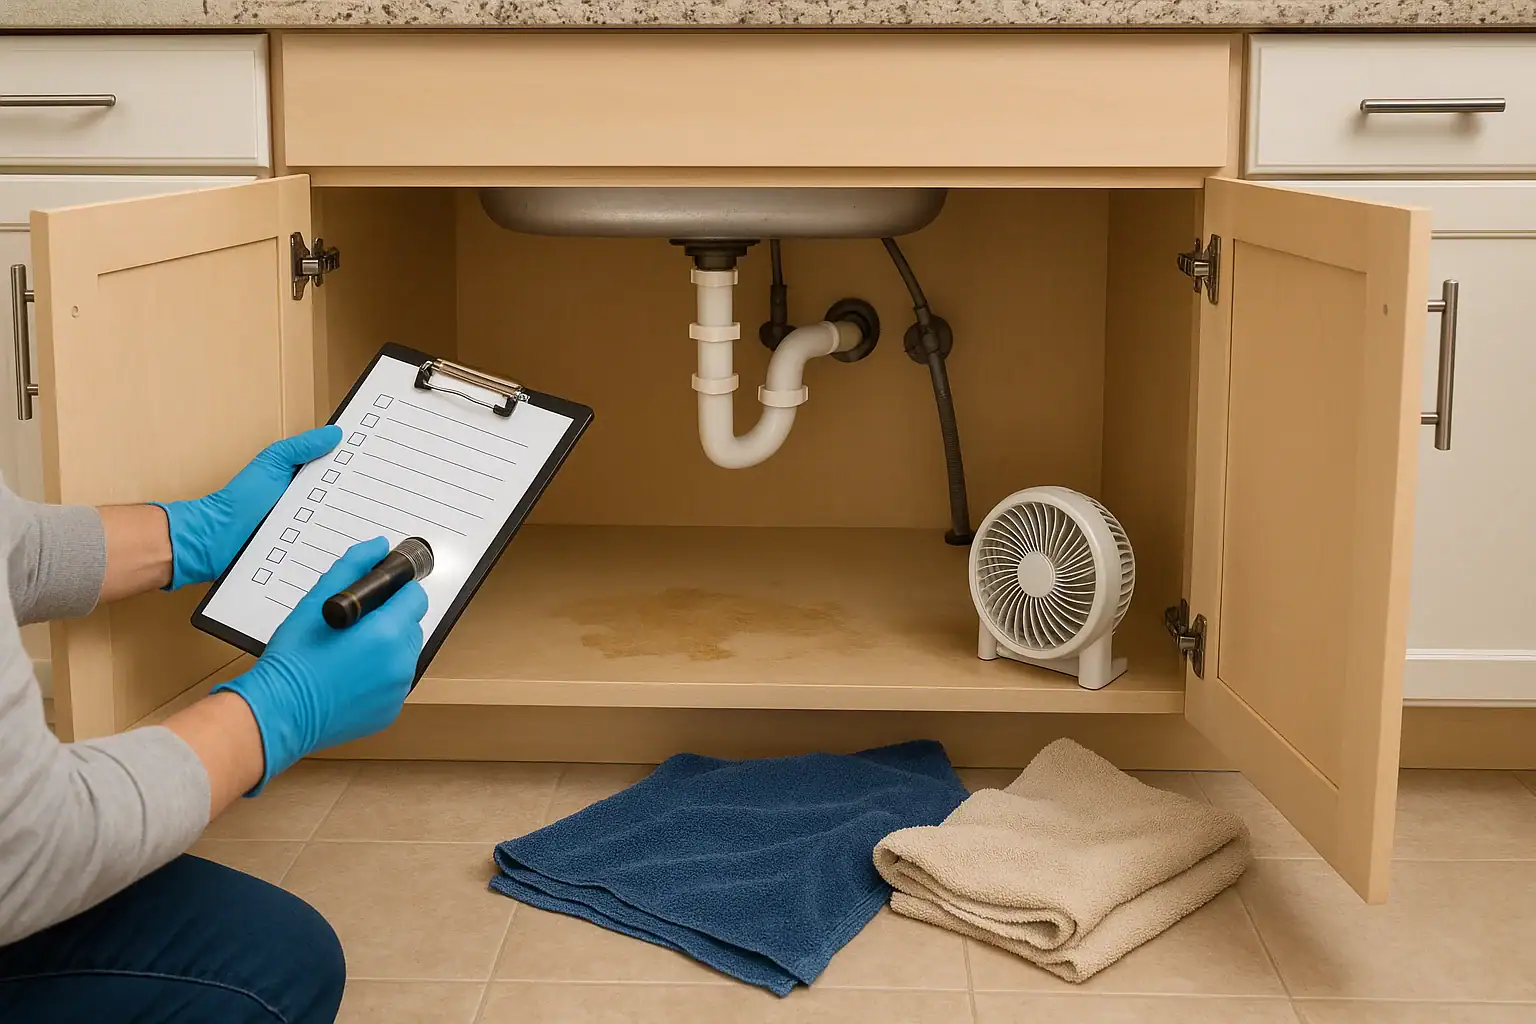
Finding water damage under your kitchen sink can be stressful. A small drip can turn into warped cabinets, musty odors, and even mold before you realize anything is wrong. The good news is that a careful inspection and a simple checklist can help you figure out what is happening, how serious it is, and what to do next. This guide walks you through what to check inside and around your under sink cabinet so you can spot hidden leaks, protect your cabinets, and know when it is time to call a professional.
Use this checklist as a step-by-step walkthrough. You will look for visible water damage, test for active leaks, check for mold and odors, and evaluate whether the cabinet structure is still sound. Even if you only see a small stain or feel a little dampness, it is worth taking the time to investigate. Catching problems early can save you money on repairs and help keep your kitchen healthier and safer.
Step 1: Clear Out the Cabinet and Stay Safe
Before you start inspecting for water damage, clear the space and protect yourself. Under sink areas often hold cleaners and supplies that can get in the way or irritate your skin and lungs.
Empty and Prepare the Area
- Remove all cleaning products, trash bags, and storage bins from the cabinet.
- Wipe up any standing water with paper towels or rags so you can see the surfaces clearly.
- Place a towel or small tray on the floor in front of the cabinet to catch drips while you inspect.
Basic Safety Checks
- Wear disposable gloves if you see mold, dark stains, or slimy buildup.
- Open a nearby window or turn on a kitchen fan if there is a strong musty or chemical odor.
- If you see any signs of electrical wiring or outlets inside the cabinet that may have gotten wet, avoid touching them and consider turning off power to that area at the breaker before going further.
Step 2: Look for Visible Signs of Water Damage
Once the cabinet is empty and dry enough to see, start with a visual inspection. You are looking for any sign that water has been present over time, not just fresh puddles.
Check the Cabinet Floor and Sides
- Discoloration: Brown, yellow, or gray stains on the cabinet floor, sides, or back panel.
- Swelling or bubbling: Raised, soft, or blistered areas on the cabinet base or edges where the material has absorbed water.
- Peeling or cracking: Finish or laminate that is peeling away from the wood or particleboard underneath.
- Soft spots: Areas that feel spongy when you press with your fingers or a screwdriver handle.
Inspect the Bottom of the Sink and Countertop
- Look at the underside of the sink bowl for rust, corrosion, or mineral buildup.
- Check the seam where the sink meets the countertop for gaps or missing caulk.
- Look for water trails or drip marks running down from the sink rim or faucet area.
Make a note of where you see any damage. The location of stains or swelling often points toward the source of the leak.
Step 3: Check All Plumbing Connections for Leaks
Most under sink water damage comes from slow plumbing leaks. Even a tiny drip can soak into the cabinet over time. Use this checklist to inspect each connection carefully.
Supply Lines and Shutoff Valves
- Find the hot and cold water shutoff valves and the flexible supply lines running up to the faucet.
- Run a dry paper towel around each connection and along the length of the lines.
- Check for dampness, corrosion, or white or green mineral deposits around fittings.
- Look for kinks or cracking in the supply lines, especially near the connectors.
Drain Pipes and Trap
- Inspect the P-trap (the curved section of pipe) and all slip-joint connections.
- Gently wiggle the pipes to see if anything feels loose.
- Use a dry cloth or tissue around each joint to check for moisture.
- Look for staining or crusty buildup on the outside of the pipes, which can indicate past or current leaks.
Faucet, Sprayer, and Accessories
- Check where the faucet body passes through the countertop from underneath.
- If you have a pull-out or pull-down sprayer, inspect the hose for cracks or rubbing damage.
- Look for moisture around soap dispensers, water filters, or other accessories mounted through the sink or countertop.
Step 4: Perform a Simple Water Test
Some leaks only show up when water is running or when the sink is full. A quick test can reveal hidden problems.
Test the Supply Side
- Place a dry paper towel or rag under the shutoff valves and supply lines.
- Turn on the faucet to both hot and cold for a few minutes.
- Watch the valves and lines while the water is running.
- After several minutes, feel the towels for any damp spots.
Test the Drain System
- Fill the sink about halfway with water and then release the drain.
- Use a flashlight to watch the P-trap and all drain connections as the water flows out.
- Check for drips, slow seepage, or water collecting on the cabinet floor.
- Run water around the edges of the sink to see if any leaks appear from the rim or faucet base.
If you see even a small drip, mark the spot with painter’s tape or take a quick photo so you can find it easily when you are ready to tighten or repair it.
Step 5: Check for Mold, Mildew, and Odors
Moisture under the sink can create a perfect environment for mold and mildew. Even if you do not see visible growth, your nose may pick up a problem.
What to Look and Smell For
- Musty odor: A damp, earthy smell that lingers even after the cabinet is dry.
- Dark spots or fuzzy patches: Black, green, or white growth on the cabinet walls, back panel, or around pipe penetrations.
- Discolored caulk or sealant: Darkened or stained areas around the sink rim or where pipes pass through the cabinet.
If the moldy area is small and on a hard, non-porous surface, many homeowners carefully clean it themselves while wearing protection. If the growth is widespread, on porous materials, or if anyone in the home has breathing issues, it is wise to consult a professional for guidance on safe cleanup.
Step 6: Evaluate Cabinet Structure and Surrounding Areas
Water damage does not always stay inside the cabinet. It can spread to the floor, wall, and adjacent cabinets. After checking the plumbing, take a closer look at the structure.
Cabinet Floor and Frame
- Press gently along the front edge and corners of the cabinet floor. Note any flexing or crumbling.
- Look underneath the cabinet (if possible) to see if the base or toe-kick shows signs of swelling or separation.
- Check the face frame and door hinges for warping or misalignment.
Kitchen Floor and Wall
- Inspect the flooring directly in front of the sink for cupping, buckling, or soft spots.
- Look at the wall behind or beside the cabinet for bubbling paint, stains, or peeling baseboards.
- If the sink is on an interior wall, check the opposite side of that wall for any discoloration.
Significant warping, sagging, or soft spots in the cabinet or floor can indicate long-term water exposure and may require more than a simple patch.
Step 7: Document the Damage
Taking a few minutes to document what you find can be very helpful, especially if you decide to file an insurance claim or hire a contractor.
How to Document Your Findings
- Take clear photos of all visible damage, including close-ups of stains, mold, and warped areas.
- Photograph the plumbing connections and any leaks you observed during the water test.
- Write down the date you discovered the damage and any changes you notice over the next few days.
- Note any musty odors or health symptoms (like increased coughing or sneezing) that seem to be related to the area.
This record can help you track whether the problem is getting worse and provide useful information to a professional if you need help.
Step 8: Decide What You Can Fix Yourself
After you complete your inspection, you can decide which tasks are realistic to handle on your own and which are better left to a professional. The right choice depends on your comfort level, tools, and the extent of the damage.
Common DIY-Friendly Tasks
- Tightening loose slip-joint nuts on drain pipes.
- Replacing worn-out washers or gaskets on easily accessible connections.
- Swapping out flexible supply lines that show minor wear (after turning off the water).
- Removing and replacing small sections of damaged cabinet bottom with a new panel or liner.
- Improving ventilation by leaving the doors open temporarily to help the area dry.
When to Consider Professional Help
- Extensive mold growth or strong, persistent musty odors.
- Severely warped or crumbling cabinet bases, walls, or surrounding flooring.
- Leaks inside the wall, under the floor, or from drain lines you cannot access easily.
- Recurring leaks that return even after you tighten or replace parts.
- Any situation involving electrical wiring or outlets that may have gotten wet.
If you are unsure, start with a consultation. A quick visit or call can help you understand the scope of the problem and possible repair options.
Step 9: Dry Out the Area Thoroughly
Whether you repair the leak yourself or hire someone, fully drying the under sink space is essential to prevent future damage and mold growth.
Drying Checklist
- Blot up any remaining moisture with towels or rags.
- Leave the cabinet doors open for several days to allow air circulation.
- Use a small fan aimed into the cabinet to speed up drying.
- If humidity is high, use a dehumidifier in the kitchen or nearby area.
- Check daily for new damp spots or odors while the area is drying.
Do not reinstall storage bins or cleaning products until you are confident the cabinet is completely dry and any leaks have been resolved.
Step 10: Protect Your Under Sink Cabinet Going Forward
Once you have addressed the immediate water damage, a few simple steps can help you prevent future problems and catch issues early.
Preventive Measures
- Install a waterproof liner: Place a rigid or flexible liner on the cabinet floor to protect the wood from minor spills and drips.
- Use storage bins: Keep cleaners and supplies in plastic bins rather than directly on the cabinet base.
- Label shutoff valves: Clearly mark hot and cold valves so anyone in the home can turn off the water quickly if a leak appears.
- Check connections regularly: Add a quick under sink inspection to your seasonal home maintenance checklist.
- Avoid overloading: Do not overload the cabinet with heavy items that can stress the base or hide leaks.
Simple Monitoring Habits
- Open the cabinet doors briefly once a week to check for dampness or odors.
- Run your hand along the back and sides of the cabinet during routine cleaning.
- Pay attention to any new sounds of dripping or changes in water pressure at the faucet.
Under Sink Water Damage Checklist Summary
Use this quick checklist to guide your inspection whenever you suspect under sink cabinet water damage:
- Clear the cabinet and protect yourself with gloves and ventilation.
- Look for stains, swelling, peeling, or soft spots on cabinet surfaces.
- Inspect supply lines, shutoff valves, and drain pipes for moisture or corrosion.
- Run water tests on both supply and drain systems while watching for drips.
- Check for mold, mildew, and musty odors inside and around the cabinet.
- Evaluate the cabinet structure, nearby flooring, and walls for warping or damage.
- Document everything with photos and notes.
- Decide what repairs you can safely handle and when to call in help.
- Dry the area completely with open doors, fans, and dehumidification.
- Add liners, storage bins, and regular inspections to prevent future issues.
Taking the time to work through this checklist can help you catch small problems before they become major repairs. With a careful inspection and a few preventive habits, you can keep the area under your sink dry, clean, and ready for everyday use.
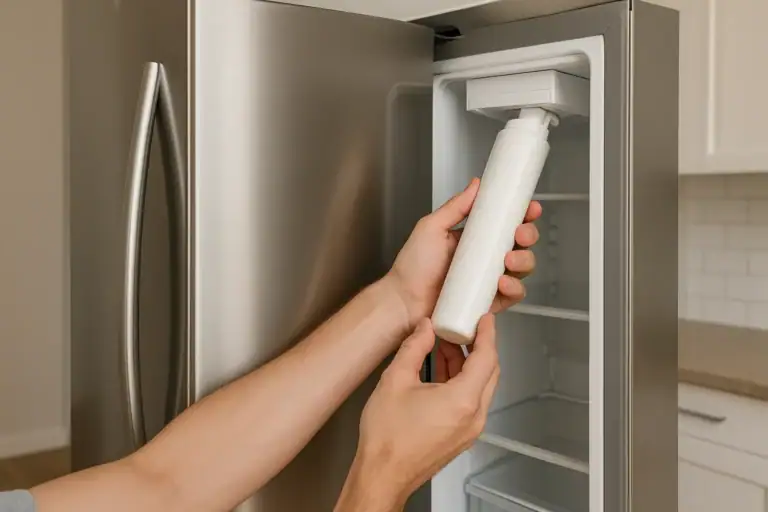 How to Safely Remove a Stuck Refrigerator Water Filter
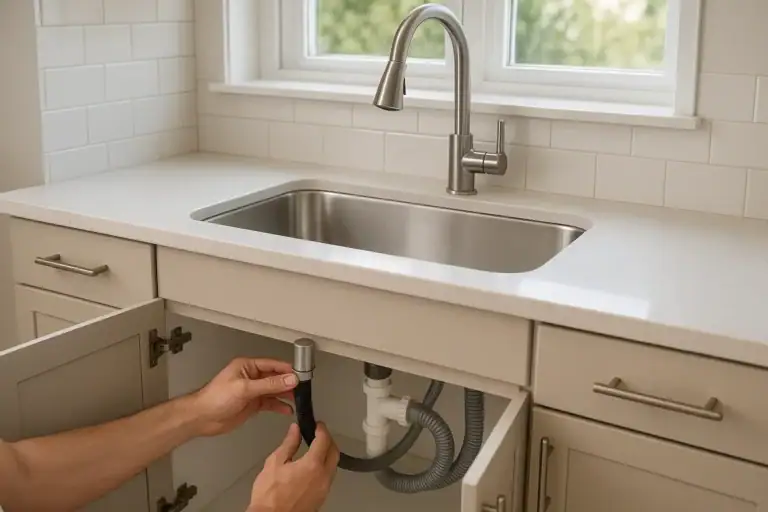 Dishwasher Air Gap Leaking: How to Find and Fix the Cause
 Condensation Inside Your Refrigerator: Causes, Fixes, and Prevention