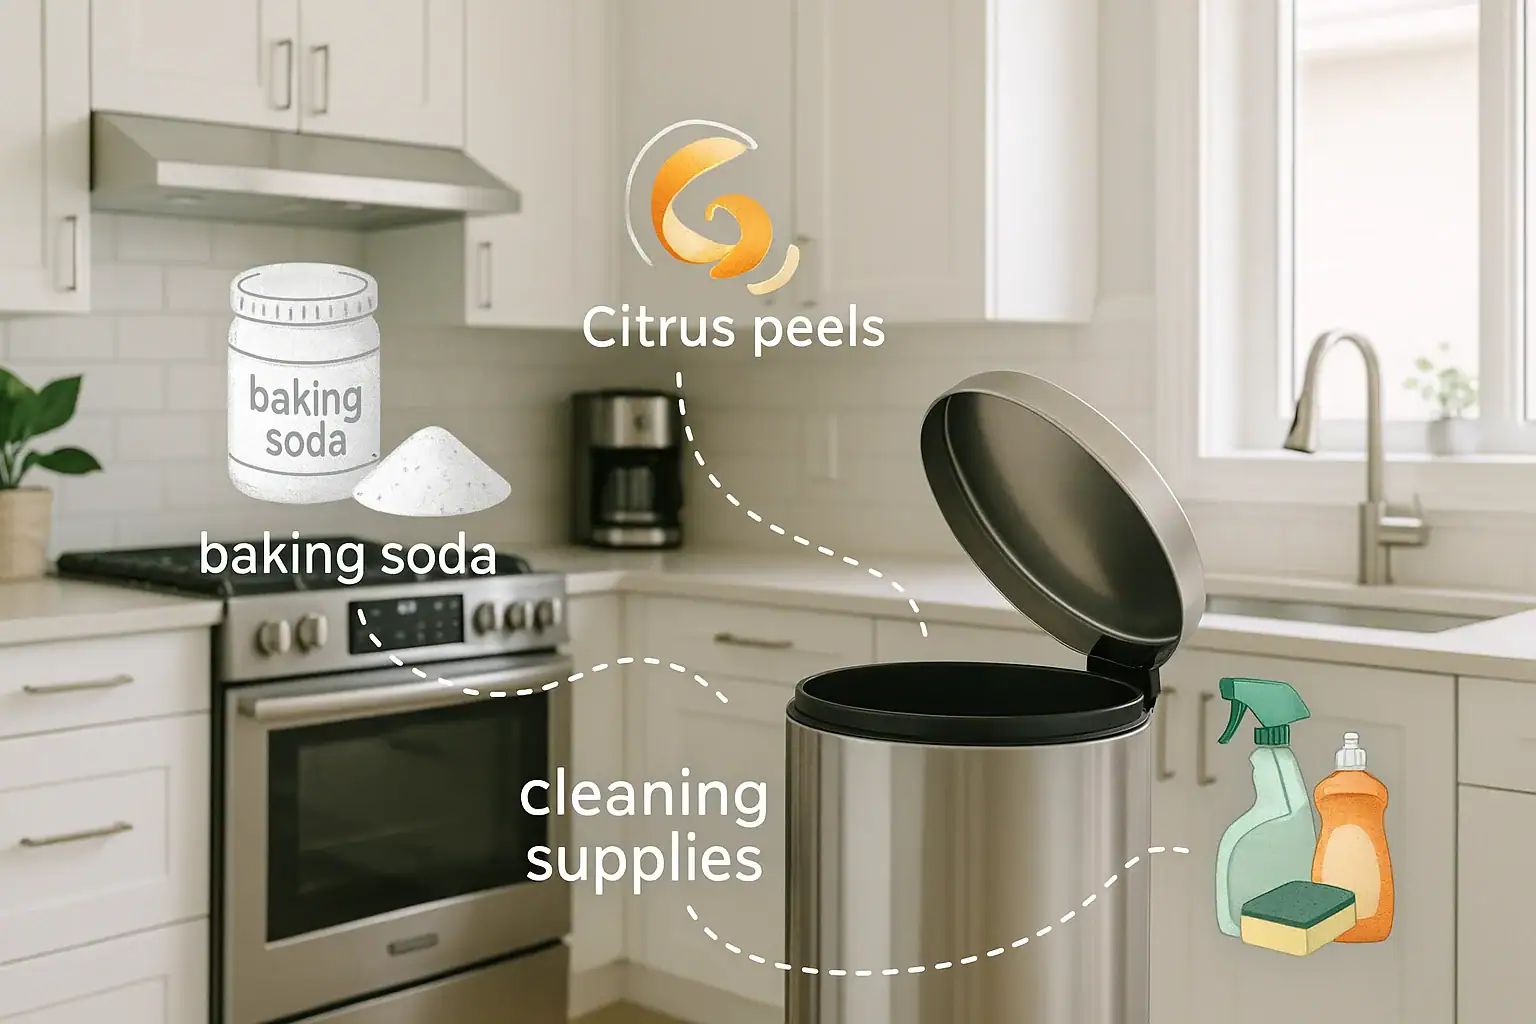
Lingering trash smells can make an otherwise clean kitchen feel dirty, even when the counters are wiped and the floors are swept. If you feel like your kitchen trash can odors come back no matter how often you take out the trash, you are not alone. Odors build up from food scraps, spills, and bacteria that hide in the liner, lid, and even tiny seams in the can itself. The good news is that you can tackle these smells with a few targeted fixes and a simple routine that fits into your normal cleaning schedule.
This guide walks through why kitchen trash cans smell, how to choose and use liners, how to keep the lid fresh, and the best cleaning and deodorizing strategies. You will also find troubleshooting tips for stubborn odors, plus a maintenance checklist you can follow weekly or monthly. With a little planning, you can keep trash under control and your kitchen smelling fresh without a lot of extra work.
Why Kitchen Trash Cans Smell So Bad
Understanding where the odor comes from helps you fix it more effectively. Kitchen trash can smells usually result from a mix of food waste, moisture, and bacteria.
Common sources of trash can odors
- Food scraps and liquids: Drips from meat, dairy, and sauces soak into the liner or pool at the bottom of the can.
- Organic waste: Fruit and vegetable peels, coffee grounds, and leftovers break down and release gases.
- Moisture: Dampness inside the can creates the perfect environment for bacteria and mold.
- Leaks and tears: A torn liner lets trash and liquids touch the can walls and seams.
- Dirty lids and rims: Food often splatters or brushes against the lid and top edge, then dries and starts to smell.
When these factors combine, odors can linger even after you take out the trash. That is why a full solution needs to address the liner, lid, and the can itself, not just what goes into the bag.
Choosing the Right Liner to Control Odors
The liner is your first line of defense against kitchen trash can odors. A good fit and the right thickness can prevent leaks, reduce cleaning time, and keep smells contained.
Get the size and fit right
A liner that is too small or too big can both lead to odor issues.
- Measure your can: Note the height, width, and capacity in gallons or liters.
- Avoid overstretching: If you have to stretch the bag tightly over the rim, it is more likely to tear.
- Prevent slipping: Oversized liners can slide down into the can, letting waste touch the walls.
Look for liners that match your can size as closely as possible. A snug but not tight fit keeps the bag in place and reduces leaks.
Pick the right thickness
Thin liners are more likely to puncture, especially with sharp items or heavy, wet food waste.
- Standard kitchen use: Choose medium or heavy duty liners to handle everyday food scraps.
- Frequent cooking: If you cook often or discard bones, shells, or heavy leftovers, opt for thicker liners.
- Check for stretching: If the bag stretches thin and looks see-through when full, upgrade to a stronger option.
How to use liners to reduce odors
Even the best liner will not help if it is not used correctly. A few small habits can make a big difference.
- Double-bag smelly items: Wrap meat scraps, seafood, or very wet leftovers in a small bag before putting them in the main liner.
- Do not overload: Take out the trash before it is overflowing so the liner does not stretch and tear.
- Tie securely: When removing the bag, twist the top and tie it tightly to trap odors inside.
- Check for leaks: If you notice drips when you take out the trash, place a spare liner or shallow tray at the bottom until you can deep clean the can.
Keeping the Lid Fresh and Functional
The lid is often the most overlooked part of the trash can, but it plays a major role in controlling smells. Odors cling to the underside of the lid and the rim where the liner rests.
Common lid problems that cause odors
- Sticky buildup: Food splatters and greasy fingerprints create a film that traps smells.
- Crumbs and residue: Small pieces of food get stuck in crevices, hinges, and seams.
- Poor closure: A lid that does not close fully lets odors escape constantly.
How to clean the lid effectively
Regular lid cleaning does not have to be complicated or time-consuming.
- Remove the liner: Take out the trash bag so you can reach the entire lid and rim.
- Wipe loose debris: Use a dry paper towel or cloth to remove crumbs and dust.
- Wash with warm soapy water: Mix mild dish soap with warm water and wipe the lid, rim, hinges, and any buttons or handles.
- Rinse and dry: Wipe again with a clean damp cloth, then dry thoroughly to prevent moisture buildup.
- Deodorize: If odors remain, wipe the underside of the lid with a solution of equal parts water and white vinegar, then dry.
Quick lid-freshening tips between deep cleans
- Wipe the rim and lid underside once a week with a disinfecting wipe or soapy cloth.
- Keep the lid open for a few minutes after taking out a very smelly bag to let the area air out.
- Check that the lid closes fully after each bag change; adjust the liner so it does not block the seal.
Deep Cleaning Your Kitchen Trash Can
Even with good liners and a clean lid, your trash can needs regular deep cleaning to remove hidden residue and bacteria. A simple wash every few weeks can dramatically reduce odors.
How often to clean your trash can
The right frequency depends on how much you cook and how quickly your trash fills up.
- Heavy use: If you cook daily and take out the trash several times a week, deep clean the can every 2 to 4 weeks.
- Moderate use: For smaller households or less cooking, aim for once every 1 to 2 months.
- After leaks: Clean immediately if a bag tears or liquids spill into the bottom of the can.
Step-by-step trash can cleaning routine
- Empty the can completely: Remove the liner and any loose debris.
- Rinse with warm water: If possible, take the can outside or to a bathtub and rinse out crumbs and residue.
- Scrub with soap: Fill a bucket with warm water and dish soap. Use a sponge or soft brush to scrub the inside, outside, bottom, and rim.
- Target seams and corners: Pay special attention to grooves, handles, and any textured areas where grime collects.
- Disinfect: After washing, spray or wipe the interior with a disinfecting solution or a mix of water and white vinegar. Let it sit for a few minutes.
- Rinse thoroughly: Rinse away any cleaner or vinegar, then shake off excess water.
- Dry completely: Wipe with a clean towel and let the can air dry. Putting a liner into a damp can can trap moisture and encourage odors.
Deodorizing Fixes: Simple Add-Ons That Help
Once your trash can is clean, a few deodorizing tricks can help prevent smells from building up again. These are easy, low-cost steps you can add to your regular routine.
Use baking soda for odor absorption
Baking soda is a classic odor absorber and works well inside trash cans.
- Sprinkle a thin layer of baking soda in the bottom of the can before adding a new liner.
- For extra protection, place a small open container or sachet of baking soda under the liner.
- Refresh the baking soda every 2 to 4 weeks, or whenever you deep clean the can.
Try simple natural deodorizers
Several household items can help neutralize smells without adding heavy fragrance.
- White vinegar: Wipe the inside of the can with diluted vinegar, then let it air dry.
- Citrus peels: Place a few dried lemon or orange peels in the bottom of the liner to add a light, fresh scent.
- Coffee grounds: Dried used coffee grounds in a small breathable pouch can help absorb odors.
When to consider scented options
Scented products can help mask odors, but they work best when combined with good cleaning habits.
- Use them after you have already cleaned and deodorized the can.
- Avoid very strong fragrances if anyone in your home is sensitive to scents.
- Replace scented inserts or pouches according to the package directions so they do not become another source of odor.
Smart Trash Habits to Prevent Odors
Daily habits matter just as much as liners and cleaners. Small changes in how you handle trash can significantly reduce kitchen odors.
Separate especially smelly waste
Some items create strong odors much faster than others.
- Wrap meat, poultry, and seafood scraps tightly in a small bag before placing them in the main trash.
- If possible, store very smelly waste in a small bag in the freezer until trash day.
- Pour leftover liquids down the sink (if appropriate) instead of into the trash bag.
Take out the trash on a schedule
Waiting until the bag is overflowing almost guarantees stronger odors.
- Choose a regular time each day or every other day to check the kitchen trash.
- Take out the trash before it is fully packed, especially in warm weather.
- Empty the trash can before leaving for a trip so smells do not build up while you are away.
Keep the area around the can clean
Odors can come from the floor and walls near the trash can, not just the can itself.
- Wipe the wall behind the trash can regularly to remove splatters.
- Sweep or vacuum under and around the can to pick up crumbs.
- Mop the floor near the trash can with a mild cleaner to remove sticky spots.
Troubleshooting Stubborn Kitchen Trash Can Odors
If you have tried liners, lid cleaning, and basic deodorizing and your trash can still smells, it is time for deeper troubleshooting. Work through these steps to track down the source.
Step 1: Check for hidden residue
- Inspect the underside of the can and any wheels or feet for dried spills.
- Look inside handles, seams, and grooves for stuck food or grime.
- Use a small brush or old toothbrush to scrub hard-to-reach areas with soapy water.
Step 2: Soak and disinfect
For persistent odors, a longer soak can help.
- Fill the can with warm water and a small amount of dish soap.
- Let it soak for 15 to 30 minutes to loosen buildup.
- Empty, scrub again, then rinse thoroughly.
- Finish with a disinfecting solution or diluted vinegar and let it air dry completely.
Step 3: Evaluate your trash routine
If the can is clean but odors return quickly, review your daily habits.
- Are you taking out the trash often enough for your household size?
- Are liquids and very smelly items going straight into the main bag?
- Is the liner tearing or slipping down, exposing the can to waste?
Step 4: Consider the can material and age
Over time, some materials can absorb odors or develop scratches that trap grime.
- If the interior is heavily scratched or stained, it may hold onto smells even after cleaning.
- If the lid no longer closes properly, odors will escape more easily.
- In some cases, replacing a very old or damaged can is the most effective long-term fix.
Simple Maintenance Checklist
To keep kitchen trash can odors under control, use this quick checklist as a reminder. You can adjust the timing to fit your household.
Every bag change
- Check the liner for tears or leaks as you remove it.
- Wipe any visible spills inside the can with a damp cloth.
- Make sure the new liner fits snugly and does not block the lid.
Once a week
- Wipe the lid, rim, and outside of the can with warm soapy water or a disinfecting wipe.
- Sprinkle a light layer of baking soda in the bottom of the can before adding a new liner.
- Sweep or vacuum the floor around the trash can.
Every 2 to 4 weeks
- Deep clean the entire trash can with warm soapy water.
- Disinfect with a suitable cleaner or diluted vinegar.
- Rinse and dry thoroughly before replacing the liner.
By combining the right liner, a clean lid, regular washing, and a few simple habits, you can keep kitchen trash can odors from taking over your space. A little attention to this often overlooked area of the kitchen pays off in a fresher, more comfortable home.
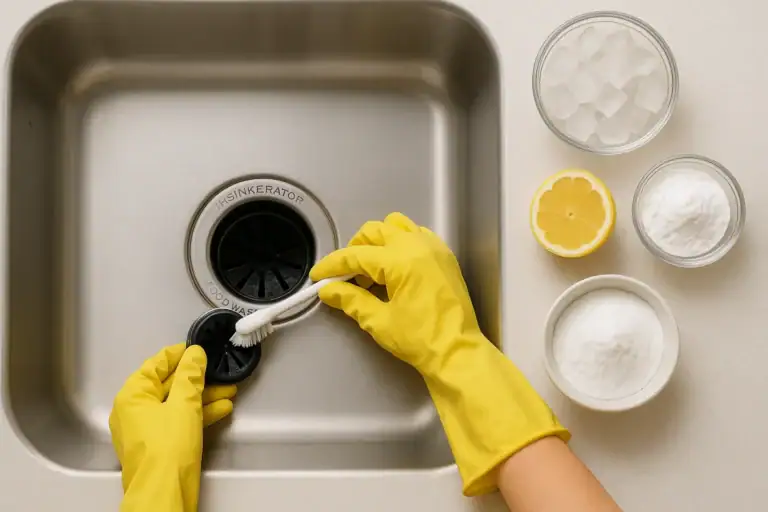 Garbage Disposal Smell Causes and a Simple Cleaning Routine That Works
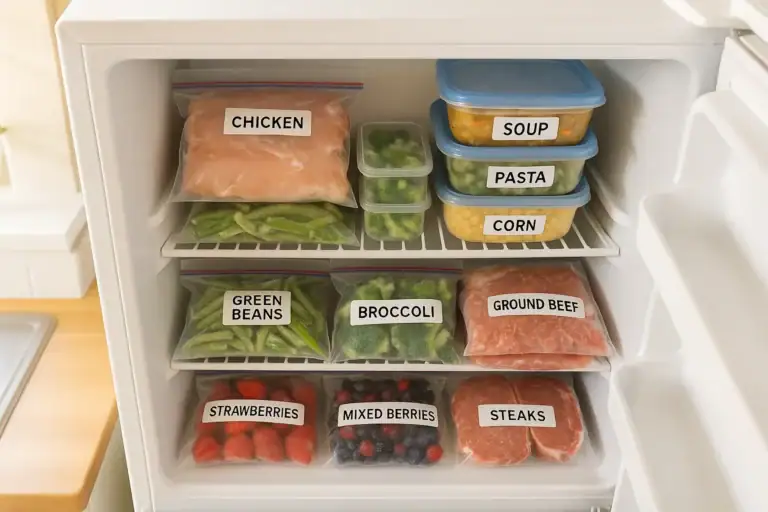 Freezer Burn Prevention: Smart Packaging and Storage Habits That Actually Work
 Wood vs Plastic Cutting Boards: Hygiene, Safety, and Care Compared