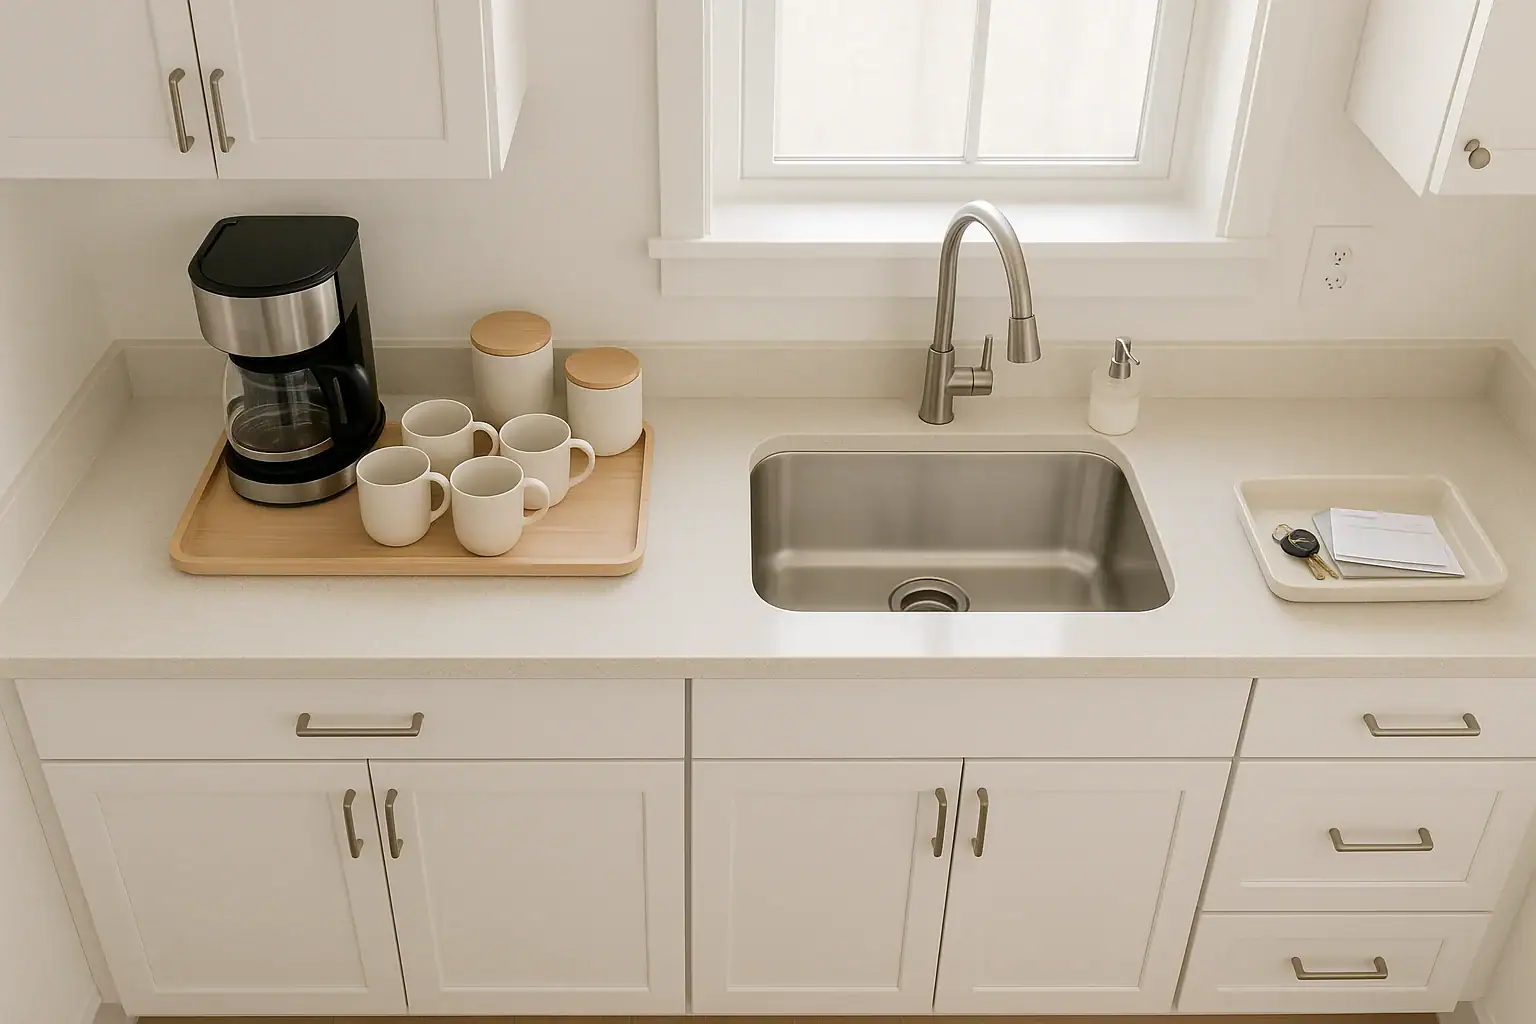
Kitchen countertops are some of the hardest working surfaces in any home. They handle meal prep, coffee making, mail sorting, homework, and everything in between. Without a plan, these surfaces quickly turn into clutter magnets, especially around coffee prep stations and everyday drop areas near the sink or entry. The good news is that a few smart organizing strategies can turn these chaotic zones into efficient, easy-to-clean workspaces that actually support your daily routines instead of fighting them.
This guide walks you through how to identify your main countertop clutter zones, set up a streamlined coffee prep station, and create a functional drop area that does not swallow your keys, mail, and gadgets. You will learn how to choose storage solutions that fit your space, what to keep out on the counter, and what should be stored away. Whether you have a compact kitchen or a large open layout, you can adapt these ideas to create calm, organized counters that make mornings smoother and cleanup faster.
Step 1: Identify Your Kitchen Countertop Clutter Zones
Before you can organize your counters, you need to understand where clutter naturally collects and why. Most kitchens share a few common clutter zones, even if the layout is different.
Common Countertop Clutter Hotspots
- Coffee prep station: Mugs, filters, sweeteners, and gadgets tend to spread out and stay out.
- Drop zone by the entry: Keys, wallets, sunglasses, and mail pile up near the door or the first open counter.
- Sink area: Sponges, soaps, dishes, water bottles, and cleaning supplies crowd the space.
- Cooking zone: Oils, spices, cutting boards, and utensils collect near the stove.
- Appliance corner: Toasters, blenders, and other small appliances dominate the surface.
Walk through your kitchen and note where items land at the end of the day. Those are your true clutter zones. Instead of fighting your habits, design organization solutions that support them. If mail always lands by the fridge, build a small mail station there. If you always make coffee by the sink, create a dedicated coffee prep area in that spot.
Step 2: Declutter Before You Organize
Organizing clutter without editing it first just rearranges the mess. A focused declutter session will make every other step easier and help you keep your counters clear long-term.
Quick Countertop Declutter Checklist
Work one counter zone at a time so you do not get overwhelmed. For each item, decide whether it truly earns a place on the counter.
- Remove everything from the countertop in that zone.
- Group like items together: coffee supplies, mail, tools, food, gadgets.
- Toss expired food, old receipts, broken tools, and duplicate gadgets.
- Relocate items that belong in another room, such as toys or office supplies.
- Ask: Do I use this daily or almost daily? If not, it can probably live in a cabinet or drawer.
Reserve your countertop space for items you use every day or multiple times a day. Seasonal appliances, extra mugs, and specialty tools can be stored in less convenient spots, freeing up prime real estate for what you reach for constantly.
Step 3: Design a Streamlined Coffee Prep Station
A dedicated coffee prep zone keeps your morning routine smooth and prevents mugs, beans, and accessories from drifting all over the kitchen. The goal is to keep everything you need within arm’s reach, without covering the entire counter.
Choose the Right Location
Pick a countertop area that makes coffee prep easy and safe:
- Close to a water source for filling carafes and rinsing mugs.
- Near an outlet for your coffee maker and grinder.
- Out of main traffic paths so people are not bumping into hot liquids.
Decide What Stays on the Counter
Limit your coffee prep station to true daily essentials. Consider keeping these items out:
- Coffee maker or kettle
- Grinder if you use it daily
- Small canister for beans or grounds
- Two to four of your most-used mugs
- A small container for spoons or stir sticks
Everything else, such as extra mugs, backup filters, and flavored syrups, can be stored in a nearby cabinet, drawer, or pantry shelf.
Use Trays and Vertical Storage
Containment is the secret to a tidy coffee zone. Instead of letting items sprawl, group them on or in organizers that define the space.
- Trays: Place your coffee maker, canister, and sweeteners on a tray. It visually shrinks the footprint and makes it easy to slide everything aside for cleaning.
- Tiered stands: Use a small tiered stand for mugs and sweeteners to take advantage of vertical space.
- Wall storage: If you are short on counter space, mount a small shelf or rail above the coffee area for mugs, filters, or spoons.
- Drawer inserts: Store pods, tea bags, or sugar packets in a nearby drawer with dividers so they do not spill onto the counter.
Keep the Coffee Zone Easy to Clean
Spills and drips are inevitable around hot drinks. Make cleanup quick so clutter does not have a chance to build up.
- Use a wipeable tray or mat under your coffee maker to catch splashes.
- Keep a small cloth or stack of napkins in a nearby drawer for quick wipe-downs.
- Once a week, clear the tray, wipe the backsplash and counter, and put everything back with intention.
Step 4: Create a Functional Drop Area That Does Not Take Over
The drop zone is where everyday items land as you walk in the door: keys, mail, phones, and bags. Without structure, this area spreads across the entire counter. A defined drop area keeps these essentials accessible but contained.
Define a Clear Drop Zone
Choose a small section of countertop near the most-used entry or near the path from the garage. Instead of banning items from this area, give them a home.
- Limit the footprint: Decide on a specific width, such as one tray or one corner, and commit to keeping everything inside that boundary.
- Use a landing tray: A shallow tray or basket can hold keys, sunglasses, and wallets so they do not spread out.
- Assign a mail spot: Use a vertical file, wall pocket, or standing sorter for incoming mail and papers.
Sort Mail and Papers Quickly
Papers are one of the biggest sources of countertop clutter. A simple sorting system prevents piles from taking over.
- Create three categories: “To pay or act on,” “To file,” and “Recycle.”
- Place a small recycling container or paper bag near the drop zone so junk mail never hits the counter.
- Use labeled folders or slots for the two remaining categories and schedule a weekly time to clear them.
Give Electronics a Home
Phones, tablets, and headphones tend to scatter across kitchen counters. A simple charging and storage setup keeps them corralled.
- Designate a small charging station on or just off the counter.
- Use a stand or organizer with slots so devices stand upright instead of lying flat.
- Limit the number of devices allowed in the drop area to what you use daily.
Step 5: Separate Wet and Dry Zones Around the Sink
The sink area is a natural clutter zone because it handles both water and kitchen cleanup. Separating wet and dry zones keeps this area more organized and sanitary.
Define the Wet Zone
The wet zone includes everything that regularly comes into contact with water.
- Faucet and sink basin
- Dish rack or drying mat
- Soap, sponge, and scrub brush
- Water filter or pitcher if you keep it by the sink
Keep these items as close to the sink as possible so water drips stay contained. Use a small caddy or tray to hold soap and sponges, and empty it regularly.
Protect the Dry Prep Area
Just beyond the wet zone, maintain a dry area for chopping, mixing, and plating food.
- Store cutting boards upright in a stand or narrow rack to save space.
- Keep only one or two most-used knives or utensils in a nearby crock; store the rest in drawers.
- Wipe this area after each use so crumbs and splashes do not invite clutter to linger.
By clearly separating where water tasks happen and where dry prep happens, you reduce the number of items that live permanently on the counter and make cleaning faster.
Step 6: Use Smart Storage to Support Clear Counters
Long-term countertop organization relies on having enough storage nearby for the items you do not want to leave out. Thoughtful use of cabinets, drawers, and wall space makes it realistic to keep surfaces clear.
Maximize Cabinet and Drawer Space
- Zone your cabinets: Store coffee supplies near the coffee station, dishes near the dishwasher, and food storage near the prep area.
- Use drawer dividers: Separate utensils, coffee pods, tea bags, and small tools so they are easy to find and put away.
- Add shelf risers: Double the usable space in cabinets for mugs, bowls, and pantry items.
- Use pull-out baskets: In lower cabinets, pull-out bins make it easier to access appliances you do not want on the counter.
Go Vertical on Walls and Backsplashes
When counter space is limited, look up. Vertical storage keeps items accessible without crowding your work surface.
- Install a rail or hooks for mugs, utensils, or small baskets.
- Mount a narrow shelf above the coffee prep zone for canisters or jars.
- Use magnetic strips or boards for notes and lists instead of paper piles.
Step 7: Set Simple Daily Habits to Keep Clutter Away
Even the best organizing systems will fail without simple habits to support them. The goal is not perfection, but a routine that keeps clutter from building up for days at a time.
Five-Minute Counter Reset Routine
Once or twice a day, do a quick reset of your main clutter zones. Set a timer if it helps you stay focused.
- Clear dishes from the sink area and load the dishwasher or wash by hand.
- Return items from the drop zone to their homes: keys on hooks, mail in folders, devices in the charging station.
- Put away coffee supplies that wandered away from the tray or drawer.
- Wipe down the coffee station and sink area to remove spills and crumbs.
- Scan for items that belong in other rooms and move them out of the kitchen.
Use Visual Limits
Visual boundaries help you notice when clutter is starting to build up again.
- Commit to keeping at least half of each main counter completely clear.
- Use trays and organizers as clear limits; when they are full, something has to go.
- Take a quick photo of your ideal setup to use as a reference when things start to drift.
Adapting These Ideas to Different Kitchen Sizes
Every kitchen is different, but the same organizing principles apply whether you have a compact galley or a large island.
For Small Kitchens
- Combine zones: Your coffee prep area and drop zone may share the same small section of counter, so rely heavily on vertical storage and wall-mounted organizers.
- Limit appliances: Keep only one or two appliances out at a time and store the rest in cabinets or on shelves.
- Use the inside of cabinet doors for hooks, small shelves, or slim organizers.
For Larger Kitchens
- Assign clear zones: Use one section of the island for coffee, another for prep, and a side counter for the drop area.
- Prevent spread: Even with more space, stick to trays and defined boundaries so clutter does not expand to fill every surface.
- Create a secondary drop spot in a mudroom or entry to reduce what lands in the kitchen.
Putting It All Together
Organizing kitchen countertop clutter zones is less about having perfect containers and more about designing spaces that match how you actually live. A focused coffee prep station keeps your morning routine smooth and contained. A defined drop area prevents keys, mail, and gadgets from taking over your counters. Clear wet and dry zones around the sink make cleanup easier and keep your work surfaces ready for cooking.
Start small by tackling one zone at a time. Declutter, choose what truly deserves a place on the counter, and use trays, vertical storage, and nearby cabinets to support your routines. With a few simple daily habits, your kitchen countertops can stay organized, functional, and ready for whatever your day brings.
If you want more ideas for improving the way your kitchen works, including how you manage water use and sink organization, explore additional tips and guides at this kitchen resource hub.
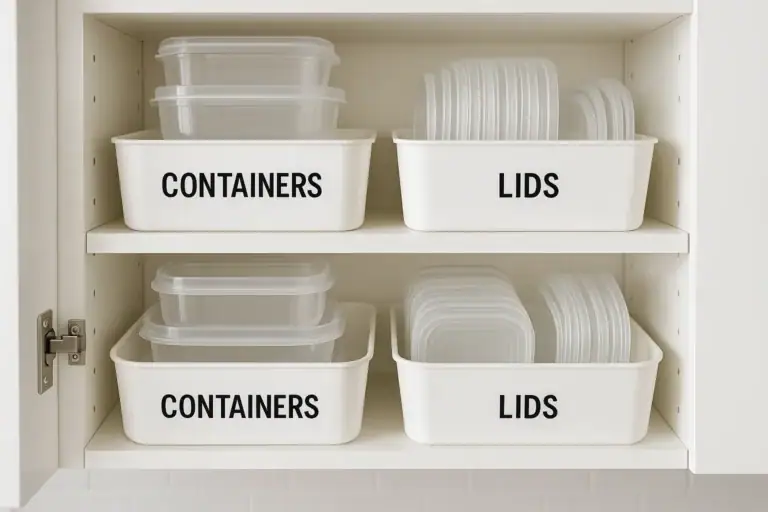 Food Storage Container Organization and Stain Removal Made Simple
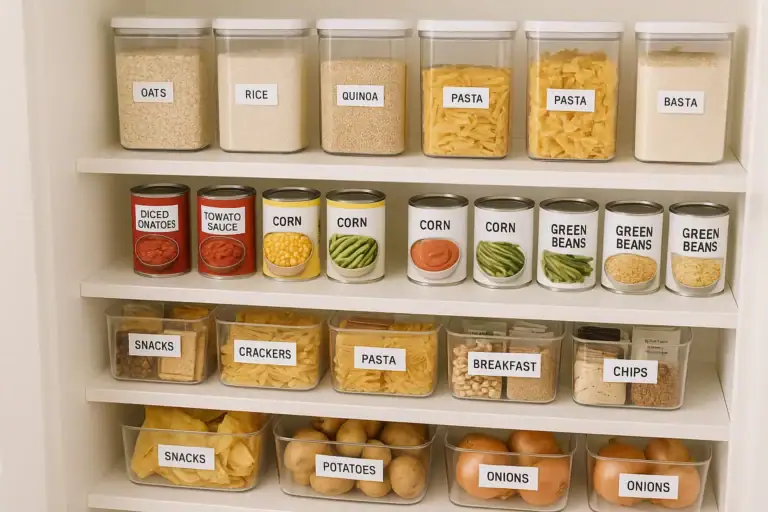 How to Set Up a Pantry Inventory System with FIFO for Busy Kitchens
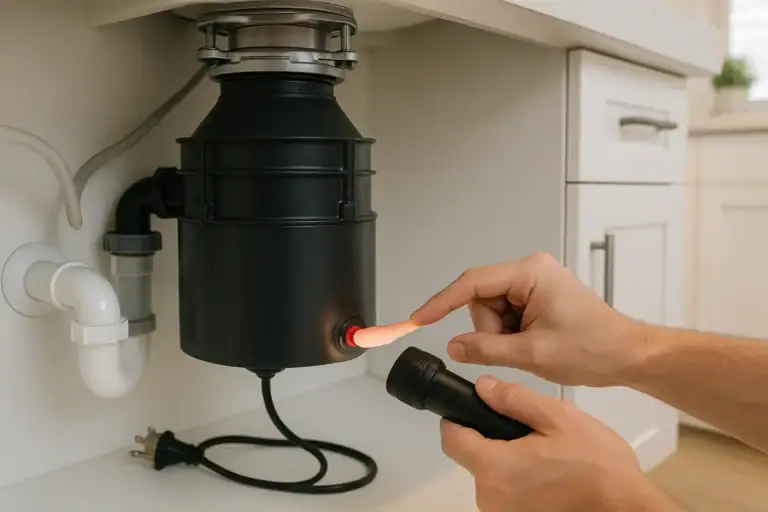 Garbage Disposal Humming but Not Spinning: Safe Reset and Fix Steps