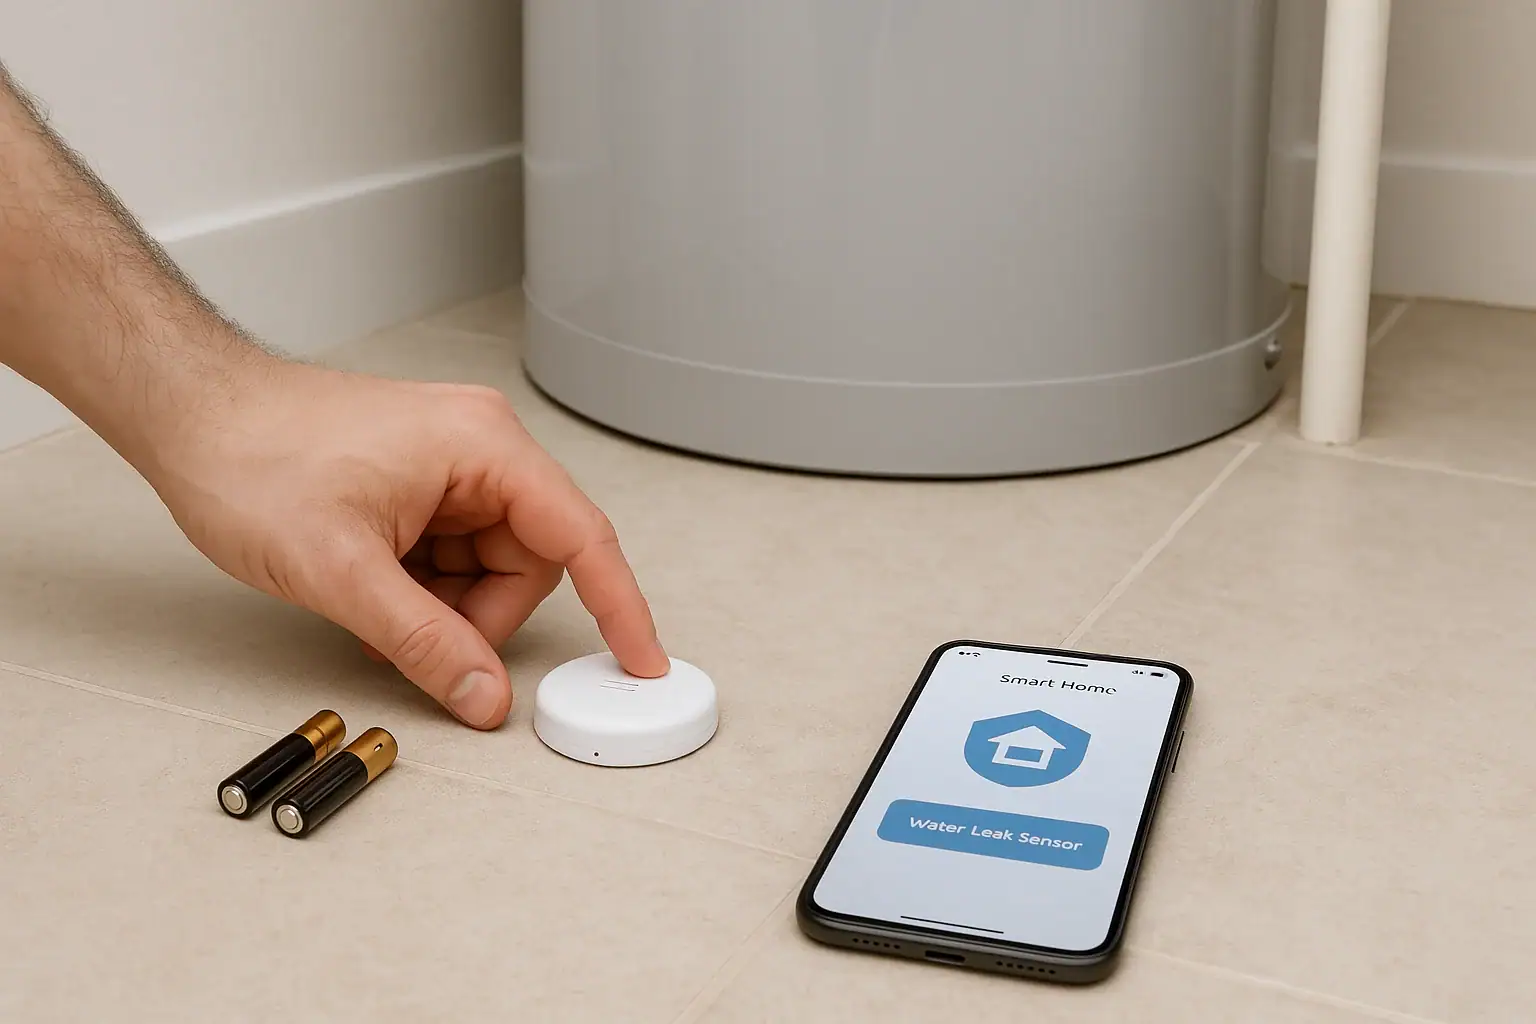
How often to test water leak sensor batteries
For most homes, a simple schedule works well:
- Test each water leak sensor once a month to confirm it still sounds an alarm or sends an alert.
- Replace batteries every 12–24 months, or sooner if the app or device shows low battery.
- Always test after any battery change and after power or Wi‑Fi outages that might affect smart sensors.
Check your specific manufacturer’s instructions and follow their timing if it differs. When in doubt, test more often, not less. A dead battery can leave you unprotected during a leak or burst pipe.
Quick monthly test checklist
Use this short routine once a month to confirm your water leak sensors and their batteries are working.
- Pick a reminder day
- Choose a consistent date, such as the first Saturday of the month or the day you pay your water bill.
- Set calendar reminders on your phone or smart speaker.
- Walk your sensor route
- List all locations with sensors: under sinks, behind toilets, near the water heater, washing machine, dishwasher, fridge, or in the basement.
- Keep this list in a note on your phone or printed near your router or electrical panel.
- Visually inspect each sensor
- Confirm the sensor is still in place and not blocked by boxes, rugs, or cleaning supplies.
- Check for obvious damage, corrosion, or standing water around the device.
- Verify indicator lights (if present) look normal according to the manual.
- Trigger a test alert
- Use the manufacturer’s test button if available.
- If there is no test button, lightly dampen a paper towel and touch it to the sensor’s contacts to simulate a small leak, then dry everything thoroughly afterward.
- Confirm the alarm sounds and/or your phone receives a notification.
- Confirm app and hub status
- Open the app or smart home hub and verify each sensor shows as online with a normal battery reading.
- Update firmware if the app recommends it, following the manufacturer’s steps.
- Log any issues
- Note sensors with weak alerts, delayed notifications, or low battery warnings.
- Plan to replace batteries or relocate sensors that are frequently wet or knocked out of place.
Battery replacement schedule checklist
Most water leak sensors use coin cells or AA/AAA batteries. A simple replacement plan helps you avoid surprise failures.
- Check manufacturer guidance
- Look up the recommended battery type and life in the manual or product app.
- Use the specified battery type; mixing types or brands in the same device can shorten life.
- Set an annual or biannual change date
- Choose a fixed date, such as the start of winter or the same weekend you change smoke alarm batteries.
- In areas with freezing risk or frequent leaks, lean toward annual replacement.
- Replace early when you see warning signs
- Low-battery notifications in the app or on the device.
- Weaker or intermittent alarms during testing.
- Sensor dropping offline from your smart hub.
- Install and dispose of batteries safely
- Match the polarity (+/−) exactly as shown inside the battery compartment.
- Keep loose batteries away from children and pets; small coin cells can be a serious swallowing hazard. The U.S. Consumer Product Safety Commission button battery safety guidance explains the risks.
- Recycle used batteries at local collection sites instead of throwing them in household trash when possible.
- Test immediately after replacement
- Trigger a test alert to confirm the sensor powers up and communicates with your phone or hub.
- Update your notes or spreadsheet with the new battery date.
Seasonal checks around leak-prone times
Some times of year put extra stress on plumbing and appliances. Add these checks to your battery test schedule:
- Before winter freezes
- Test sensors near pipes in unheated or poorly insulated spaces.
- Confirm alerts reach your phone even if you are away; frozen pipes can burst and cause major water damage.
- Before vacation or extended travel
- Test every sensor and verify remote notifications are enabled.
- Consider asking a trusted neighbor to be a backup contact for alerts.
- After plumbing work or appliance replacement
- Confirm sensors were not moved or disconnected during the work.
- Re-test sensors near new water heaters, washing machines, or dishwashers.
Simple record-keeping template
A basic log makes it easier to stay on schedule and spot patterns, especially in a larger home or rental property.
| Sensor location | Battery type | Last test date | Last battery change | Notes |
|---|---|---|---|---|
| Water heater closet | CR2032 | 2026-03-01 | 2026-01-15 | OK |
| Kitchen sink cabinet | AA | 2026-03-01 | 2025-11-10 | Low battery alert at 10 months |
You can keep this as a paper sheet, spreadsheet, or note in your smart home app. For more ways to organize and maintain connected devices, see the smart home basics in the Signature Home Guide Smart Home & Safety hub.
Coordinating with other home safety checks
Water leak sensor battery tests fit well into a broader home safety routine:
- Test smoke and carbon monoxide alarms monthly and replace batteries at least once a year, following guidance from the National Fire Protection Association smoke alarm recommendations.
- Inspect GFCI outlets near sinks and laundry areas using their test/reset buttons.
- Review your main water shutoff location so you can respond quickly if a sensor detects a leak.
If your smart home setup is complex or you manage multiple properties, a licensed plumber or qualified home technology professional can help you plan sensor placement and confirm that alerts are reaching you reliably. For additional smart home safety planning ideas, you can also refer back to the Smart Home & Safety overview at Signature Home Guide.
 Water Heater Leak Pan and Alarm Setup Checklist for a Safer Home
 Smart Lock Battery Dead? How to Create a Reliable Backup Access Plan
 Garage Door Sensor Safety Testing Checklist for a Safer Home