Ceiling fans collect a surprising amount of dust, pollen, and pet dander. If you swipe them with a dry cloth, that dust usually falls onto your furniture, bedding, or floors. The good news is you can clean ceiling fans thoroughly without creating a dust storm. With a little preparation and the right tools, you can trap the dust as you go, protect your room, and finish with a fan that looks and works like new.
On this page(click to collapse)
- Why Ceiling Fans Get So Dusty
- Safety First: Prepare Before You Clean
- Supplies You Will Need
- Method 1: Pillowcase Trick for Mess-Free Cleaning
- Method 2: Using a Long-Handled Duster
- Method 3: Deep Cleaning for Greasy or Sticky Fans
- Cleaning Light Fixtures and Glass Shades
- How Often Should You Clean a Ceiling Fan?
- Tips to Keep Dust Under Control
- When to Consider Professional Help
- Final Thoughts
- Related guides
This guide walks you through step-by-step methods to clean a ceiling fan without making a mess. You will learn how to prepare the space, which cleaning tools work best, how to safely reach high fans, and how to keep them cleaner longer. These tips work for bedroom fans, living room fans, and even kitchen fans that collect sticky buildup.
Why Ceiling Fans Get So Dusty
Ceiling fans move air around the room, and that air carries dust, pet hair, and other tiny particles. As the blades spin, they create static that attracts and holds onto that debris. Over time, a thin layer of dust turns into a thick, fuzzy coating that can fall off in clumps when disturbed.
Common reasons ceiling fans get extra dusty include:
- High placement: Because fans are near the ceiling, they are often forgotten during regular cleaning.
- Constant air movement: Fans pull in dust from across the room and trap it on the blades.
- Humidity and grease: In kitchens and bathrooms, moisture and cooking residue help dust stick more firmly.
- Pets and textiles: Pet hair and fibers from carpets, rugs, and bedding circulate and cling to blades.
Cleaning your fan regularly not only improves how it looks, but also helps reduce dust in the room and can keep your fan running more efficiently.
Safety First: Prepare Before You Clean
Before you start cleaning your ceiling fan, take a few simple safety steps. This keeps you safe and helps prevent dust from spreading around the room.
Turn Off Power and Let the Fan Stop
- Turn the fan off at the wall switch or pull chain.
- If possible, switch off the light as well so it can cool down.
- Allow the blades to come to a complete stop before touching them.
Protect Your Room From Dust
Even with careful methods, a little dust may fall. Protect surfaces so cleanup is quick and easy.
- Place an old sheet, drop cloth, or large trash bags directly under the fan.
- Move small items like lamps, picture frames, and decor away from the area.
- If you are cleaning a fan over a bed, cover the bedding with a flat sheet or lightweight blanket.
Choose a Safe Way to Reach the Fan
Never lean or stretch too far to reach a fan. Choose a stable option:
- Step stool or small ladder: For standard ceiling heights, a sturdy step stool usually works.
- Extension duster: For high or vaulted ceilings, use a long-handled duster designed for fans.
- Help from another adult: If you feel unsteady, have someone hold the ladder or assist you.
Make sure the ladder or stool is on a flat, dry surface and never stand on furniture that is not designed to support your weight.
Supplies You Will Need
You do not need special tools to clean a ceiling fan without making a mess. Many items may already be in your home.
Basic Dust-Control Cleaning Kit
- Old pillowcase (standard size works for most blades)
- Microfiber cloths or dusting cloths
- Mild all-purpose cleaner or a mix of warm water and a few drops of dish soap
- Spray bottle (optional but helpful)
- Vacuum with hose attachment (optional)
- Step stool or ladder
- Drop cloth, sheet, or large trash bags to protect floors and furniture
- Gloves if you prefer to keep your hands clean
Extra Supplies for Greasy or Sticky Fans
For kitchen fans or fans in humid rooms, you may need a little more cleaning power.
- Stronger degreasing cleaner or vinegar and water solution
- Soft sponge or non-scratch scrub pad
- Paper towels or extra rags for heavy buildup
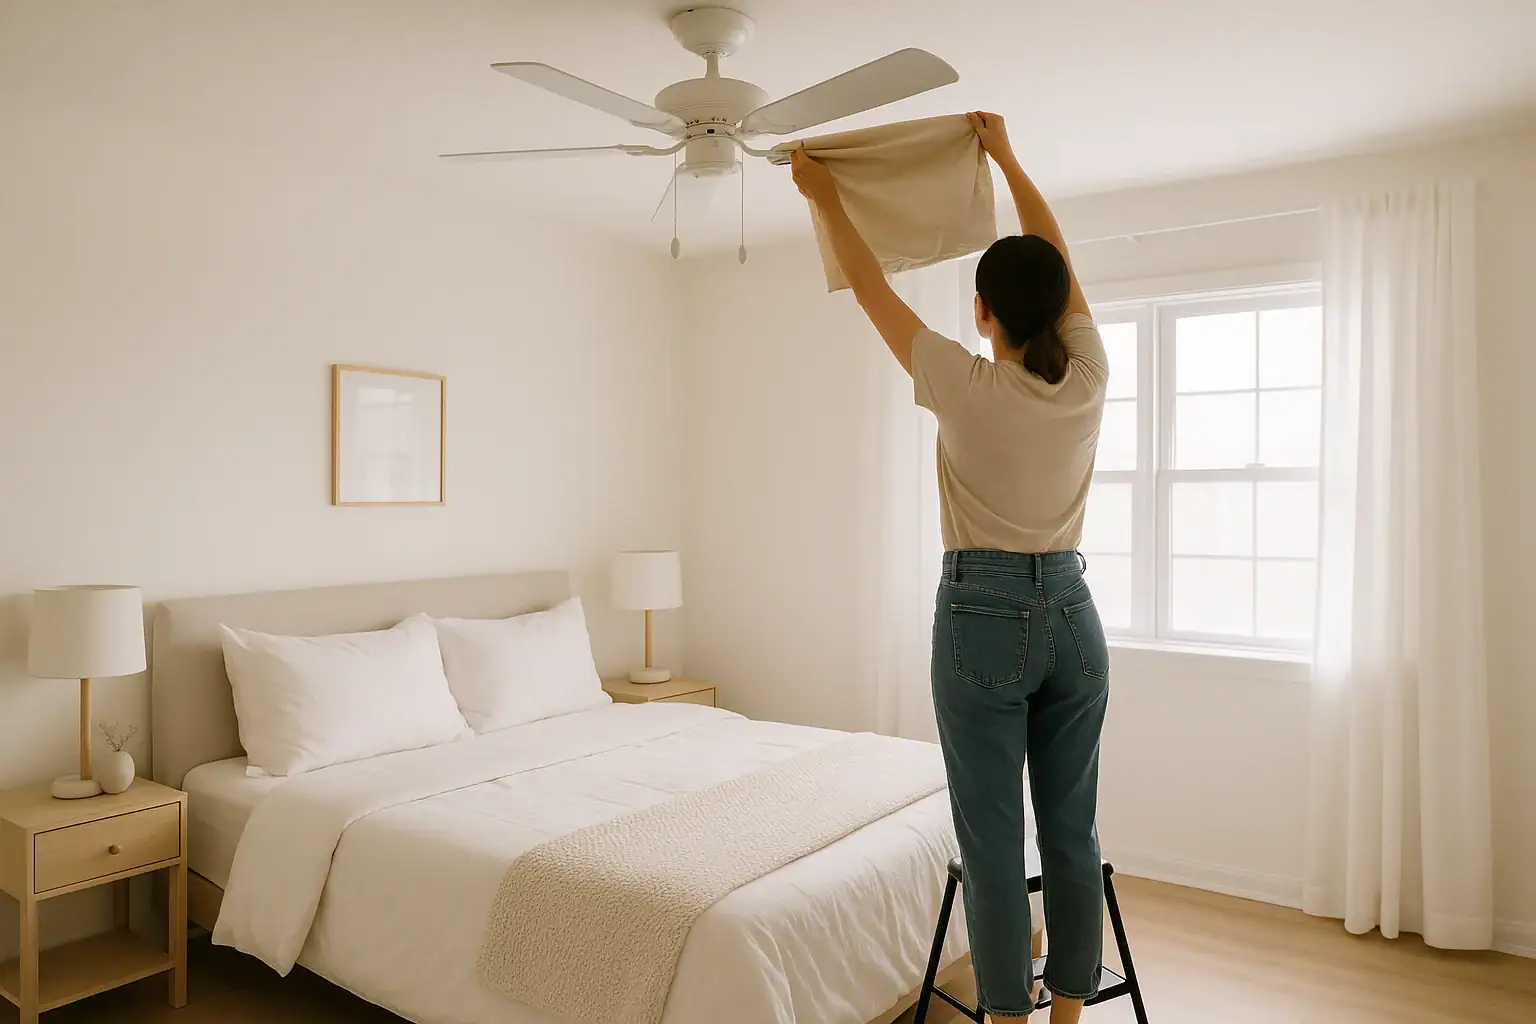
Method 1: Pillowcase Trick for Mess-Free Cleaning
The pillowcase method is one of the easiest ways to clean a ceiling fan without dust falling everywhere. The pillowcase traps dust inside as you wipe, keeping the room much cleaner.
Step-by-Step Instructions
-
Prepare the pillowcase.
Lightly mist the inside of an old pillowcase with water or a gentle cleaner. It should be slightly damp, not wet. This helps the dust stick to the fabric instead of flying into the air.
-
Slip the pillowcase over the blade.
Climb your step stool carefully. Starting with one blade, slide the open end of the pillowcase over the entire blade so the blade is inside like a hand in a glove.
-
Wipe and trap the dust.
Gently pinch the top and bottom of the pillowcase against the blade and slowly pull the pillowcase back toward you. As you pull, the dust will loosen and fall into the pillowcase instead of onto your bed or floor.
-
Repeat for each blade.
Move around the fan, cleaning each blade the same way. Shake the dust down into the bottom of the pillowcase as you go so it does not escape.
-
Finish with a detail wipe.
After all the blades have been cleaned with the pillowcase, use a slightly damp microfiber cloth to wipe the top, bottom, and edges of each blade. This removes any remaining film or streaks.
How to Empty the Pillowcase Without a Mess
When you are done, take the pillowcase outside or to a trash can.
- Hold the pillowcase closed while you carry it so dust does not escape.
- Turn it inside out directly over a trash bag or outside and shake out the dust.
- Wash the pillowcase separately in hot water if you plan to reuse it as a cleaning cloth.
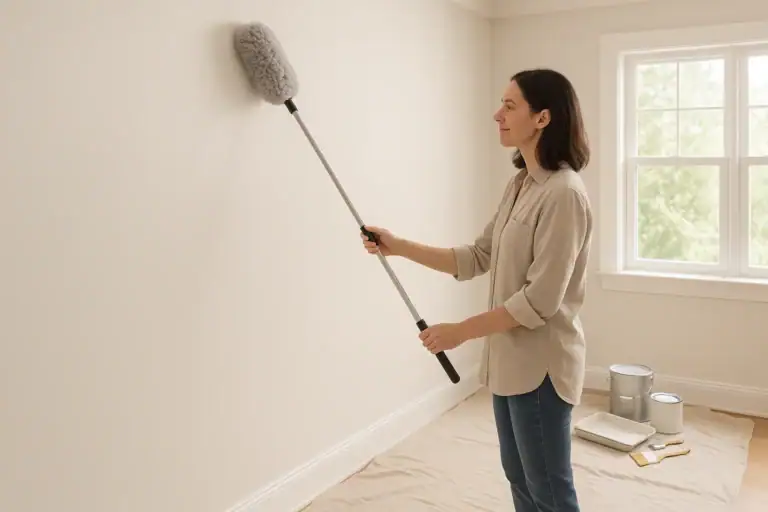
Method 2: Using a Long-Handled Duster
If your ceiling fan is very high or you do not want to climb a ladder, a long-handled duster designed for fan blades can be a good option. To avoid a mess, combine it with a few simple dust-control tricks.
Steps for High Ceiling Fans
-
Cover the area below.
Lay down a sheet or drop cloth directly under the fan. This will catch any dust that falls as you work.
-
Use a duster with microfiber or electrostatic fibers.
These materials grab dust instead of pushing it around. Avoid feather dusters, which tend to release dust into the air.
-
Dust slowly and gently.
Place the duster on top of each blade and pull it toward you with slow, controlled movements. Quick motions can send dust flying.
-
Clean both sides of each blade.
After the top is clean, angle the duster to run along the bottom of the blade as well. Some fan dusters are shaped to clean both sides at once.
-
Vacuum the dusted area.
When you are finished, carefully fold the drop cloth inward to trap dust and shake it outside. Vacuum or sweep the floor to remove any remaining dust.
Reducing Airborne Dust
If you are sensitive to dust, consider these extra steps:
- Wear a simple dust mask or face covering.
- Open a window for ventilation while you clean.
- Run an air purifier in the room after you finish to capture any floating particles.
Method 3: Deep Cleaning for Greasy or Sticky Fans
In kitchens or humid rooms, fan blades can collect a sticky layer of grease and dust that does not come off with dry dusting. A slightly stronger cleaning approach will remove this buildup without making a mess.
Mix a Gentle Cleaning Solution
Use one of these simple options in a bowl or spray bottle:
- Warm water with a few drops of dish soap
- Equal parts warm water and white vinegar
Avoid soaking the blades. Too much moisture can damage the finish or cause warping.
Deep Cleaning Steps
-
Dust first.
Use the pillowcase method or a dry microfiber cloth to remove loose dust. This prevents wet dust from turning into a paste.
-
Dampen a cloth or sponge.
Dip a microfiber cloth or soft sponge into your cleaning solution and wring it out thoroughly. It should be damp, not dripping.
-
Wipe each blade.
Support the blade with one hand while you gently wipe from the base to the tip with the damp cloth. Pay attention to any sticky spots or edges where buildup collects.
-
Dry immediately.
Follow with a dry microfiber cloth to remove moisture. This helps protect the finish and prevents streaks.
-
Clean the motor housing and pull chains.
Use a lightly damp cloth to wipe the center housing, light shades, and pull chains. Dry them right away to avoid water getting into electrical parts.
Cleaning Light Fixtures and Glass Shades
Many ceiling fans include light fixtures or glass shades that also collect dust and dead insects. Cleaning them carefully will brighten the room and help your fan look fully refreshed.
How to Clean Fan Light Shades
-
Turn off power and let bulbs cool.
Make sure the light has been off for several minutes before you touch any part of the fixture.
-
Remove glass shades if possible.
Most shades twist off or are held by small screws. Support the glass with one hand while loosening any fasteners.
-
Wash gently.
Rinse shades in warm, soapy water using a soft cloth or sponge. Avoid very hot water, which can crack some types of glass.
-
Dry completely.
Dry with a lint-free cloth and allow them to air dry fully before reinstalling.
-
Dust bulbs and hardware.
Use a dry microfiber cloth to gently wipe bulbs and metal parts. Do not spray cleaner directly on bulbs or electrical connections.
How Often Should You Clean a Ceiling Fan?
How often you clean your ceiling fan depends on your home, but a simple schedule helps prevent heavy buildup and messy cleanups.
- Every 2 to 4 weeks: Light dusting with a pillowcase or microfiber duster for fans used daily.
- Every 2 to 3 months: Deeper wipe with a damp cloth, especially in kitchens or bathrooms.
- Seasonally: Full cleaning, including blades, motor housing, and light fixtures, when you switch between summer and winter settings.
Regular light cleaning takes just a few minutes and keeps dust from building up to the point where it falls off in clumps.
Tips to Keep Dust Under Control
A few simple habits can reduce how quickly dust collects on your ceiling fans and make each cleaning easier.
- Use microfiber cloths: They grab and hold dust instead of pushing it into the air.
- Run your fan regularly: A fan that runs often can sometimes collect less heavy dust than one that sits still for long periods.
- Control dust in the room: Vacuum carpets and rugs weekly, especially if you have pets.
- Change air filters on schedule: Clean filters reduce dust circulating through your home.
- Close windows on high pollen days: This limits extra particles that can settle on fan blades.
When to Consider Professional Help
Most ceiling fans are easy to clean with the methods above, but there are times when it may be safer or more convenient to get help.
- Very high or vaulted ceilings: If you cannot reach the fan safely even with an extension duster, consider a professional cleaning service or handyman.
- Mobility or balance concerns: If climbing a ladder feels risky, ask a friend or family member for help or hire assistance.
- Extremely dirty or neglected fans: If the fan is covered in thick grease or dust and you are unsure how to handle it, a professional can clean it without damaging the fixture.
Final Thoughts
Cleaning a ceiling fan without making a mess is all about preparation and using dust-trapping methods. By protecting the area below, using a pillowcase or microfiber duster, and wiping blades with slightly damp cloths, you can keep your fan spotless while the rest of the room stays clean. Add fan cleaning to your regular home care routine, and you will spend less time dealing with heavy buildup and more time enjoying a fresher, more comfortable space.
If you are organizing your cleaning schedule, consider grouping ceiling fan cleaning with other monthly tasks, such as wiping baseboards or vacuuming vents. Small, consistent efforts go a long way toward keeping your home tidy and dust under control.
Recommended next:
Related posts
Browse this topic →
How to Organize a Hall Closet for Coats, Tools, and Everyday Items
How to Remove Dust From Walls Before Painting: A Step-by-Step Guide
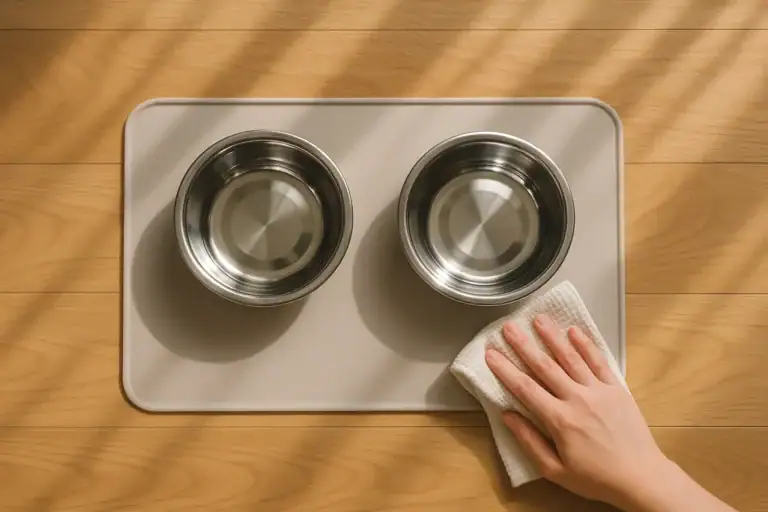
How to Clean Pet Bowls, Mats, and Feeding Areas Safely
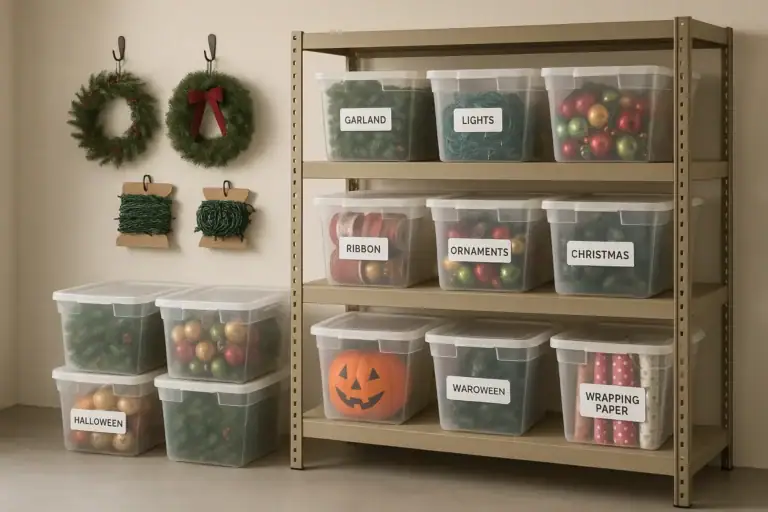
How to Store Holiday Decorations Without Adding Basement Clutter

How to Create a Toy Rotation System for Small Living Rooms

How to Clean Lampshades and Fabric Light Fixtures: A Complete Guide
Keep reading
About this site
Signature Home Guide publishes practical, independent home guides. We aim to be clear, helpful, and transparent.
Affiliate disclosure
As an Amazon Associate, we earn from qualifying purchases. Some links on this site may be affiliate links. If you buy through these links, we may earn a small commission at no extra cost to you. This helps support our content. Learn more.