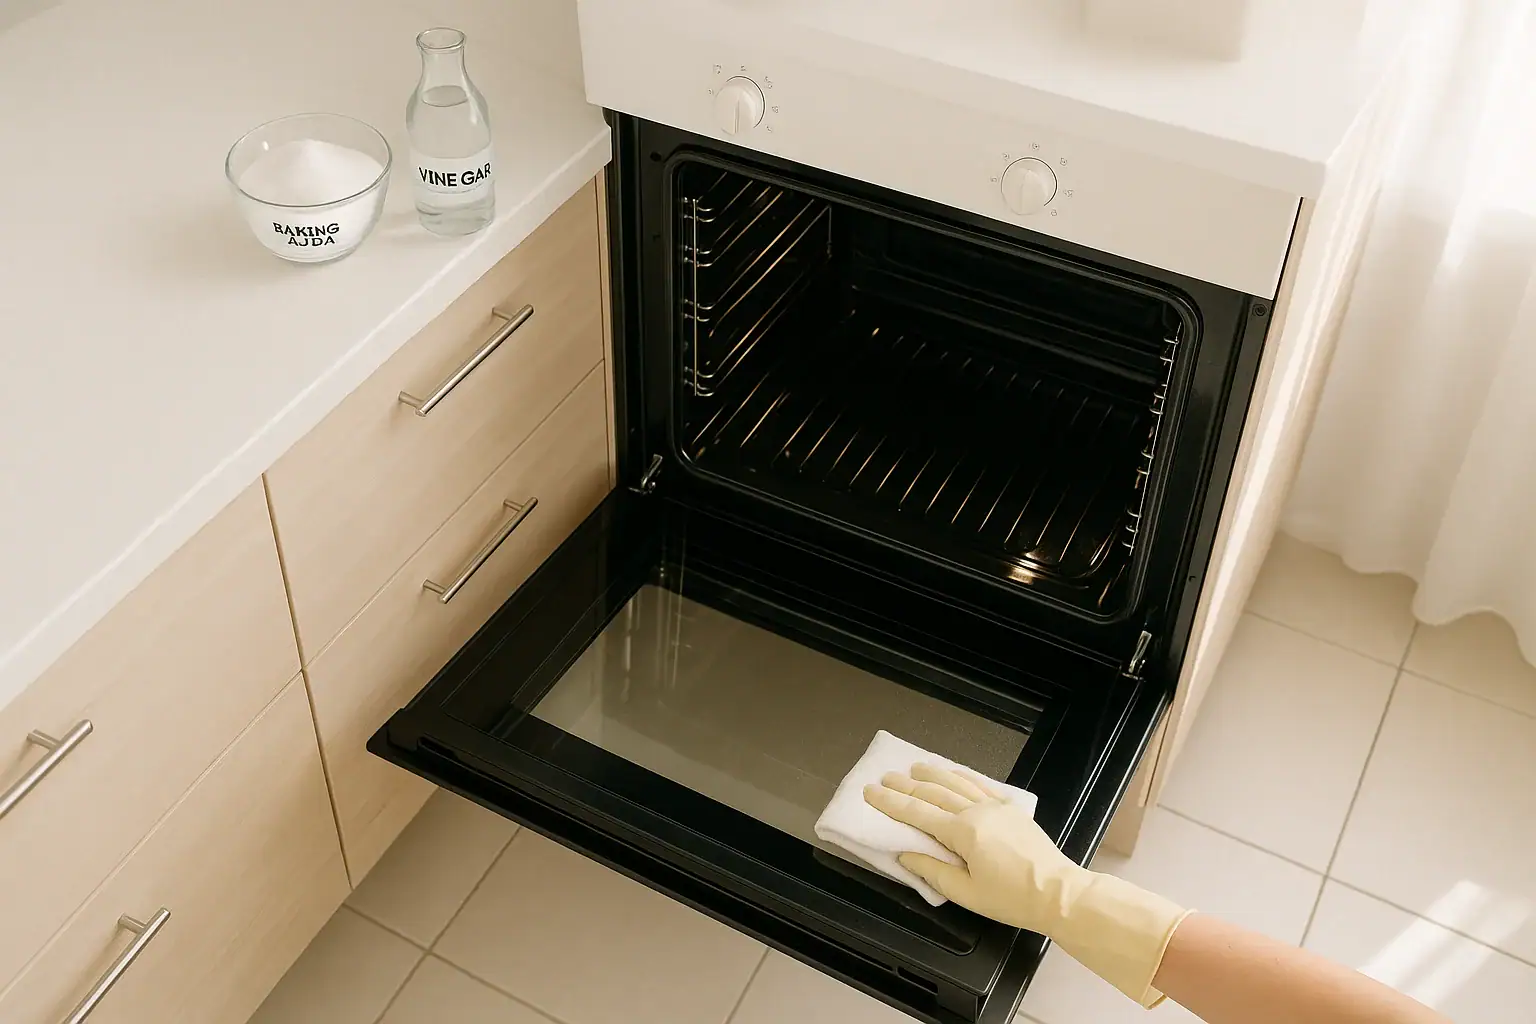
Cleaning the oven is one of those chores many people put off for as long as possible, often because they dread the harsh fumes and eye-watering sprays that come with traditional oven cleaners. The good news is you do not need strong chemical products to get a dirty oven back under control. With a bit of time, the right tools, and some basic pantry ingredients, you can remove baked-on grease and food splatters without filling your kitchen with irritating odors.
On this page(click to collapse)
- Why Avoid Fume-Heavy Oven Cleaners?
- Before You Start: Safety and Prep
- Core Method: Fume-Free Baking Soda Paste
- Step-by-Step: Wiping and Rinsing the Oven
- How to Clean Oven Racks Without Strong Fumes
- Cleaning the Oven Door and Glass Safely
- Low-Fume Options for Self-Cleaning Ovens
- Quick Maintenance: Keep Your Oven Cleaner, Longer
- When to Deep Clean and When to Spot Clean
- Final Thoughts: A Cleaner Oven Without Harsh Fumes
- Related guides
This guide walks you through how to clean an oven without toxic fumes, using safe options that still work hard on grime. You will learn how to prep the oven, mix a simple cleaning paste, tackle the racks and glass, and maintain a cleaner oven week to week. These methods are ideal if you have kids, pets, or anyone with sensitivities at home, or if you simply prefer a low-tox, fresh-smelling kitchen.
Why Avoid Fume-Heavy Oven Cleaners?
Traditional oven cleaners are designed to dissolve heavy grease quickly, but they can come with trade-offs. Many contain strong solvents and fragrances that create powerful fumes, especially in a small, enclosed space like an oven cavity.
Common concerns with harsh oven cleaners
- Strong odors: Fumes can linger in the kitchen and nearby rooms long after cleaning.
- Eye and throat irritation: Vapors may irritate eyes, nose, and throat, especially in people with allergies or asthma.
- Skin sensitivity: Some formulas can irritate skin on contact if you are not wearing proper protection.
- Ventilation needs: Many labels recommend open windows and fans, which is not always practical in extreme weather.
By switching to low-fume methods, you trade a bit of speed for a more comfortable and gentle cleaning experience. The steps in this guide focus on slow, steady loosening of grime rather than fast chemical action.
Before You Start: Safety and Prep
Even when you are avoiding harsh chemicals, oven cleaning still involves heat, grease, and tight spaces. A few minutes of preparation will make the process smoother and safer.
Gather your tools and supplies
For a fume-free oven cleaning session, collect the following:
- Rubber or latex gloves
- Old dish towels or rags
- Non-scratch scrub pads or sponges
- Soft-bristled brush or old toothbrush
- Plastic scraper or old plastic spatula
- Spray bottle filled with water
- Measuring cups and small bowl
- Baking soda
- White vinegar
- Optional: coarse salt for extra scrubbing power
Turn off and cool the oven
Always start with a completely cool oven. Turn the appliance off and, if it has been used recently, allow it to cool fully before you begin. Never apply cleaning paste or water to hot glass or metal; sudden temperature changes can damage surfaces.
Remove racks and loose debris
- Pull out the oven racks and set them aside for separate cleaning.
- Use a dry cloth or paper towel to wipe out loose crumbs and burnt bits from the bottom of the oven.
- If there is a removable bottom panel, lift it out and shake debris into the trash before replacing it.
This quick step makes your cleaning paste more effective because it can focus on stuck-on grime instead of loose crumbs.
Core Method: Fume-Free Baking Soda Paste
Baking soda is the foundation of many low-tox cleaning routines. It is mildly abrasive, helps break down grease, and does not produce irritating fumes. Used as a paste, it can cling to oven walls and floors to soften baked-on messes.
How to mix a simple oven cleaning paste
- Add about 1/2 cup of baking soda to a small bowl.
- Slowly stir in warm water, a tablespoon at a time, until you reach a spreadable, thick paste. It should be similar to the texture of frosting.
- Optional: add 1–2 tablespoons of coarse salt for extra scrubbing power on very greasy areas.
Applying the paste inside the oven
- Put on gloves to keep your hands clean and protect against grease.
- Use your fingers or a small spatula to spread the paste over the interior surfaces of the oven, focusing on:
- The bottom where spills collect
- The back wall and corners
- Areas with visible brown or black buildup
- Avoid coating the heating elements or gas openings. If you accidentally get paste on them, wipe it off with a damp cloth.
- For the oven door interior, apply a thinner layer of paste, staying clear of vents and seals.
Letting the paste work
The key to fume-free cleaning is time, not harsh chemicals. Once the paste is applied:
- Let it sit for at least 8–12 hours, or overnight if possible.
- Keep the oven door closed during this time to prevent pets or kids from touching the paste.
- If the paste dries out in very dry climates, lightly mist it with water to keep it slightly damp.
During this resting period, the baking soda helps loosen stubborn grime so it can be removed with gentle scrubbing instead of strong chemicals.
Step-by-Step: Wiping and Rinsing the Oven
Once the baking soda paste has had time to work, you are ready to remove it along with the loosened grease and residue.
Scrape and wipe out residue
- Use a plastic scraper or old plastic spatula to gently lift off thick, softened patches of grime.
- Wipe the loosened material into a dustpan or directly into the trash to avoid clogging your sink.
- Follow with a damp cloth or sponge to pick up remaining paste, rinsing the cloth frequently in warm water.
Use vinegar for a fume-free final rinse
Vinegar reacts with leftover baking soda, helping to lift residue and leave a cleaner surface.
- Fill a spray bottle with equal parts white vinegar and water.
- Lightly spray the interior surfaces where you still see a white film from the baking soda.
- Allow it to fizz for a minute or two, then wipe with a clean, damp cloth.
- Repeat until no powdery residue remains and surfaces feel smooth to the touch.
Dry the oven
- Use a dry towel or cloth to remove excess moisture.
- Leave the oven door slightly open for an hour or so to air dry completely.
Once dry, your oven is ready for use again, without lingering chemical odors.
How to Clean Oven Racks Without Strong Fumes
Oven racks collect drips and splatters that can burn onto the metal. Instead of using heavy sprays, you can soak them to loosen grime and then scrub gently.
Soaking method for oven racks
- Lay an old towel in the bottom of a bathtub or large plastic tub to protect the surface from scratches.
- Place the oven racks on top of the towel.
- Fill the tub with very warm water until the racks are fully submerged.
- Sprinkle 1–2 cups of baking soda over the racks, spreading it as evenly as possible.
- Optional: add a small amount of gentle dish soap to help cut grease.
- Let the racks soak for at least 4 hours, or overnight for heavy buildup.
Scrub and rinse
- After soaking, use a non-scratch scrub pad or brush to scrub each rack.
- Focus on corners and the underside of the bars where grease tends to cling.
- Rinse thoroughly with warm water until all residue is gone.
- Dry completely with a towel or allow to air dry before placing back in the oven.
Cleaning the Oven Door and Glass Safely
The oven door, especially the glass panel, can become cloudy with baked-on splatters. You can restore clarity using the same low-fume ingredients you used inside the oven.
Exterior door and handle
- Wipe the exterior surface with a damp cloth to remove loose dust and crumbs.
- Spray a mix of vinegar and water onto the door and handle.
- Wipe with a soft cloth, following up with a dry cloth to prevent streaks.
Interior glass panel
- Make a thinner paste of baking soda and water, easy to spread but not runny.
- Spread the paste over the glass, avoiding seals and edges where it could seep into the door.
- Let sit for 20–30 minutes to soften baked-on spots.
- Use a damp sponge or cloth to wipe away the paste, applying light pressure on stubborn areas.
- For any remaining streaks, spray with diluted vinegar and buff with a microfiber cloth.
If your oven door has crumbs trapped between glass panels, check your manual for instructions. Some doors can be partially disassembled for deeper cleaning, but always follow the manufacturer’s guidance for safety.
Low-Fume Options for Self-Cleaning Ovens
Many modern ovens have a self-cleaning cycle that uses very high heat to burn off residue. While this does not involve spray cleaners, it can still produce smoke and strong odors if the oven is heavily soiled.
Tips for using self-clean mode more comfortably
- Pre-clean first: Remove large spills and loose debris with a damp cloth before starting the cycle.
- Ventilate: Open a window or run a vent fan if possible to help clear any smoke or smell.
- Stay nearby: Remain at home during the cycle in case you need to stop it or address smoke.
- Allow time to cool: The oven will be extremely hot after the cycle, so wait until it is fully cool before wiping out ash.
If you are very sensitive to heat-related odors or have concerns about running self-clean, you can skip this feature and rely on the baking soda method instead.
Quick Maintenance: Keep Your Oven Cleaner, Longer
The easiest way to avoid heavy scrubbing sessions is to prevent buildup in the first place. A few simple habits can make future cleanings faster and gentler.
Simple habits that reduce grime
- Use a baking sheet under casseroles and pies: Catch drips before they hit the oven floor.
- Cover messy dishes loosely: Use lids or foil to reduce splatters without blocking airflow.
- Wipe small spills quickly: Once the oven is cool, wipe fresh spills with a damp cloth before they bake on.
- Do a light monthly clean: Even a quick wipe with baking soda and water once a month can prevent heavy buildup.
Monthly light-clean routine
- Remove racks and wipe out loose crumbs.
- Sprinkle a thin layer of baking soda on the bottom of the oven.
- Mist with water until slightly damp and let sit for 30–60 minutes.
- Wipe clean with a damp cloth, then do a quick vinegar-and-water rinse.
- Wipe the door glass with vinegar and dry with a soft cloth.
This short routine helps maintain a cleaner oven so you only need a deep, overnight paste treatment a few times a year, even if you cook frequently.
When to Deep Clean and When to Spot Clean
Not every mess calls for a full overnight treatment. Knowing when to spot clean versus deep clean saves time and keeps your kitchen routine manageable.
Spot clean when:
- A single dish has bubbled over and left a fresh spill.
- You see a new splatter on the door glass.
- There is a light burnt smell but no visible heavy buildup.
Deep clean when:
- The oven walls and floor are coated in brown or black residue.
- Smoke appears regularly when you preheat or bake.
- You notice a persistent burnt odor even when cooking mild foods.
As a general guideline, many households benefit from a thorough, fume-free deep clean every three to six months, depending on how often the oven is used.
Final Thoughts: A Cleaner Oven Without Harsh Fumes
Learning how to clean an oven without toxic fumes gives you more control over your home environment. With simple ingredients like baking soda and vinegar, plus a bit of patience, you can cut through heavy grease and baked-on spills without relying on strong chemical sprays.
By combining regular light maintenance with occasional deep cleaning, you will spend less time scrubbing and more time enjoying your kitchen. The methods in this guide are flexible, budget-friendly, and easy to adapt to almost any oven, making it simpler to keep this hardworking appliance fresh, functional, and ready for your next meal.
If you are building a more organized, low-fume cleaning routine throughout your home, consider creating a simple schedule for kitchen tasks, including the oven, so nothing gets overwhelming again.
Recommended next:
Related posts
Browse this topic →
How to Organize a Hall Closet for Coats, Tools, and Everyday Items

How to Remove Dust From Walls Before Painting: A Step-by-Step Guide
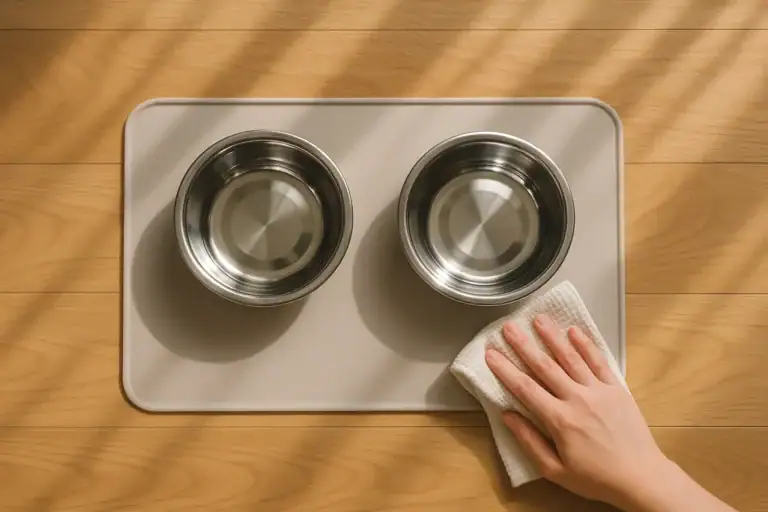
How to Clean Pet Bowls, Mats, and Feeding Areas Safely
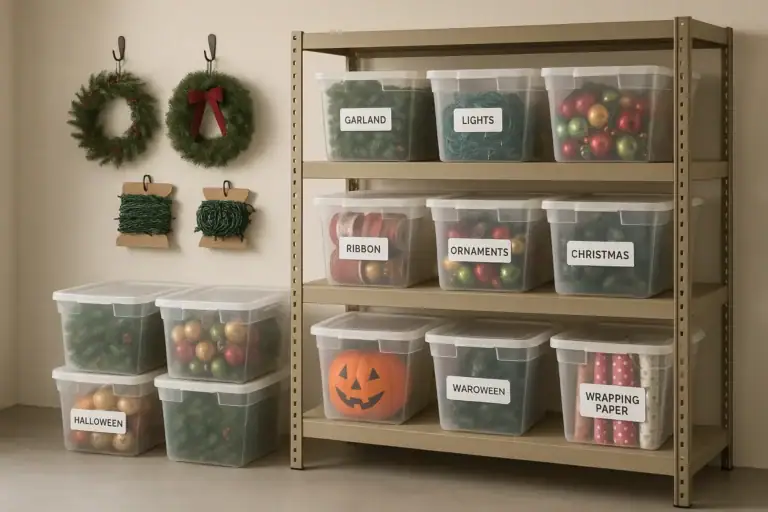
How to Store Holiday Decorations Without Adding Basement Clutter

How to Create a Toy Rotation System for Small Living Rooms

How to Clean Lampshades and Fabric Light Fixtures: A Complete Guide
Keep reading


About this site
Signature Home Guide publishes practical, independent home guides. We aim to be clear, helpful, and transparent.
Affiliate disclosure
As an Amazon Associate, we earn from qualifying purchases. Some links on this site may be affiliate links. If you buy through these links, we may earn a small commission at no extra cost to you. This helps support our content. Learn more.