A clean refrigerator is one of the most important parts of a safe, healthy kitchen. It is where you store fresh produce, leftovers, and everyday essentials, so any spills, leaks, or forgotten items can quickly turn into odors, stains, and potential food safety issues. The good news is that you do not need harsh chemicals or complicated tools to get your fridge sparkling clean. With a simple, food-safe method and a bit of organization, you can deep clean the inside and outside of your refrigerator, reduce waste, and make it easier to find what you need.
On this page(click to collapse)
- How Often Should You Clean Your Refrigerator?
- Food-Safe Cleaning Supplies and Tools
- Step 1: Prepare Your Refrigerator for Cleaning
- Step 2: Empty and Declutter the Refrigerator
- Step 3: Wash Shelves, Drawers, and Bins
- Step 4: Clean the Inside of the Refrigerator
- Step 5: Clean the Freezer the Food-Safe Way
- Step 6: Clean the Outside of the Refrigerator
- Step 7: Put Everything Back and Organize for Food Safety
- Food-Safe Refrigerator Cleaning Tips and Safety Reminders
- When to Do a Full Deep Clean vs. a Quick Refresh
- Related guides
This guide walks you step by step through how to clean a refrigerator inside and out using gentle, food-safe ingredients. You will learn how often to clean, what to toss, what to keep, and how to put everything back in a way that keeps food fresher for longer. Use these steps for a full deep clean or a quick refresh whenever your fridge needs attention.
How Often Should You Clean Your Refrigerator?
The frequency of cleaning depends on how much you cook at home, how many people live in your household, and how often you shop for groceries. As a general guideline:
- Quick wipe-down: Once a week to catch drips, crumbs, and small spills.
- Deep clean: Every 3 months, or more often if you notice odors or sticky shelves.
- Door seals and handles: Every 1–2 weeks, since these areas collect fingerprints, grime, and bacteria.
Any time you have a major spill, leaking container, or spoiled food, clean the affected area right away using the same food-safe method described below.
Food-Safe Cleaning Supplies and Tools
You can safely clean your refrigerator using simple supplies you may already have at home. Avoid harsh chemicals, strong fragrances, or anything that could leave residue near your food.
Food-Safe Cleaners
- Warm water for general wiping and rinsing
- Mild dish soap to cut grease and sticky residue
- White vinegar for deodorizing and cutting through mineral deposits
- Baking soda as a gentle scrub for stubborn spots and odors
These ingredients are safe to use around food surfaces when properly diluted and wiped away. Always rinse or wipe with clean water after using soap or vinegar so no taste or film remains.
Helpful Tools
- Soft microfiber cloths or clean rags
- Non-scratch sponge
- Old toothbrush or small soft brush for crevices
- Bowl or bucket for mixing cleaning solution
- Small trash bag for expired food
- Cooler with ice packs (optional) for keeping food cold during a longer deep clean
Gather everything before you start so you can work quickly and keep food out of the fridge for the shortest time possible.
Step 1: Prepare Your Refrigerator for Cleaning
Before you start scrubbing, take a few minutes to set things up so the process goes smoothly and safely.
Adjust the Temperature and Power
- Turn the temperature setting slightly warmer if you expect the door to be open for a while. This reduces strain on the motor.
- For a quick clean, you can leave the refrigerator running and simply work with the door open in short intervals.
- For a full deep clean, you may unplug the refrigerator entirely, especially if you will be pulling it away from the wall to clean behind it.
If you unplug the refrigerator, limit the time the door is open and keep perishable foods in a cooler with ice packs while you work.
Clear a Space for Sorting Food
Use your kitchen counter or table as a temporary staging area. Wipe it down first, then set out a few sections:
- Items to keep and return
- Items that are questionable and need checking
- Items to discard (expired or spoiled)
Having a system makes it easier to declutter and prevents you from putting old or questionable food back into a clean fridge.
Step 2: Empty and Declutter the Refrigerator
Work shelf by shelf to keep food from sitting out too long and to stay organized.
Sort Food as You Remove It
- Group similar items together, such as condiments, dairy, leftovers, and produce.
- Check dates on jars, dressings, and sauces. Discard anything past its safe use or that looks or smells off.
- Look for signs of spoilage: mold, off odors, bulging containers, or separation in liquids that should be uniform.
- Set aside containers that need to be washed before reuse.
When in doubt, it is safer to throw questionable food away than risk foodborne illness.
Remove Shelves and Drawers
Once a section is empty, carefully slide out removable shelves, bins, and drawers. Most refrigerator parts are designed to come out for cleaning, but if you feel resistance, check for tabs or locks rather than forcing them.
Let glass shelves come to room temperature before washing them in warm water to avoid cracking from sudden temperature changes.
Step 3: Wash Shelves, Drawers, and Bins
Cleaning removable parts in the sink is often easier than trying to scrub them while they are still in the refrigerator.
Make a Food-Safe Cleaning Solution
In a sink or large basin, mix:
- Warm water
- A few drops of mild dish soap
For extra deodorizing power, you can add a small splash of white vinegar. This helps cut through residue while staying food-safe when rinsed well.
Wash and Rinse Thoroughly
- Use a soft sponge or cloth to wash shelves, drawers, and door bins.
- For sticky spots, sprinkle a little baking soda on the sponge as a gentle scrub.
- Rinse each piece with clean water to remove soap and vinegar.
- Dry completely with a clean towel or allow to air-dry on a rack.
Make sure everything is fully dry before putting it back in the refrigerator to prevent moisture buildup and odors.
Step 4: Clean the Inside of the Refrigerator
With the shelves and drawers removed, you can easily reach all the interior surfaces.
Wipe Down Walls, Floor, and Ceiling
Prepare a bowl of warm water mixed with a small amount of mild dish soap. Dip a microfiber cloth into the solution, wring it out well, and wipe:
- Side walls and back wall
- Top interior ceiling
- Bottom floor of the fridge
- Fixed parts that cannot be removed
Rinse the cloth frequently and change the water if it becomes dirty. Follow up with a clean cloth dampened with plain water to remove any soap film.
Use Vinegar or Baking Soda for Stubborn Spots
- For dried spills: Soak a cloth in warm water and lay it over the spot for a few minutes to soften it, then wipe.
- For sticky residue: Make a paste of baking soda and water, apply gently with a cloth or soft brush, and rinse.
- For lingering odors: Wipe surfaces with a mix of equal parts white vinegar and water, then follow with a plain water wipe.
Avoid abrasive pads or sharp tools that can scratch the interior surfaces.
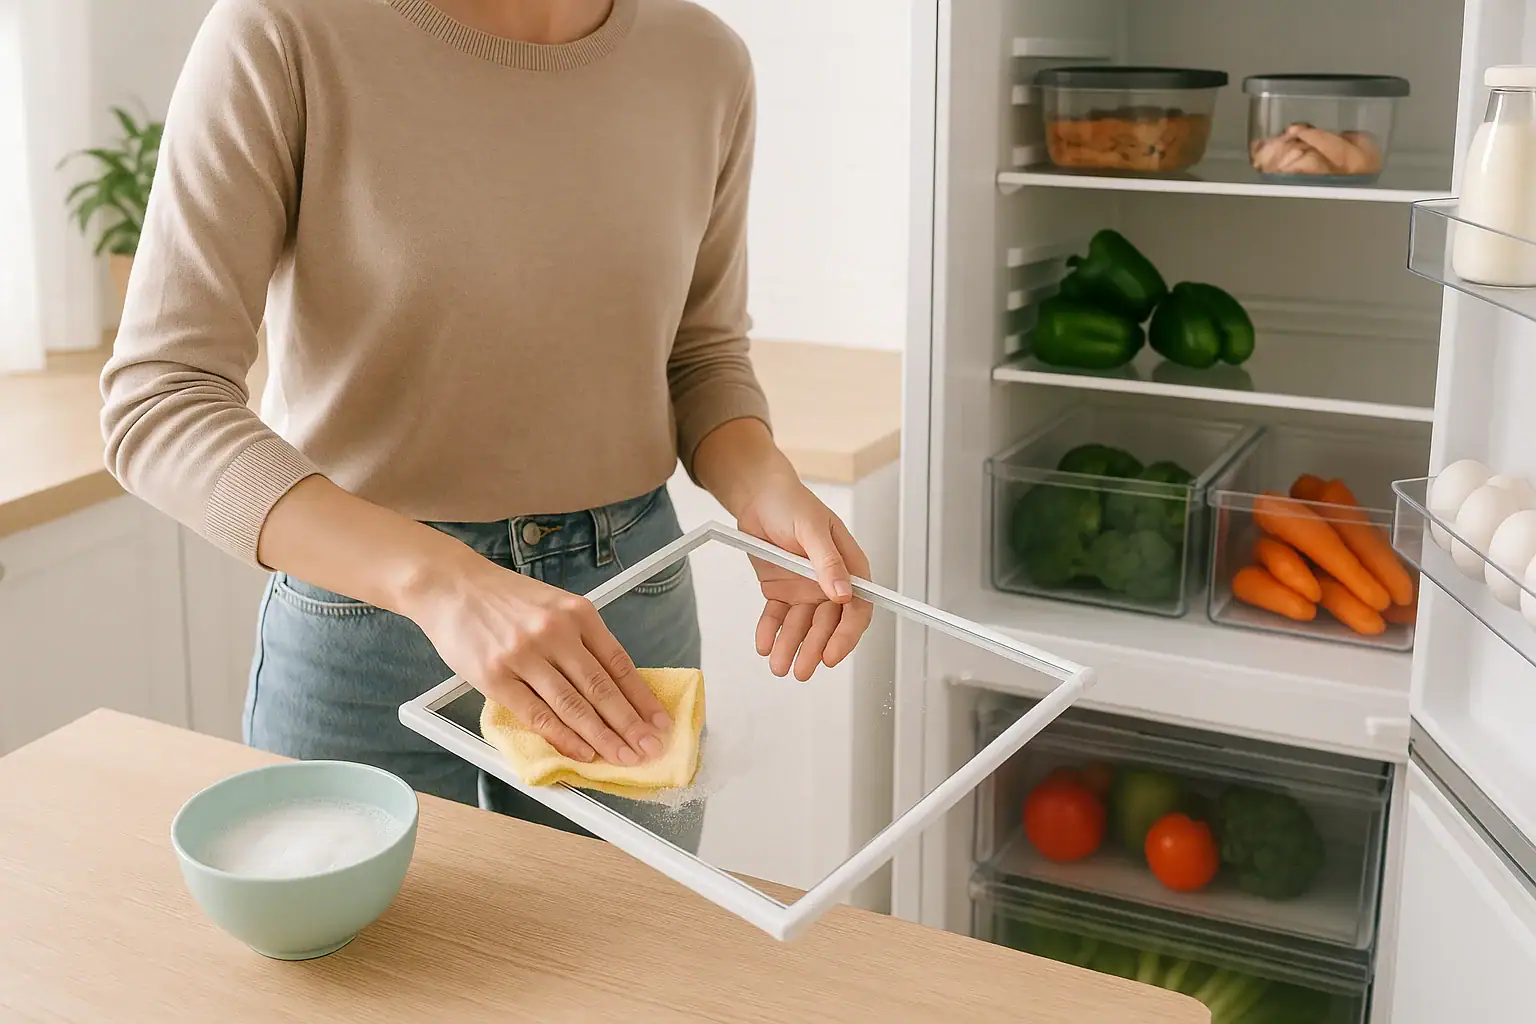
Clean the Door Gaskets (Seals)
The rubber seals around the door can trap crumbs, moisture, and mold, which affects both cleanliness and the fridge’s ability to stay cold.
- Mix warm water with a small amount of mild dish soap.
- Use a cloth or soft toothbrush to gently scrub in and around the folds of the gasket.
- Wipe with a clean, damp cloth to remove soap.
- Dry thoroughly with a towel to prevent mold or mildew.
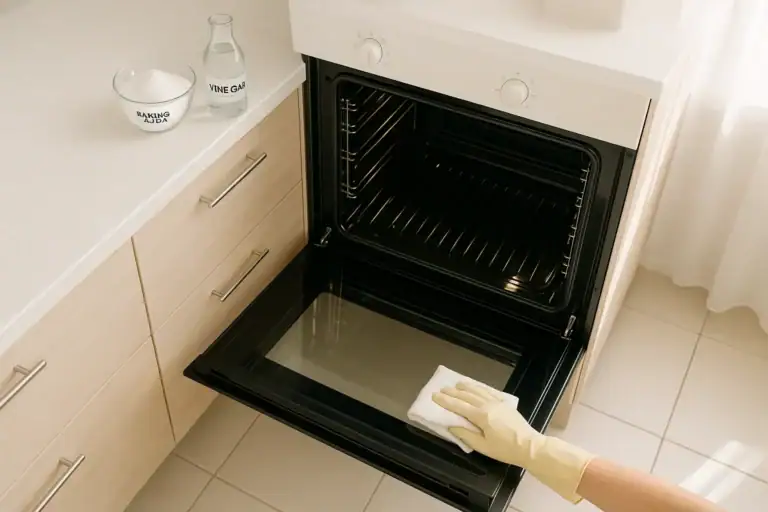
Step 5: Clean the Freezer the Food-Safe Way
The freezer also needs regular cleaning to stay efficient and odor-free. You can clean it during the same session or schedule it separately.
Empty and Sort the Freezer
- Remove all frozen foods and group them on a counter or in a cooler.
- Check for freezer burn, thick ice crystals, or items that have been stored longer than recommended.
- Discard anything that is clearly past its best quality or unlabeled and old.
Defrost if Necessary
If your freezer has a buildup of ice, unplug the unit or turn off the freezer setting. Place towels at the bottom to catch melting ice. Do not chip or scrape ice with sharp tools, which can damage the interior.
Wipe with a Mild, Food-Safe Solution
Use the same gentle mixture you used for the refrigerator interior:
- Warm water with a small amount of mild dish soap
- Optional small splash of white vinegar
Wipe all interior surfaces, including shelves and door compartments. Rinse with a cloth dampened with plain water and dry thoroughly before turning the freezer back on and returning food.
Step 6: Clean the Outside of the Refrigerator
The exterior of your refrigerator collects fingerprints, smudges, and dust. Cleaning it regularly keeps your kitchen looking tidy and can help the appliance run more efficiently.
Wipe Doors and Handles
- Use warm water with a drop of mild dish soap on a soft cloth.
- Wipe the entire door surface, paying extra attention to handles and frequently touched areas.
- Rinse with a clean, damp cloth and dry with a towel to prevent streaks.
Handles are high-touch areas, so consider wiping them down with a food-safe, diluted vinegar solution regularly to reduce germs.
Clean the Top and Sides
The top of the refrigerator often collects dust and grease from cooking. Use a slightly stronger mixture of warm water and dish soap if needed, then rinse and dry. Wipe the sides as well, especially if your fridge is near the stove.
Vacuum Coils and Vents
Dusty coils can make your refrigerator work harder and use more energy.
- Unplug the refrigerator before cleaning coils or vents.
- Locate the coils, which may be on the back or behind a lower front panel.
- Use a vacuum with a brush attachment to gently remove dust and debris.
- Wipe surrounding areas with a dry cloth.
Do this once or twice a year to help your refrigerator run efficiently.
Step 7: Put Everything Back and Organize for Food Safety
Once the interior is dry and shelves and drawers are back in place, it is time to return the food in a way that keeps it safe and easy to find.
Use the Cold Zones Wisely
- Upper shelves: Best for ready-to-eat foods like leftovers, drinks, and prepared items.
- Lower shelves: Typically colder, ideal for raw meat, poultry, and seafood (always in leakproof containers).
- Crisper drawers: Designed for fruits and vegetables, often with humidity controls.
- Door shelves: Warmest area, best for condiments, sauces, and items with natural preservatives.
Store raw meats on the lowest shelf in a tray or container to catch any drips and prevent cross-contamination.
Group Similar Items Together
- Keep breakfast items together, such as spreads, eggs, and yogurt.
- Designate a spot for leftovers and label them with the date.
- Place frequently used items at eye level so they are easy to grab.
- Use clear containers when possible so you can see what you have.
Organizing your refrigerator not only keeps it tidy but also helps you use up food before it spoils, reducing waste.
Set Up Simple Odor Control
To keep your freshly cleaned refrigerator smelling neutral:
- Place an open container of baking soda on a shelf to absorb odors.
- Replace it every 1–3 months or whenever you notice odors returning.
Food-Safe Refrigerator Cleaning Tips and Safety Reminders
Keep these guidelines in mind to maintain a clean, safe refrigerator between deep cleans.
- Wipe small spills as soon as they happen using warm water and a mild, food-safe cleaner.
- Do a quick weekly check for forgotten leftovers and aging produce.
- Label leftovers with the date and aim to use them within 3–4 days.
- Keep the refrigerator temperature at or below 40 degrees Fahrenheit for food safety.
- Wash your hands before and after handling raw meats or cleaning spills.
- Avoid strong chemical cleaners inside the fridge, especially those with heavy fragrances or bleach, which can leave residues and odors near food.
By following a regular schedule and using gentle, food-safe products, you can keep your refrigerator fresh, organized, and safe for your household.
When to Do a Full Deep Clean vs. a Quick Refresh
You do not need to do a full, top-to-bottom clean every week. Instead, mix deep cleans with smaller maintenance sessions.
Do a Quick Refresh When:
- You notice a small spill or sticky spot.
- You finish a grocery trip and want to tidy shelves.
- You see one or two items nearing their date and want to plan meals around them.
Schedule a Deep Clean When:
- You notice persistent odors even after removing old food.
- There is visible mold, heavy residue, or sticky buildup.
- You are moving, rearranging your kitchen, or after a power outage.
Pairing a deep clean with a seasonal pantry check or kitchen declutter can make your entire food storage system feel fresh and organized.
Recommended next:
Related posts
Browse this topic →
How to Organize a Hall Closet for Coats, Tools, and Everyday Items

How to Remove Dust From Walls Before Painting: A Step-by-Step Guide
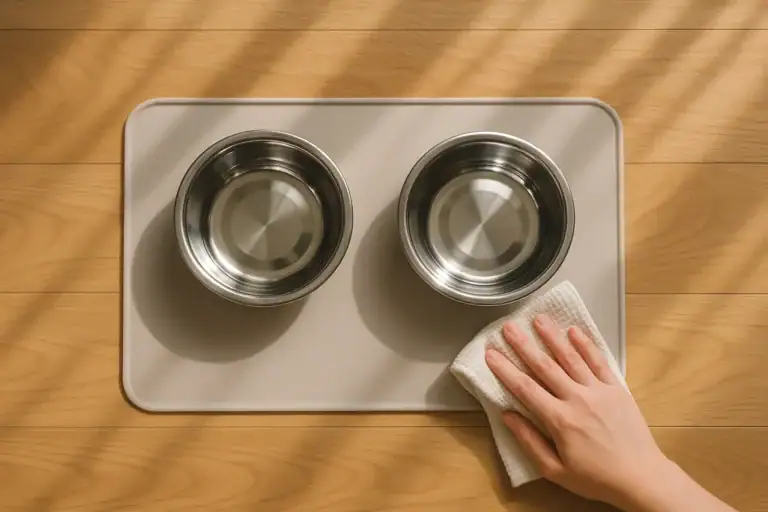
How to Clean Pet Bowls, Mats, and Feeding Areas Safely
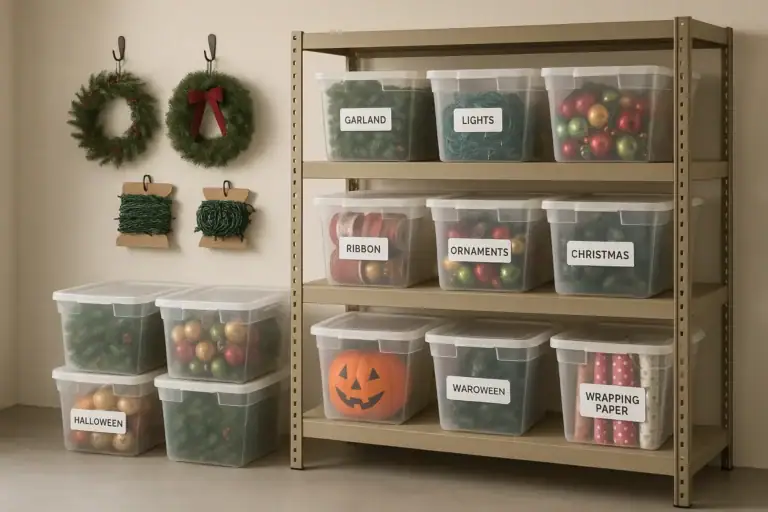
How to Store Holiday Decorations Without Adding Basement Clutter

How to Create a Toy Rotation System for Small Living Rooms

How to Clean Lampshades and Fabric Light Fixtures: A Complete Guide
Keep reading

About this site
Signature Home Guide publishes practical, independent home guides. We aim to be clear, helpful, and transparent.
Affiliate disclosure
As an Amazon Associate, we earn from qualifying purchases. Some links on this site may be affiliate links. If you buy through these links, we may earn a small commission at no extra cost to you. This helps support our content. Learn more.