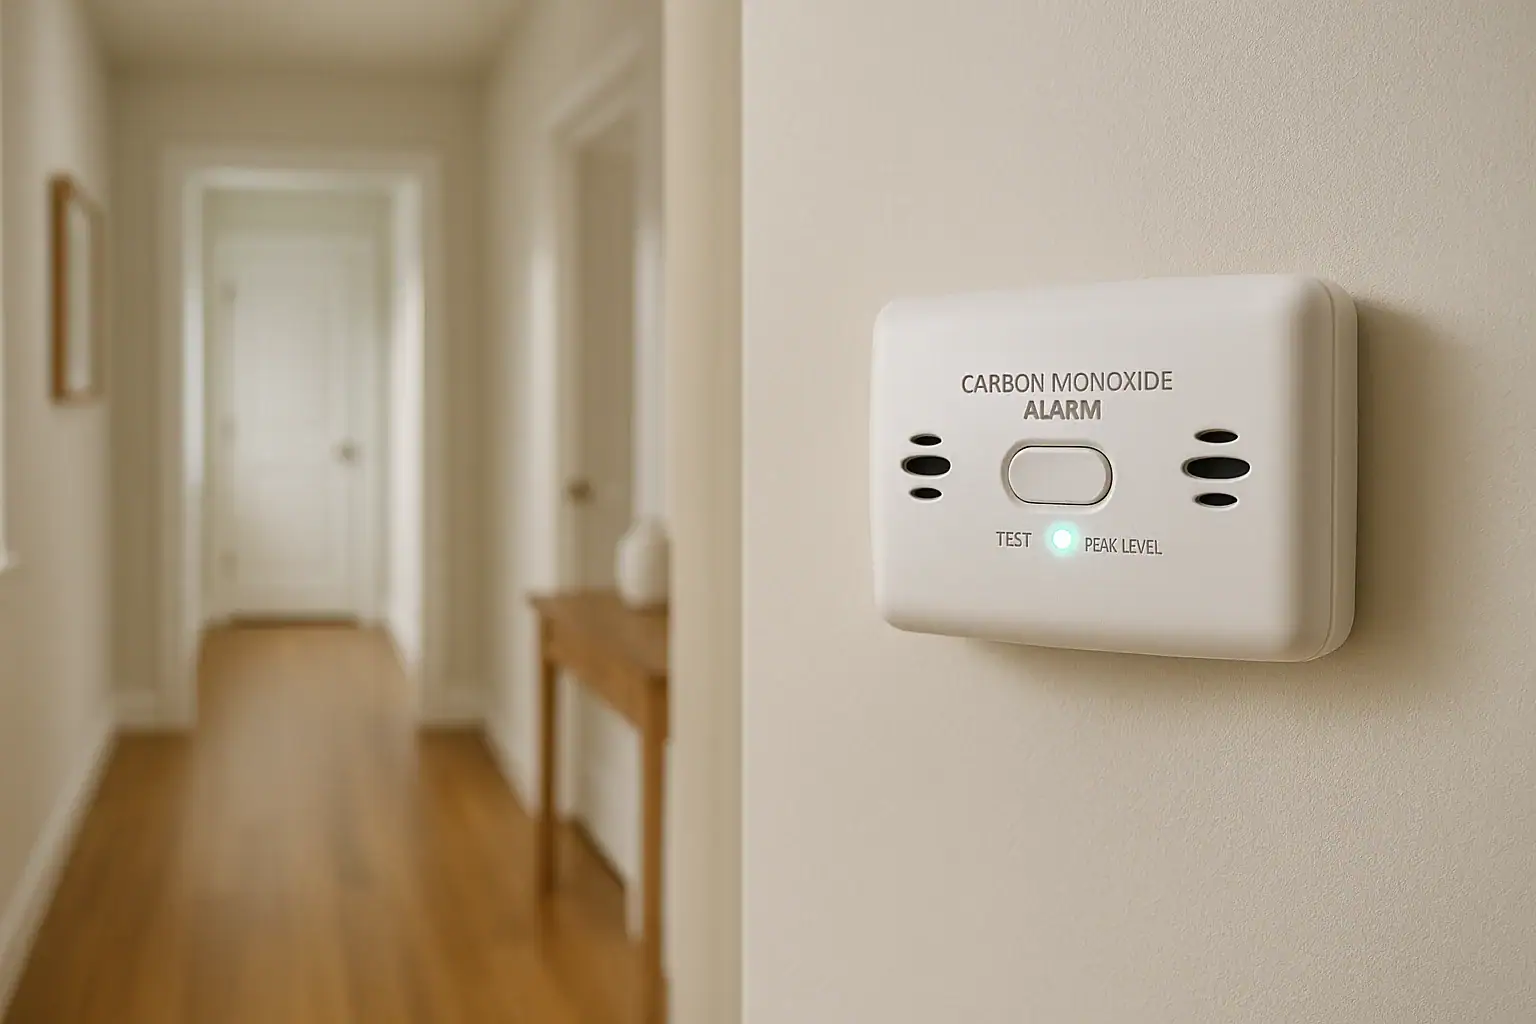
When a carbon monoxide alarm starts beeping, it is easy to assume there is an immediate emergency. Sometimes that is true, and you must act fast. Other times, the alarm is telling you it has reached the end of its life and needs to be replaced. Knowing the difference between a real carbon monoxide alert and end-of-life beeps helps you stay safe without unnecessary panic. This guide explains how to recognize each type of sound, what to do in the moment, and how to plan for safe replacement of aging carbon monoxide alarms in your home.
Carbon monoxide is a colorless, odorless gas that can be deadly in minutes at high levels. Because you cannot see or smell it, your best protection is a reliable carbon monoxide alarm that is installed correctly and within its service life. Over time, the internal sensor wears out, and the alarm will start sending end-of-life signals. If you ignore those beeps, you may be living with a device that no longer protects your household. Use this troubleshooting guide to understand the beeps, confirm whether your alarm is at the end of its life, and take the right next steps.
Why Carbon Monoxide Alarms Beep
Carbon monoxide alarms use sound patterns to communicate different conditions. Not every beep means the same thing. The most common reasons a carbon monoxide alarm beeps include:
- Emergency alarm: Rapid beeping indicating dangerous carbon monoxide levels.
- Low battery chirp: Short, occasional beeps to signal the batteries need replacing.
- End-of-life warning: Repeating beeps or chirps indicating the sensor has expired.
- Malfunction alert: Beeps combined with error lights when the unit detects an internal fault.
Understanding which pattern you are hearing is the first step in troubleshooting. When in doubt, always treat the sound as a potential emergency until you can confirm otherwise.
How to Recognize End-of-Life Beeps
End-of-life beeps are different from emergency alarms. They are meant to get your attention, but they are usually less urgent sounding than a full alarm. While patterns vary by model, end-of-life alerts often share these traits:
- Single chirp or short series of beeps every 30 to 60 seconds
- Beeping that continues even after you replace the batteries
- Indicator light labeled “end,” “replace,” or similar, staying on or flashing
- Unit that is 5–10 years old, depending on the manufacturer’s stated life span
If your alarm is beeping at regular, spaced-out intervals and you have already tried fresh batteries, there is a strong chance you are hearing an end-of-life warning rather than a low battery chirp.
Typical Lifespan of a Carbon Monoxide Alarm
Most carbon monoxide alarms are designed to last between 5 and 10 years. The exact lifespan is usually printed on the back of the unit or in the user manual. Common indicators include:
- A manufacturing date stamped on the back or inside the battery compartment
- A “replace by” date clearly printed on the label
- A note in the manual stating the expected service life, often 7 or 10 years
Once the alarm reaches or passes this date, the internal sensor may no longer detect carbon monoxide reliably. End-of-life beeps are your cue that the device should be replaced, not repaired.
Step-by-Step Troubleshooting for Beeping CO Alarms
When your carbon monoxide alarm starts beeping, use the following steps to identify the cause and respond safely.
Step 1: Treat Any Continuous or Rapid Beeping as an Emergency
If the alarm is sounding continuously or in rapid patterns, assume there is carbon monoxide present until proven otherwise. Take these actions immediately:
- Get everyone, including pets, outside to fresh air.
- Call 911 or your local fire department from outside the home.
- Do not re-enter the home until emergency responders say it is safe.
- Do not try to find the source yourself while the alarm is sounding.
Only after the emergency has been cleared should you move on to troubleshooting non-emergency beeps.
Step 2: Check the Beep Pattern
For intermittent beeps, pay attention to the pattern:
- Single chirp every 30–60 seconds: Often low battery or end of life.
- Two or more quick chirps every minute: Often a malfunction or specific error code.
- Beep with voice or display message (if available): May clearly say “low battery,” “end of life,” or “error.”
Write down the pattern and any lights or messages you see. This information helps you identify whether the alarm is simply old or has another issue.
Step 3: Replace the Batteries
If the alarm uses replaceable batteries and you hear occasional chirps, start with a fresh set:
- Turn off power if the unit is hardwired, following safety guidelines.
- Remove the alarm from its mounting bracket.
- Open the battery compartment and replace all batteries with new ones of the correct type.
- Press the test button for a few seconds to reset and confirm the alarm sounds properly.
After replacing the batteries, wait several minutes. If the chirping stops, the issue was likely a low battery. If the beeping continues with the same pattern, it is more likely an end-of-life or malfunction signal.
Step 4: Check the Age of the Alarm
Look at the back of the alarm for a manufacture date or “replace by” date. Compare that date to the current year:
- If the alarm is at or past its recommended lifespan, treat the beeps as an end-of-life warning.
- If the alarm is relatively new, consult the manual for what the specific beep pattern means.
If you cannot find a date and the alarm looks old or yellowed, it is safer to assume it is at the end of its life and replace it.
Step 5: Look for Indicator Lights or Error Codes
Many carbon monoxide alarms use colored lights or small displays to help identify problems. Common indicators include:
- Green light: Power is on and the unit is operating normally.
- Red flashing light: Alarm condition, end-of-life warning, or error, depending on the pattern.
- Yellow or amber light: Trouble, malfunction, or low battery.
- Digital display: May show a code or message like “Err,” “End,” or a number.
If the light or display clearly indicates “end” or “replace,” the unit has reached the end of its service life and must be replaced, even if it still seems to work.
What to Do When the Alarm Is at End of Life
Once you confirm that the beeping is an end-of-life warning, the solution is not to silence the alarm permanently, but to replace it as soon as possible. An expired alarm cannot be relied on to detect carbon monoxide accurately.
Do Not Ignore or Disable the Alarm
It can be tempting to remove the batteries or disconnect the alarm just to stop the noise. This leaves your home unprotected. Instead:
- Leave the old alarm in place until you have a new one ready to install, if it is not causing constant noise.
- If the beeping is disruptive, temporarily move the old alarm to a safe location while you purchase a replacement, but do so only if you have another working alarm nearby.
- Set a reminder to install the new alarm the same day you purchase it.
Plan for a One-to-One Replacement
For every carbon monoxide alarm that reaches end of life, plan to replace it with at least one new alarm in the same general location. While you are at it, consider whether your home has enough coverage:
- At least one carbon monoxide alarm on every level of the home, including the basement.
- Alarms outside each sleeping area and near bedrooms.
- Additional alarms near attached garages or rooms with fuel-burning appliances, following manufacturer guidance.
Improving coverage during replacement can significantly increase your family’s safety.
Choosing a Replacement Carbon Monoxide Alarm
When it is time to replace an end-of-life alarm, you have several options. Consider the following factors to choose the right model for your home.
Power Source Options
- Battery-powered: Easy to install, works during power outages. Requires periodic battery changes unless it has a sealed long-life battery.
- Hardwired: Connected to your home’s electrical system, often with battery backup. May require an electrician for installation or replacement.
- Plug-in: Plugs into a wall outlet, often with a battery backup. Convenient for apartments or temporary setups.
Features to Consider
- Digital display: Shows carbon monoxide levels and error codes.
- Peak level memory: Records the highest level detected, useful for troubleshooting appliance issues.
- Voice alerts: Announces the type of hazard, helpful at night or for children.
- Interconnect capability: Allows multiple alarms to sound together for whole-home notification.
- Combined smoke and CO detection: Saves space and simplifies installation in some areas.
Choose alarms that are listed by a recognized testing laboratory and follow current safety standards for carbon monoxide detection.
Safe Installation and Placement Tips
Correct placement is just as important as having a working alarm. Poorly placed alarms may give late warnings or nuisance alerts.
Where to Install Carbon Monoxide Alarms
- On every level of your home, including the basement.
- Outside each separate sleeping area, such as in a hallway near bedrooms.
- Near but not directly next to fuel-burning appliances, following the manufacturer’s distance guidelines.
- In rooms over attached garages or near rooms where vehicles may idle.
Where Not to Install Them
- Directly above or beside fuel-burning appliances, where exhaust may cause false alarms.
- In very humid areas such as bathrooms with showers.
- Right next to windows, doors, or vents where drafts can affect readings.
- Behind furniture, curtains, or other obstructions that block air flow.
Always follow the placement instructions in the alarm’s manual, as recommended distances and heights can vary by design.
Ongoing Maintenance to Avoid Confusing Beeps
Regular maintenance helps reduce nuisance beeps and ensures your alarms are ready to protect you.
- Test monthly: Press the test button until the alarm sounds, then release.
- Clean regularly: Gently vacuum around the alarm’s vents to remove dust.
- Replace batteries: At least once a year, or as soon as you hear a low battery chirp.
- Track replacement dates: Write the installation date on the alarm and set reminders for end-of-life replacement.
Keeping a simple log of installation dates and test results can make it easier to recognize when beeps are about aging sensors rather than sudden malfunctions.
When to Call a Professional
There are times when troubleshooting on your own is not enough. Contact a professional if:
- Your alarm continues to beep with an error pattern after battery replacement and reset.
- You suspect a fuel-burning appliance, chimney, or vent is causing carbon monoxide issues.
- Multiple alarms in your home have sounded, even if they stopped on their own.
- You are unsure how to safely install or replace a hardwired alarm.
A licensed heating or gas contractor can inspect appliances and vents, while a qualified electrician can help with hardwired alarm installation or replacement. Your local fire department may also offer guidance on alarm placement and testing.
Key Takeaways for End-of-Life CO Alarm Beeps
End-of-life beeps are not just an annoyance; they are a safety message. To recap the most important points:
- Treat continuous or rapid beeping as an emergency and get everyone outside.
- Intermittent chirps that continue after battery replacement often mean the alarm is at the end of its life.
- Most carbon monoxide alarms last 5–10 years; check the date on the back of the unit.
- Replace end-of-life alarms promptly to maintain protection for your household.
- Install alarms on every level of your home and near sleeping areas, and test them regularly.
By learning to recognize end-of-life beeps and planning timely replacements, you keep your carbon monoxide protection up to date and your home safer for everyone inside.
 How to Test a Smoke Alarm Safely: Simple Checklist
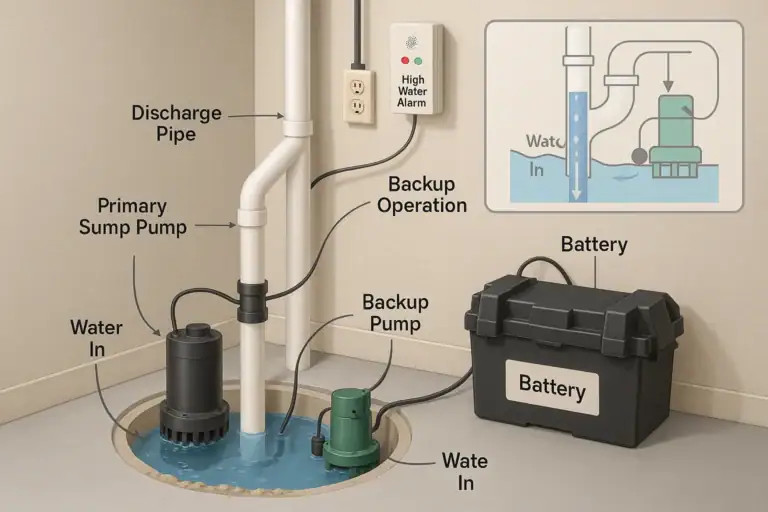 Sump Pump Alarm and Battery Backup Basics: A Practical Homeowner Guide
 Smart Lock Battery Dead? How to Create a Reliable Backup Access Plan