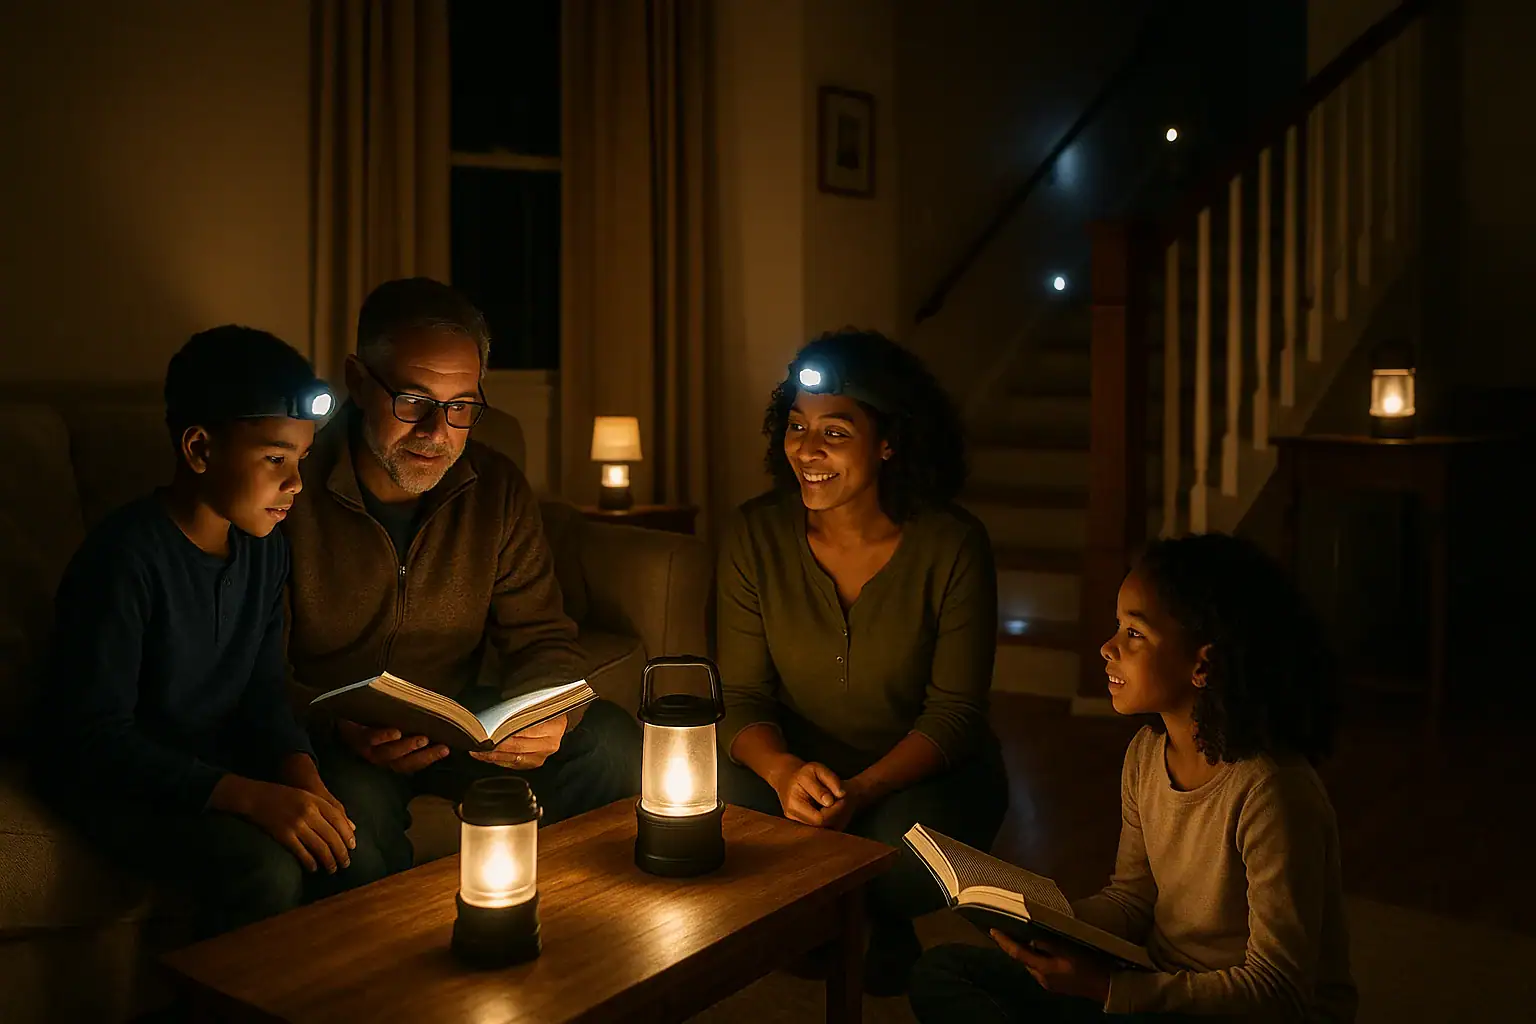
When the power suddenly goes out, most people instinctively reach for candles. They feel simple and familiar, but they also bring real risks: fires, burns, smoke, and poor visibility. A safer approach is to build an emergency lighting plan that avoids open flames altogether. With a little preparation, you can keep your home well lit, reduce hazards, and stay calm during short blackouts or extended outages. This guide walks you through a practical, step‑by‑step checklist to prepare your home, organize your gear, and train your household so everyone knows exactly what to do when the lights go off.
Why You Should Avoid Candles During Power Outages
Candles may seem harmless, but they are one of the most common causes of accidental home fires during outages. Open flames can easily tip over, ignite curtains or furniture, or be knocked down by pets and children. They also create uneven lighting that can make tripping hazards harder to see.
By planning ahead with safer lighting options, you can:
- Lower the risk of house fires and burns
- Improve visibility in hallways and stairways
- Free your hands for important tasks and first aid
- Conserve batteries and backup power more efficiently
- Stay more comfortable and less stressed in the dark
The goal is not just to have light, but to have the right kind of light in the right places, ready to use instantly.
Step 1: Assess Your Home’s Lighting Needs
Before you buy or organize anything, take a quick tour of your home and think about how you actually move through it in an outage. This assessment will guide your emergency lighting plan.
Identify Critical Areas to Light
Make a list of the spaces that absolutely must have light during a power failure. For most homes, this includes:
- Entryways and exits: Front door, back door, and any garage or basement exits
- Stairways and hallways: Any place where a fall would be dangerous
- Kitchen: For accessing food, water, and basic supplies
- Bathroom: Especially if family members will be moving around at night
- Sleeping areas: Bedrooms or a central room where people gather
- Utility areas: Circuit breaker, water shutoff, and emergency supply storage
Mark these on a simple sketch of your home or write them down in a checklist you can keep with your emergency supplies.
Consider Your Household’s Specific Needs
Every household is different. When planning lighting, think about:
- Children: Nightlights, easy‑to‑hold flashlights, and lights they can operate safely
- Older adults: Extra lighting for stairs, bathrooms, and near the bed
- Mobility challenges: Bright, hands‑free lighting for walkers, wheelchairs, or medical equipment
- Pets: Clear paths to food, water, and litter or outdoor areas
- Medical needs: Lighting near medication storage and medical devices
These details will help you decide what type of lights to place where, and how many you need.
Step 2: Choose Safe, Candle‑Free Lighting Options
There are many safe alternatives to candles that provide brighter, more reliable light. Aim for a mix of portable and fixed lights so you can move around while still keeping key areas illuminated.
Battery‑Powered Lanterns and Lamps
Lanterns and small lamps are ideal for lighting entire rooms or tables. Look for features such as:
- Long battery life or multiple brightness settings
- Stable bases so they will not tip easily
- Handles or hooks for hanging from shelves or curtain rods
- Enclosed bulbs that stay cool to the touch
Place at least one lantern in your main living area and another near your emergency supply storage.
Flashlights and Headlamps
Flashlights are essential for moving around safely and inspecting your home during an outage. Headlamps are especially useful because they keep your hands free.
For best coverage, plan for:
- One sturdy flashlight for each adult
- At least one headlamp for tasks like cooking, cleaning, or checking the breaker
- Smaller, easy‑to‑use flashlights for children, if appropriate
Plug‑In Emergency Lights with Battery Backup
Some lights plug into a wall outlet and automatically turn on when the power goes out. They usually double as nightlights when power is on. These are especially helpful for:
- Hallways and stairways
- Bathrooms
- Near main exits
Choose models that can stay plugged in all the time and that provide at least a few hours of light on backup power.
Solar‑Powered Lights
Solar lights can be charged outdoors during the day and used inside at night. Garden path lights, solar lanterns, and solar string lights can all be repurposed in a blackout.
To use them effectively:
- Charge them in direct sunlight whenever possible
- Bring them indoors before dark and place them in key areas
- Rotate them outside to recharge during longer outages
Battery‑Powered or Rechargeable Light Strips
Flexible light strips or puck lights can be attached under cabinets, along stairs, or around doorways. They provide low‑profile, wide‑area lighting that is great for preventing trips and falls.
Consider using them for:
- Stair treads and landings
- Kitchen countertops and sinks
- Bathroom vanities
- Closets or storage areas where you keep emergency gear
Step 3: Build Your Emergency Lighting Checklist
Once you know what you need, turn it into a clear checklist you can follow before, during, and after a power outage. This helps you stay organized when stress levels are high.
Pre‑Outage Preparation Checklist
Use this checklist as part of your general home preparedness plan:
- List all critical areas that need lighting
- Assign at least one safe light source to each area
- Store extra batteries in a cool, dry, easy‑to‑reach place
- Keep at least one flashlight or lantern in each bedroom
- Place a headlamp or flashlight near your main breaker panel
- Label a bin or shelf as your emergency lighting station
- Test all lights at least twice a year and replace weak batteries
- Charge rechargeable lights and power banks regularly
During‑Outage Action Checklist
When the power goes out, follow a simple, repeatable routine:
- Stay calm and pause for a moment to let your eyes adjust
- Use your phone light only long enough to locate your primary flashlight
- Turn on plug‑in emergency lights if they did not activate automatically
- Place lanterns in central locations: living room, kitchen, and bathroom
- Use headlamps for tasks like cooking, walking stairs, or checking the panel
- Keep one flashlight dedicated to safety checks and do not misplace it
- Conserve batteries by using the lowest brightness that still feels safe
Post‑Outage Reset Checklist
After power returns, reset your system so you are ready for the next event:
- Turn off all emergency lights and return them to their storage spots
- Recharge rechargeable lights and power banks
- Replace any depleted disposable batteries
- Make notes about what worked well and what you wish you had
- Update your checklist based on those lessons
Step 4: Map and Label Your Lighting Plan
A written plan helps everyone in the household know where to find light, even in total darkness. You do not need anything fancy; a simple diagram or list will do.
Create a Simple Home Lighting Map
On a piece of paper, sketch the basic layout of your home. Then mark:
- Locations of each lantern, flashlight, and plug‑in emergency light
- Paths from bedrooms to bathrooms and exits
- Where extra batteries and chargers are stored
- The location of the breaker panel and water shutoff
Keep this map with your emergency documents and in your lighting station.
Label Storage Spots Clearly
In a dark or stressful moment, clear labels save time. Use large, easy‑to‑read labels so anyone can find what they need quickly.
- Label bins or drawers: “Emergency Lights,” “Batteries,” “Power Banks”
- Use glow‑in‑the‑dark stickers on key drawers or cabinets
- Place a small label near outlets where emergency plug‑in lights are located
Step 5: Plan for Extended Outages
Some outages last only a few minutes, while others can stretch into days. Your emergency lighting plan should include ways to stretch your resources if the power stays off longer than expected.
Rotate and Prioritize Lights
During a long outage, you may not need every light on all the time. Conserve energy by:
- Using brighter lights only in rooms that are actively in use
- Turning off unnecessary lights when everyone is in one room
- Switching lanterns to lower brightness levels whenever possible
- Rotating solar lights outside during the day to recharge
Use Backup Power Wisely
If you have power banks or backup power sources, decide ahead of time how you will use them. Prioritize:
- Charging essential lights such as headlamps and main lanterns
- Keeping one phone charged for communication and emergency alerts
- Avoiding unnecessary screen time that drains batteries quickly
Protect Your Night Vision
Bright lights can make it harder for your eyes to adjust to darkness. To stay comfortable and conserve power:
- Use lower brightness settings whenever safe
- Consider warm or soft white light instead of harsh blue‑white light
- Use small nightlights in hallways instead of full‑power lanterns overnight
Step 6: Safety Tips for Moving Around in the Dark
Even with good lighting, power outages change how your home feels and functions. A few extra precautions can prevent injuries.
Reduce Trip and Fall Hazards
Before an outage ever happens, take steps to make your home safer in low light:
- Keep stairs and hallways free of clutter and loose rugs
- Secure extension cords so they do not cross walkways
- Store heavy or sharp items away from common paths
- Install non‑slip treads on stairs if needed
Use Hands‑Free Lighting When Possible
Headlamps, clip‑on lights, and wearable lights reduce the risk of dropping a flashlight or losing your way. They also keep both hands free for:
- Holding handrails on stairs
- Carrying children or pets
- Handling tools or first aid supplies
Keep Emergency Items Within Reach
Place key items where you can reach them in the dark:
- A flashlight or lantern on each nightstand
- A small light near your main entrance and garage door
- A light source near your emergency kit and important documents
Step 7: Practice Your Emergency Lighting Plan
Like any safety plan, your emergency lighting setup works best when everyone knows how to use it. A short practice session can make a big difference in a real outage.
Hold a Short “Lights Out” Drill
Choose a calm evening and turn off your main lights for 10 to 15 minutes. Use this time to:
- Have each person locate their nearest flashlight or lantern
- Practice walking from bedrooms to the bathroom and exits
- Test headlamps and lanterns for brightness and comfort
- Adjust the placement of lights based on what feels natural
Teach Children Simple Steps
If you have children, give them clear, age‑appropriate instructions:
- Show them exactly where their light is stored
- Practice turning it on and off safely
- Explain that they should not use candles or open flames
- Agree on a meeting spot in the home if the lights go out at night
Step 8: Keep Your Plan Updated and Connected
Your home, family, and technology will change over time. Review your emergency lighting plan at least once a year or after any major change in your household.
Review and Refresh Regularly
Set a reminder to check your setup during seasonal tasks such as changing clocks or testing smoke alarms. During your review:
- Test every flashlight, lantern, and plug‑in emergency light
- Replace weak or expired batteries
- Update your home lighting map if you move furniture or change rooms
- Add or remove items from your checklist as needed
Link Lighting with Other Safety Plans
Your emergency lighting plan should work together with your overall home safety strategy. Make sure it supports:
- Fire escape routes and meeting points
- Severe weather or storm preparedness
- Emergency communication plans with family and neighbors
- Access to first aid kits, water, and nonperishable food
By connecting these plans, you create a safer, more resilient home that can handle unexpected outages without relying on candles.
 Garage Door Battery Backup Basics for Power Outages: A Practical Guide
 Smart Lock Battery Dead? How to Create a Reliable Backup Access Plan
 Outlet Overload Signs and Safe Power Strip Use at Home