Air purifiers work quietly in the background, trapping dust, dander, and other airborne particles so your home feels fresher and more comfortable. But like any appliance that moves air through filters, an air purifier needs regular care to stay effective. If the prefilter is clogged or the fan is struggling, you may be wasting energy and getting far less air cleaning than you expect. With a simple routine of prefilter cleaning and performance checks, you can keep your unit running efficiently, extend filter life, and maintain better air quality for your household.
On this page(click to collapse)
- Why Prefilter Cleaning Matters for Air Quality and Efficiency
- Safety First: Preparing to Clean Your Air Purifier
- How to Locate and Remove the Prefilter
- Cleaning Methods for Different Types of Prefilters
- Reinstalling the Prefilter and Checking Airflow
- Routine Performance Checks to Keep Your Purifier Effective
- How Often Should You Clean Prefilters and Check Performance?
- Simple Troubleshooting When Performance Drops
- Keeping Your Air Purifier and Home Working Together
- Putting It All Together: A Simple Maintenance Routine
- Related guides
This guide walks you step by step through safe prefilter cleaning, basic performance checks, and a simple seasonal maintenance schedule. You do not need special tools or technical skills—just a few minutes of attention every month or two. Whether your purifier is in a bedroom, living room, or home office, these tips will help you keep the air flowing smoothly and consistently.
Why Prefilter Cleaning Matters for Air Quality and Efficiency
The prefilter is your air purifier’s first line of defense. It usually sits on the outside or just inside the main filter and is designed to capture larger particles such as:
- Dust and lint
- Pet hair and dander clumps
- Fibers from clothing and carpets
- Larger pollen and debris
When this layer becomes packed with debris, airflow drops. The fan has to work harder to pull air through, which can lead to:
- Reduced clean air output
- Higher energy use for the same room coverage
- More noise from the fan at higher speeds
- Shorter life for internal components
Regular prefilter cleaning keeps the airflow path open so your purifier can move more air at lower speeds. This is especially important in homes with pets, high dust levels, or open windows during pollen season. A clean prefilter also helps protect the more expensive inner filters, allowing them to focus on smaller particles and gases instead of being overloaded with basic dust.
Safety First: Preparing to Clean Your Air Purifier
Before you touch any filters, take a moment to set up a safe and clean work area. This protects both you and the purifier.
Basic safety steps
- Turn off and unplug the unit. Never clean or open the purifier while it is running or plugged in.
- Move to a low-traffic area. A hallway, laundry room, or garage can help keep released dust away from main living spaces.
- Lay down newspaper or an old towel. This catches dust and debris from the prefilter so you can dispose of it easily.
- Consider a simple dust mask. If you are sensitive to dust or allergens, a basic mask and gloves can make cleaning more comfortable.
Once everything is set up, you are ready to remove and clean the prefilter without spreading dust throughout your home.
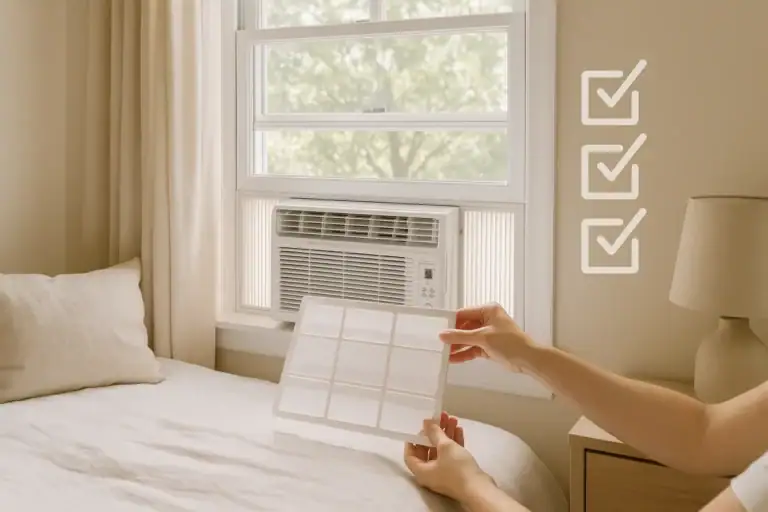
How to Locate and Remove the Prefilter
Most home air purifiers follow a similar layout: air enters through a grille, passes a prefilter, then moves through one or more main filters before leaving the unit. The prefilter is usually the first removable layer behind the intake grille.
Typical prefilter locations
- Front or side panel: A snap-on or magnetic grille that lifts or slides off.
- Rear panel: A back cover that unclips or unscrews to reveal the filter stack.
- Bottom intake: A base plate that twists or unlocks, common on tower-style units.
Step-by-step removal
- Ensure the purifier is unplugged and cool to the touch.
- Gently remove the intake grille or cover, taking care not to bend any plastic tabs.
- Identify the prefilter. It is typically a thin mesh or foam layer positioned in front of thicker main filters.
- Slide or lift the prefilter out slowly to avoid shaking dust into the air.
- Inspect the prefilter for tears or warping as you remove it.
Set the prefilter on your prepared surface. If you see a heavy coating of dust, pet hair, or gray fuzz, it is definitely time for a thorough cleaning.
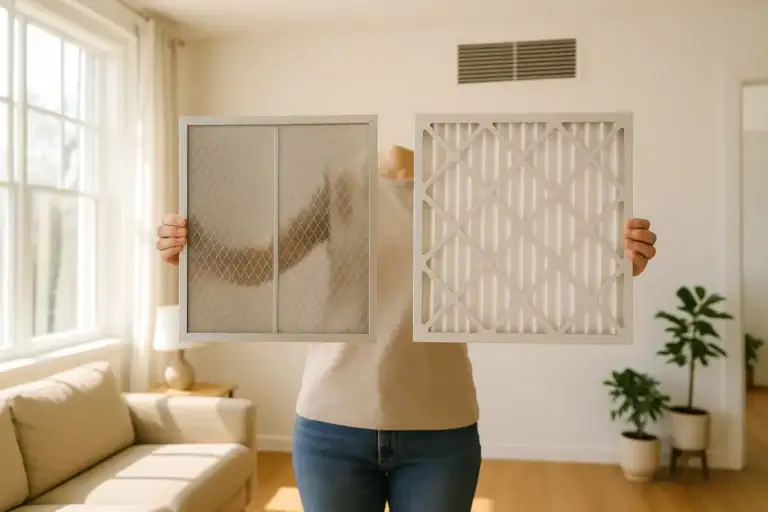
Cleaning Methods for Different Types of Prefilters
Not all prefilters are designed to be washed, but most can at least be vacuumed. Before using water or cleaning solutions, check any labels or instructions on the filter frame. When in doubt, use the gentlest method first.
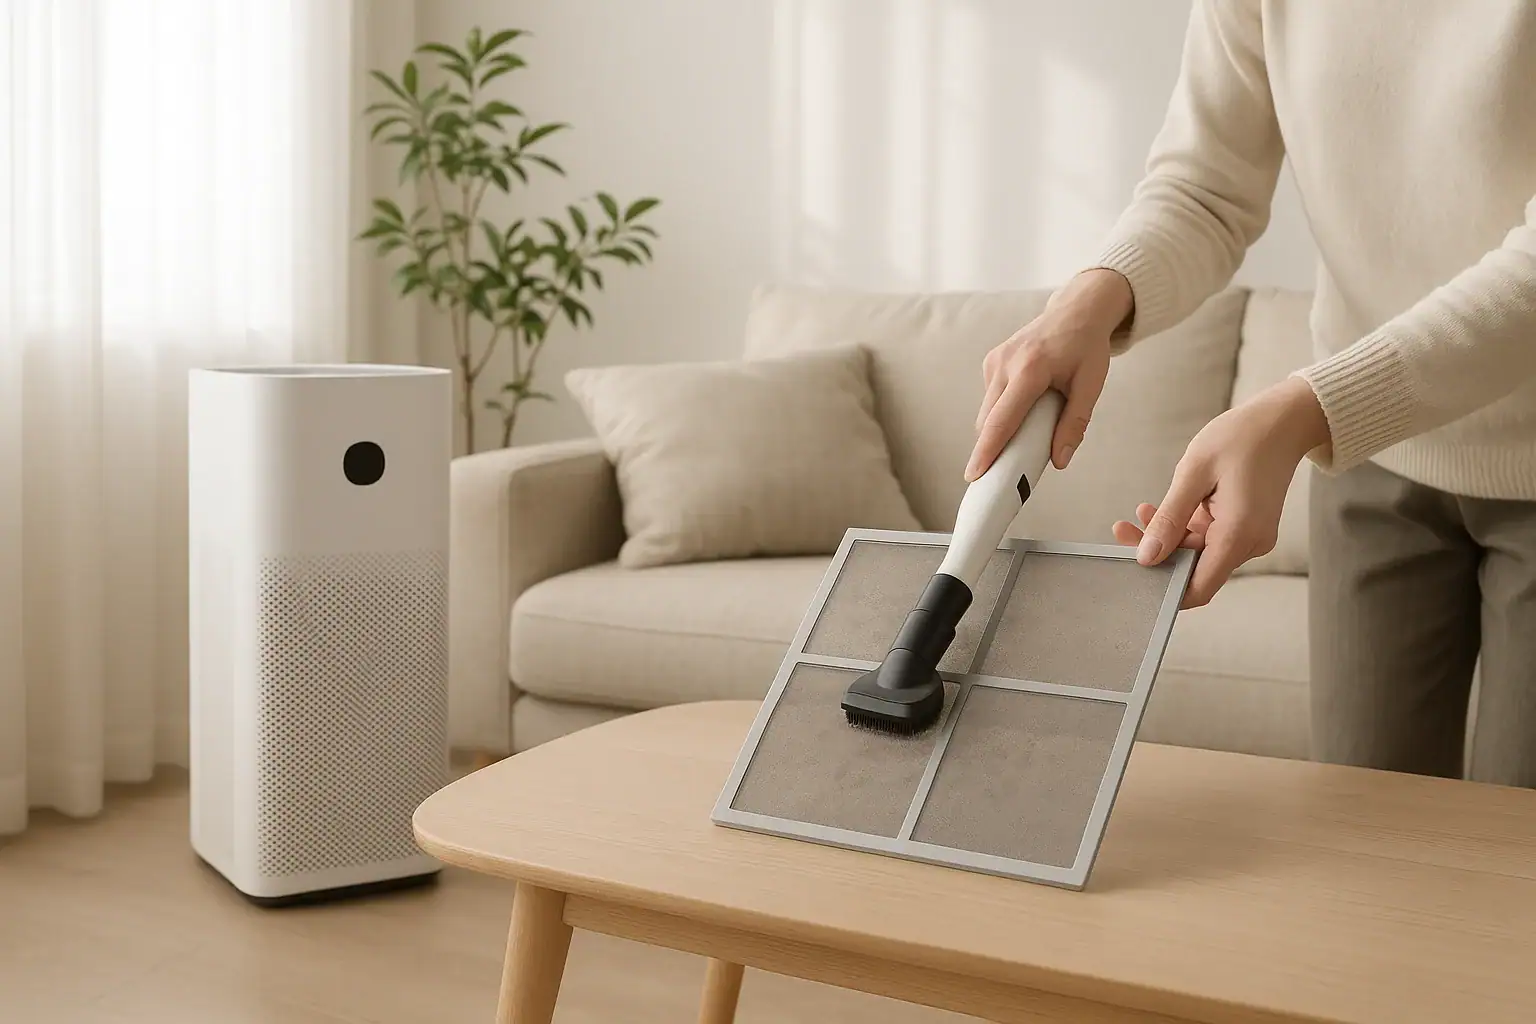
1. Dry cleaning with a vacuum
Dry cleaning is safe for nearly all prefilters and is often all you need for routine maintenance.
- Attach a soft brush tool or upholstery tool to your vacuum hose.
- Hold the prefilter firmly so it does not bend or fold.
- Vacuum the surface using light pressure, moving in slow, overlapping passes.
- Flip the prefilter and repeat on the other side.
- Check edges and corners where dust can accumulate.
This method removes most loose dust and hair without stressing the filter material. For homes with pets, vacuuming the prefilter every 2 to 4 weeks can significantly improve airflow.
2. Rinsing washable mesh or foam prefilters
If the prefilter is labeled as washable and made of sturdy mesh or foam, you can rinse it for a deeper clean.
- Take the prefilter to a sink, utility tub, or outdoor hose.
- Use lukewarm water. Avoid hot water, which can warp plastic or foam.
- Rinse from the cleaner side toward the dirtier side so you push debris out instead of deeper in.
- If needed, gently rub with your fingers to loosen stubborn dust. Do not use brushes that could tear the material.
- Skip harsh soaps or chemicals. A drop of mild dish soap is usually the maximum you should use, and only if the filter is very greasy or sticky.
- Shake off excess water and inspect for any damage.
3. Drying the prefilter completely
A damp prefilter can encourage mold growth and may damage the purifier, so thorough drying is essential.
- Lay the filter flat on a clean towel in a well-ventilated area.
- Allow it to air dry fully. This may take several hours depending on thickness.
- Do not use a dryer, hair dryer, or direct heat source, which can warp or melt the material.
- Confirm there is no moisture trapped in layers before reinstallation.
Only reinstall the prefilter once it is completely dry to the touch on all sides.
Reinstalling the Prefilter and Checking Airflow
Proper reinstallation is just as important as cleaning. A misaligned prefilter can leave gaps where unfiltered air bypasses the system.
Reinstall in the correct order
- Confirm the main filters are seated correctly and facing the right direction.
- Place the dry prefilter in front of the main filters, matching any arrows or orientation marks.
- Ensure the filter lies flat with no curled edges or wrinkles.
- Reattach the grille or cover, listening for clicks that indicate a secure fit.
- Plug in the purifier and power it on at a low or medium speed.
Simple airflow check
After reassembly, verify that air is moving freely:
- Hold your hand a few inches from the outlet to feel steady airflow.
- Listen for unusual rattling, whistling, or grinding noises.
- Check that intake areas are not blocked by furniture, curtains, or walls.
If airflow feels weak even after cleaning, it may be time to replace the main filters or check for additional issues.
Routine Performance Checks to Keep Your Purifier Effective
Beyond prefilter cleaning, a few quick checks help you confirm that your air purifier is doing its job efficiently. Think of these as a short inspection you can do every month or at the start of each season.
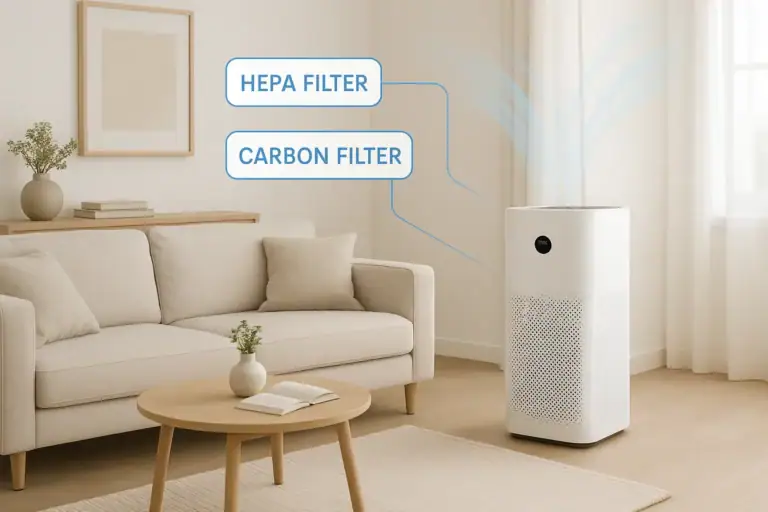
1. Inspect main filters for discoloration and odor
Most units use one or more main filters designed to capture fine particles and sometimes odors. Over time they darken and may develop a stale smell.
- Look for heavy gray or brown discoloration across the surface.
- Note any musty or smoky odor when the purifier starts up.
- Check for warping, tears, or crumbling edges.
If you see or smell significant buildup, plan to replace the main filters according to the manufacturer’s recommended schedule or sooner if your home has high particle levels.
2. Monitor noise levels and vibrations
Changes in sound can be an early warning sign of restricted airflow or mechanical wear.
- Compare the current noise level at each fan speed to how it sounded when new.
- Listen for rattles that may indicate a loose panel or filter.
- Place your hand lightly on the housing to feel for unusual vibrations.
Often, simply reseating the filters and covers after cleaning can reduce extra noise. Persistent grinding or squealing may require professional service or replacement of the unit.
3. Check indicator lights and timers
Many purifiers include filter change indicators, air quality lights, or timers that help you track performance.
- Confirm that filter reset lights are off after you clean or replace filters.
- Verify that any air quality indicator responds when you create a small source of particles, such as gently shaking a blanket nearby.
- Test the timer or auto mode to ensure the unit turns on and off as expected.
Functional indicators make it easier to maintain a consistent cleaning schedule without guessing.
How Often Should You Clean Prefilters and Check Performance?
The right maintenance schedule depends on your home environment, usage patterns, and the size of your space. As a starting point, consider these general guidelines for a typical US household.
Suggested cleaning intervals
- Every 2–4 weeks: Vacuum the prefilter, especially if you have pets or run the purifier daily.
- Every 1–2 months: Perform a quick performance check for noise, airflow, and indicator lights.
- Every 3–6 months: Inspect main filters for discoloration and odor, and replace as needed.
- Seasonally: Deep clean the exterior, vents, and surrounding area to remove settled dust.
Factors that may require more frequent maintenance
- Multiple pets that shed heavily
- Smoking or frequent cooking with strong odors
- Nearby construction, wildfires, or high outdoor pollution
- Open windows during pollen-heavy seasons
- Carpeting and fabric-heavy rooms that generate more dust
If you notice dust building up on furniture quickly or if household members have allergies, err on the side of more frequent prefilter cleaning and filter checks.
Simple Troubleshooting When Performance Drops
Even with regular maintenance, you may occasionally feel that your air purifier is not working as well as it used to. Before assuming the unit is failing, walk through a short troubleshooting checklist.
Common issues and quick fixes
- Weak airflow: Check for a clogged prefilter, overdue main filter replacement, or blocked intake and outlet vents.
- Unusual noise: Reseat filters and covers, remove any objects touching the housing, and confirm the unit is on a level surface.
- Persistent odors: Clean the prefilter, increase fan speed temporarily, and consider replacing odor-absorbing filters sooner than scheduled.
- Dust still settling quickly: Run the purifier on a higher speed for longer periods, and verify that the unit’s capacity matches the room size.
If these steps do not restore performance, consult the manual or contact customer support for guidance on deeper cleaning or part replacement. In some cases, an older unit may simply have reached the end of its service life.
Keeping Your Air Purifier and Home Working Together
Even a well-maintained air purifier works best as part of a broader approach to cleaner indoor air. By reducing the amount of dust and particles entering your home, you also reduce the workload on your filters.
Support your purifier with good habits
- Vacuum and dust regularly using tools that capture, not just move, dust.
- Use doormats and remove shoes to limit tracked-in dirt.
- Wash bedding and pet bedding frequently to reduce dander and fibers.
- Ventilate during low-pollen, low-pollution times when possible.
- Keep the purifier running on a low, continuous setting rather than cycling it on and off.
These small steps, combined with regular prefilter cleaning and performance checks, help your air purifier maintain a steady flow of cleaner air throughout your living spaces.
Putting It All Together: A Simple Maintenance Routine
Maintaining your air purifier does not have to be complicated. A short, repeatable routine can keep filters clear and performance strong all year.
Monthly quick checklist
- Unplug the purifier and remove the intake grille.
- Vacuum the prefilter on both sides; rinse and dry if washable and heavily soiled.
- Visually inspect main filters for heavy discoloration.
- Wipe dust from the housing, vents, and control panel with a dry or slightly damp cloth.
- Reinstall filters carefully, plug in, and confirm smooth airflow and normal noise.
By following this routine, you help your purifier deliver consistent, quiet performance while extending the life of your filters. Over time, these small maintenance habits can make a noticeable difference in how your home feels and how easily everyone breathes.
For more ways to improve comfort and air quality throughout your home, explore additional guides and resources on air and comfort solutions at Signature Home Guide.
Recommended next:
Related posts
Browse this topic →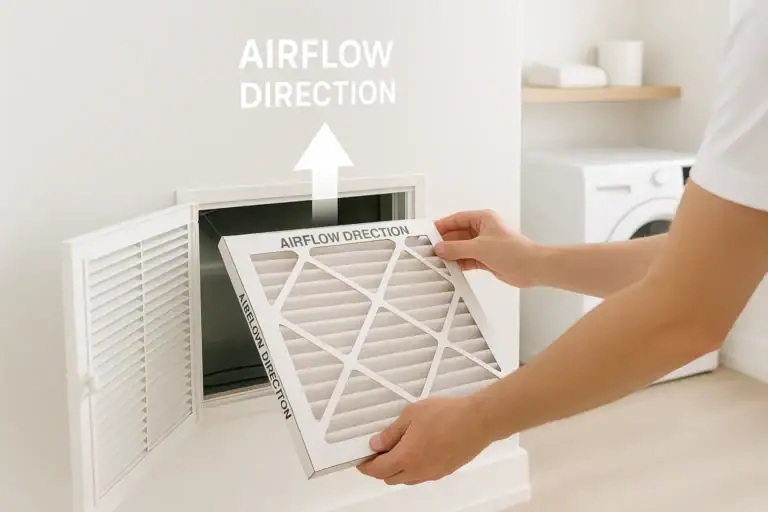
HVAC Filter Arrow Direction: Common Installation Mistakes and How to Fix Them

How to Reduce Heat From Sunny Windows Without Blocking Natural Light
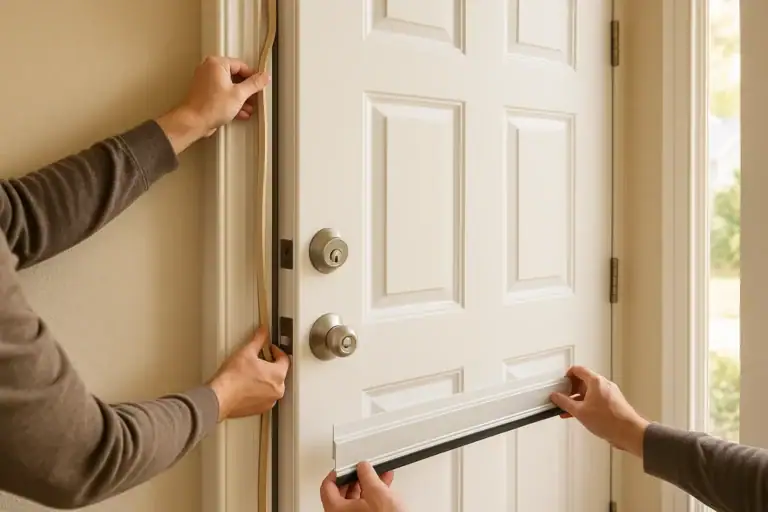
Door Sweep and Weatherstripping Comfort Upgrade Guide
Why Your Home Feels Dry Even When Humidity Is Normal
Window AC Maintenance Checklist Before Summer Heat Arrives
Washable vs Disposable HVAC Filters: Which Is Best for Your Home?
Keep reading
About this site
Signature Home Guide publishes practical, independent home guides. We aim to be clear, helpful, and transparent.
Affiliate disclosure
As an Amazon Associate, we earn from qualifying purchases. Some links on this site may be affiliate links. If you buy through these links, we may earn a small commission at no extra cost to you. This helps support our content. Learn more.