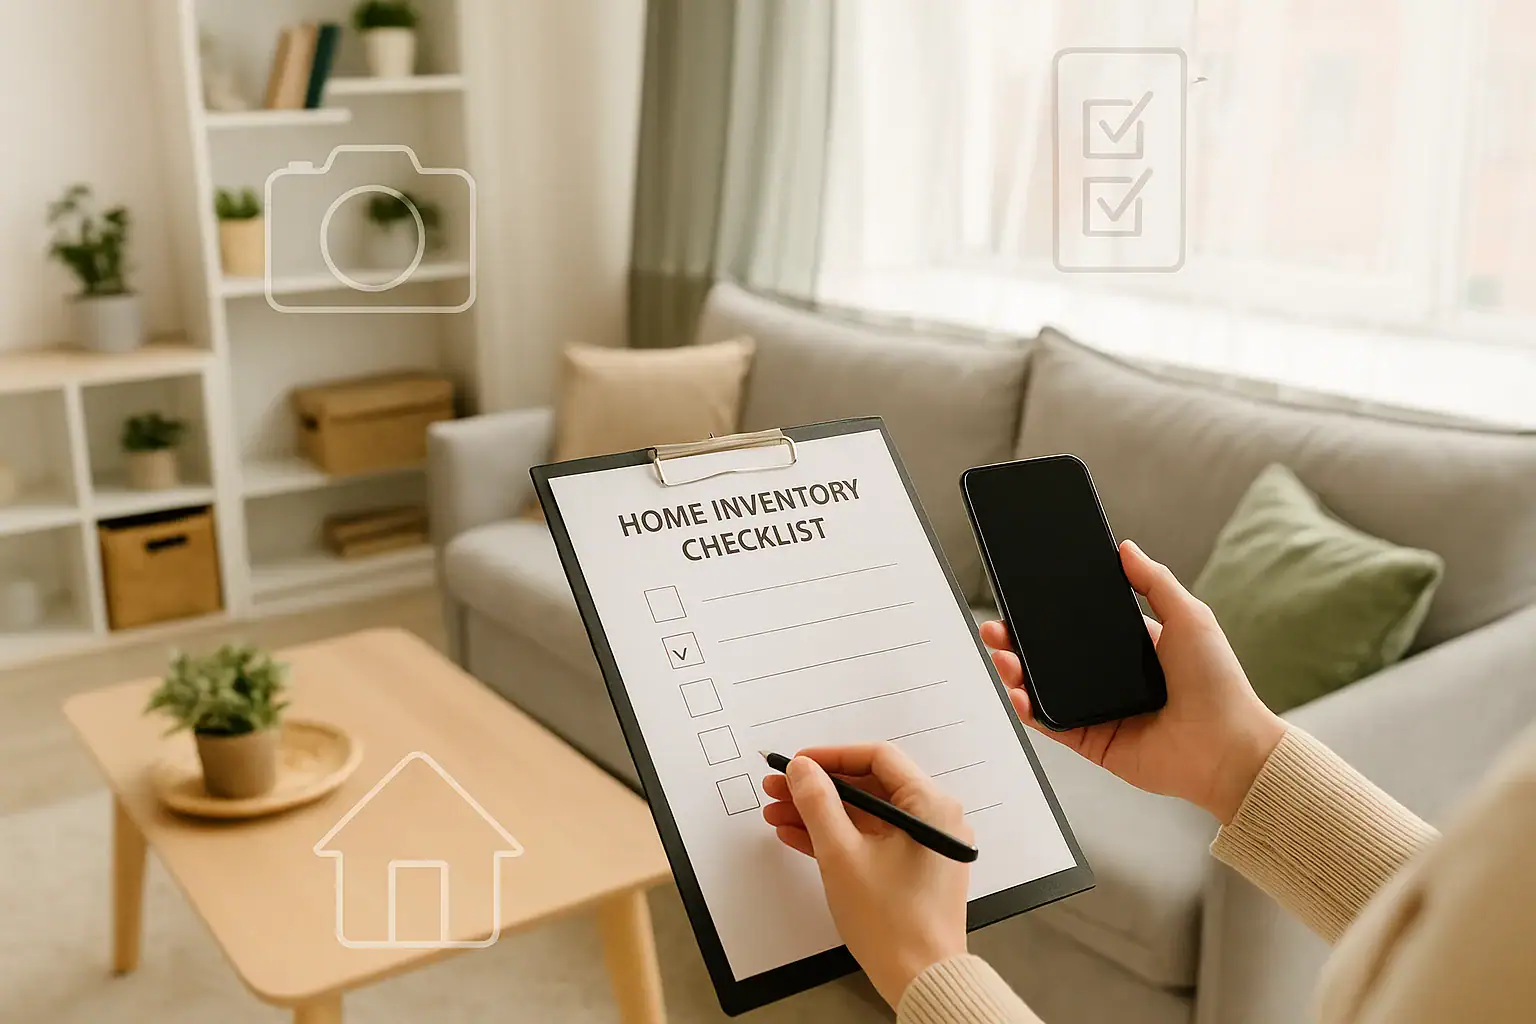
Creating a home inventory is one of the most useful steps you can take to protect yourself before a fire, burglary, storm, or other loss. When you are stressed and trying to file an insurance claim, it is very hard to remember every item you owned, when you bought it, and what it was worth. A simple, well-organized inventory makes it easier to prove ownership, estimate value, and move your claim forward faster.
You do not need expensive software or complicated systems to get started. A basic list, a smartphone camera, and a little planning can go a long way. This guide walks you through how to build a simple home inventory for insurance claims using a clear, step-by-step checklist. You will learn what to record, how to organize it, and where to store it so that your information is ready when you need it most.
Why a Home Inventory Matters for Insurance Claims
Many people only think about a home inventory after something bad happens. Unfortunately, that is when details are hardest to remember. Building an inventory ahead of time helps you:
- Prove ownership: Photos and lists show that you actually owned the items you are claiming.
- Document value: Notes about purchase dates, prices, and model details help support the amount you claim.
- Avoid missed items: A room-by-room list reduces the chances of forgetting smaller but important belongings.
- Speed up claims: Organized information helps your insurer review and process your claim more efficiently.
- Check coverage: An inventory can show whether your current coverage limits are high enough for what you own.
Think of your home inventory as a safety net for your finances. You hope you never need it, but if you do, it can make a stressful situation much more manageable.
Home Inventory Checklist: Step-by-Step Overview
Use this simple checklist to guide your process from start to finish:
- Gather basic tools and choose a format.
- Start with one room and work methodically.
- Photograph or video each area and item.
- Record key details for higher-value belongings.
- Include documents, collections, and items in storage.
- Organize and back up your inventory securely.
- Review and update your inventory regularly.
The sections below explain each step in more detail so you can build a complete, easy-to-use home inventory.
Step 1: Gather Tools and Choose Your Inventory Format
You can keep your home inventory very simple. You just need a way to list items and a way to capture images.
Basic Tools You Will Need
- Smartphone or digital camera for photos and video
- Notebook, spreadsheet, or note-taking app
- Folders or envelopes for paper receipts and documents
- Cloud storage or an external drive for backups
Choose a Format That Fits Your Style
Pick one main format and stick to it so everything stays organized:
- Spreadsheet: Good for sorting by room, category, or value. Easy to update and share.
- Document or notebook: Simple list by room with notes and printed photos if you prefer paper.
- Photo-based inventory: Photos and videos with brief labels stored in organized folders.
There is no single right way. The best format is the one you will actually maintain over time.
Step 2: Use a Room-by-Room Checklist
Trying to inventory your entire home at once can feel overwhelming. Instead, move room by room and complete one space at a time. This method helps you stay focused and reduces the chance of missing items.
Suggested Room Order
- Living room or family room
- Kitchen and dining area
- Primary bedroom and closet
- Additional bedrooms and closets
- Bathrooms
- Home office or study area
- Laundry room and utility spaces
- Garage, basement, and attic
- Outdoor areas, sheds, and storage units
What to Capture in Each Room
In every room, work through this mini-checklist:
- Take wide photos of the room from several angles.
- List large items: furniture, electronics, rugs, appliances, and decor.
- Open closets and cabinets; list and photograph contents.
- Note any items that are unusually valuable or unique.
Step 3: Photograph and Video Your Belongings
Photos and videos are powerful evidence during an insurance claim. They show the condition of your belongings and help confirm your written list.
Tips for Helpful Photos
- Use good lighting so details are clear.
- Take at least one wide shot of each wall in the room.
- Photograph individual high-value items from multiple angles.
- Capture close-ups of labels, model numbers, or serial numbers.
- Include a simple note or tag in the photo if it helps identify the item.
Using Video for a Quick Walkthrough
A slow video walkthrough can be an efficient way to document your home. As you move through each room, describe what you see out loud:
- State the room name at the beginning of each clip.
- Briefly describe major items and any special features.
- Mention estimated purchase dates or values for big-ticket items.
Later, you can use the video to fill in or verify your written list.
Step 4: Record Key Details for Important Items
You do not need to record every detail for every single item. Focus your time on higher-value belongings and things that would be expensive to replace.
Details to Include in Your Inventory List
For major items, try to record:
- Item name and description
- Brand or maker, if known
- Model name or number, if available
- Serial number for electronics or appliances
- Approximate purchase date
- Approximate purchase price or current estimated value
- Location in your home (room and area)
- Photo or video reference (file name or folder)
Categories to Pay Special Attention To
- Electronics: Televisions, computers, tablets, sound systems, cameras, gaming systems.
- Furniture: Sofas, beds, dressers, tables, desks, bookcases.
- Appliances: Refrigerators, washers, dryers, ranges, smaller countertop appliances.
- Jewelry and watches: Note descriptions, materials, and any appraisals.
- Sports and hobby equipment: Bicycles, exercise machines, musical instruments, tools.
- Decor and art: Paintings, framed prints, sculptures, handmade items.
If you are unsure about the value of an item, make your best good-faith estimate and note that it is approximate.
Step 5: Do Not Forget Documents, Collections, and Storage Areas
Some of the most important items in your home are not on display. They may be in file cabinets, closets, or storage boxes. Include them in your inventory so they are not overlooked if you ever file a claim.
Important Documents to Include
Make digital copies or at least list the existence and location of:
- Passports and birth certificates
- Social Security cards
- Property deeds and vehicle titles
- Tax records and financial statements
- Wills, powers of attorney, and legal documents
- Major purchase receipts and appraisals
Collections and Special Items
If you have collections or items that are hard to value, document them carefully:
- Coins, stamps, or trading cards
- Artwork or handmade crafts
- Antiques or heirlooms
- Specialty tools or equipment
Take clear photos of groups and close-ups of individual pieces that are more valuable or unique.
Garage, Basement, Attic, and Outdoor Spaces
These areas often hold more value than people realize. Be sure to include:
- Power tools and yard equipment
- Seasonal decorations and outdoor furniture
- Sporting goods and camping gear
- Stored clothing, linens, and household supplies
- Items in sheds, storage units, or parked vehicles
Step 6: Organize and Store Your Home Inventory Safely
Once you have gathered photos, videos, and lists, take time to organize everything so it is easy to find later. The goal is to make your inventory simple to use during a claim and safe from loss.
Organizing Your Files
Consider using a clear folder structure, such as:
- Home-Inventory/
- 01-Living-Room
- 02-Kitchen
- 03-Primary-Bedroom
- 04-Other-Bedrooms
- 05-Office
- 06-Garage-Basement
- 07-Documents
Save your main list (spreadsheet or document) in the top-level folder, and keep photos and videos in subfolders labeled by room.
Backup and Security Tips
- Store a copy of your inventory in secure cloud storage so it is accessible even if your home is damaged.
- Keep a backup on an external drive or USB drive stored in a safe place.
- Consider printing a summary list and keeping it in a fire-resistant box.
- Protect digital files with strong passwords and, if possible, two-factor authentication.
Make sure a trusted family member or executor knows how to access your inventory in case you are unable to do so.
Step 7: Keep Your Home Inventory Updated
A home inventory is most useful when it reflects what you currently own. You do not need to update it every day, but a simple routine will help keep it accurate.
Easy Ways to Stay Current
- Add new big-ticket items: When you buy a major item, snap a photo, save the receipt, and add it to your list.
- Note major changes: Record when you sell, donate, or give away high-value belongings.
- Schedule a review: Once a year, walk through your home with your list and make quick updates.
- Update after renovations: If you remodel or make significant improvements, document the changes and costs.
Even if your inventory is not perfect, an updated list is far better than trying to reconstruct everything from memory after a loss.
Sample Home Inventory Checklist by Room
Use this sample checklist as a starting point. Customize it based on your home and lifestyle.
Living Room or Family Room
- Sofa, chairs, coffee table, side tables
- Television and sound equipment
- Streaming devices, gaming consoles, media players
- Bookshelves, books, and decorative items
- Rugs, lamps, curtains, and wall art
Kitchen and Dining Area
- Refrigerator, range, microwave, dishwasher
- Smaller appliances such as mixers or blenders
- Cookware, bakeware, and kitchen tools
- Dinnerware, glassware, and flatware
- Dining table, chairs, and storage cabinets
Bedrooms and Closets
- Beds, mattresses, and bedding
- Dressers, nightstands, and storage chests
- Clothing, shoes, and accessories
- Jewelry boxes and watches
- Personal electronics such as tablets or speakers
Home Office or Study Area
- Desk, chair, and filing cabinets
- Computers, monitors, printers, and networking equipment
- External drives and backup devices
- Reference books and office supplies
- Important paper files and records
Garage, Basement, and Outdoor Areas
- Power tools and hand tools
- Lawn mower, trimmer, and yard equipment
- Bicycles, sports gear, and camping equipment
- Outdoor furniture and grills
- Seasonal decor and storage bins
How Your Home Inventory Supports Insurance Discussions
A clear home inventory does more than help after a loss. It can also support conversations about your coverage before anything happens.
- Check coverage limits: Compare the total estimated value of your belongings to the personal property limit on your policy.
- Identify special items: Some categories, such as jewelry or collectibles, may have lower limits unless you schedule them separately.
- Discuss documentation: Ask your insurer what types of records they prefer to see during a claim.
- Clarify replacement terms: Confirm whether your policy is based on replacement cost or actual cash value.
Having a detailed list in hand makes these conversations more concrete and helps you adjust your coverage if needed.
Bringing It All Together
Building a simple home inventory for insurance claims does not have to be complicated or time-consuming. By following a clear checklist, moving room by room, and using tools you already have, you can create a solid record of your belongings and their value.
Start small by choosing one room and completing it this week. Save your photos, write down key details, and back everything up. Over time, you will build a complete, organized inventory that can help protect your finances and reduce stress if you ever face a loss.
Your future self will be glad you took the time now to document what you have and put a simple, reliable system in place.
 Medication Lockbox and Cleaning Supply Safety Storage Checklist
 How to Store Important Documents at Home and in the Cloud: A Practical Guide
 How to Test GFCI Outlets Safely in Bathrooms and Kitchens: A Simple Checklist