A weak or uneven stream from your kitchen faucet can turn simple tasks like rinsing dishes or filling pots into a daily frustration. In many homes, the problem is not the plumbing or the faucet itself, but the small part at the tip of the spout: the aerator. Over time, aerators collect mineral deposits, sand, rust, and tiny bits of debris that restrict the flow of water and cause spraying or splashing. The good news is that cleaning a kitchen faucet aerator is an easy, low-cost project you can do in less than an hour with basic tools and common household supplies. This guide walks you through how to remove, clean, and reinstall your aerator safely, plus how to troubleshoot stubborn buildup and prevent future clogs.
On this page(click to collapse)
- What a Kitchen Faucet Aerator Does and Why It Clogs
- Signs Your Kitchen Faucet Aerator Needs Cleaning
- Tools and Supplies You Will Need
- Step 1: Identify Your Kitchen Faucet Aerator Type
- Step 2: Safely Remove the Aerator
- Step 3: Disassemble the Aerator Carefully
- Step 4: Soak the Aerator Parts to Remove Mineral Buildup
- Step 5: Scrub and Rinse the Aerator Components
- Step 6: Reassemble and Reinstall the Aerator
- Step 7: Test Water Flow and Troubleshoot Problems
- How Often to Clean a Kitchen Faucet Aerator
- Tips to Reduce Future Buildup and Keep Water Flowing Smoothly
- When to Replace the Aerator Instead of Cleaning It
- Enjoy Better Water Flow from Your Kitchen Faucet
- Related guides
What a Kitchen Faucet Aerator Does and Why It Clogs
The aerator is the small fitting at the end of your kitchen faucet spout. It usually looks like a metal or plastic ring with a fine screen inside. Its job is to mix air with the water stream so you get a smooth, even flow that uses less water while still feeling strong.
Inside a typical aerator you will find:
- A housing or outer shell that screws onto the faucet
- One or more fine screens that catch debris
- Small internal parts that help shape and soften the water stream
- Rubber or silicone washers or O-rings that seal the connection
Over time, several things can clog those screens and passages:
- Hard water minerals such as calcium and lime that leave crusty white deposits
- Sediment and sand from the water supply or plumbing work
- Rust flakes from older pipes or fixtures
- Fine debris stirred up after plumbing repairs or water main work
When buildup collects, the faucet may still run, but with reduced pressure, an uneven spray, or water shooting sideways. Cleaning the aerator usually restores normal flow without replacing the faucet or calling a plumber.
Signs Your Kitchen Faucet Aerator Needs Cleaning
Before you assume there is a major plumbing issue, look for these common signs that point to a dirty or clogged aerator:
- Noticeably weaker water flow compared with other faucets in the home
- Water spraying in odd directions or a stream that breaks apart
- Uneven flow that is strong on one side and weak on the other
- Visible white, green, or brown buildup on or around the aerator
- Spitting, sputtering, or pulsing water when you turn the faucet on
If your kitchen faucet has any of these symptoms but other faucets seem fine, the aerator is a logical first place to check.
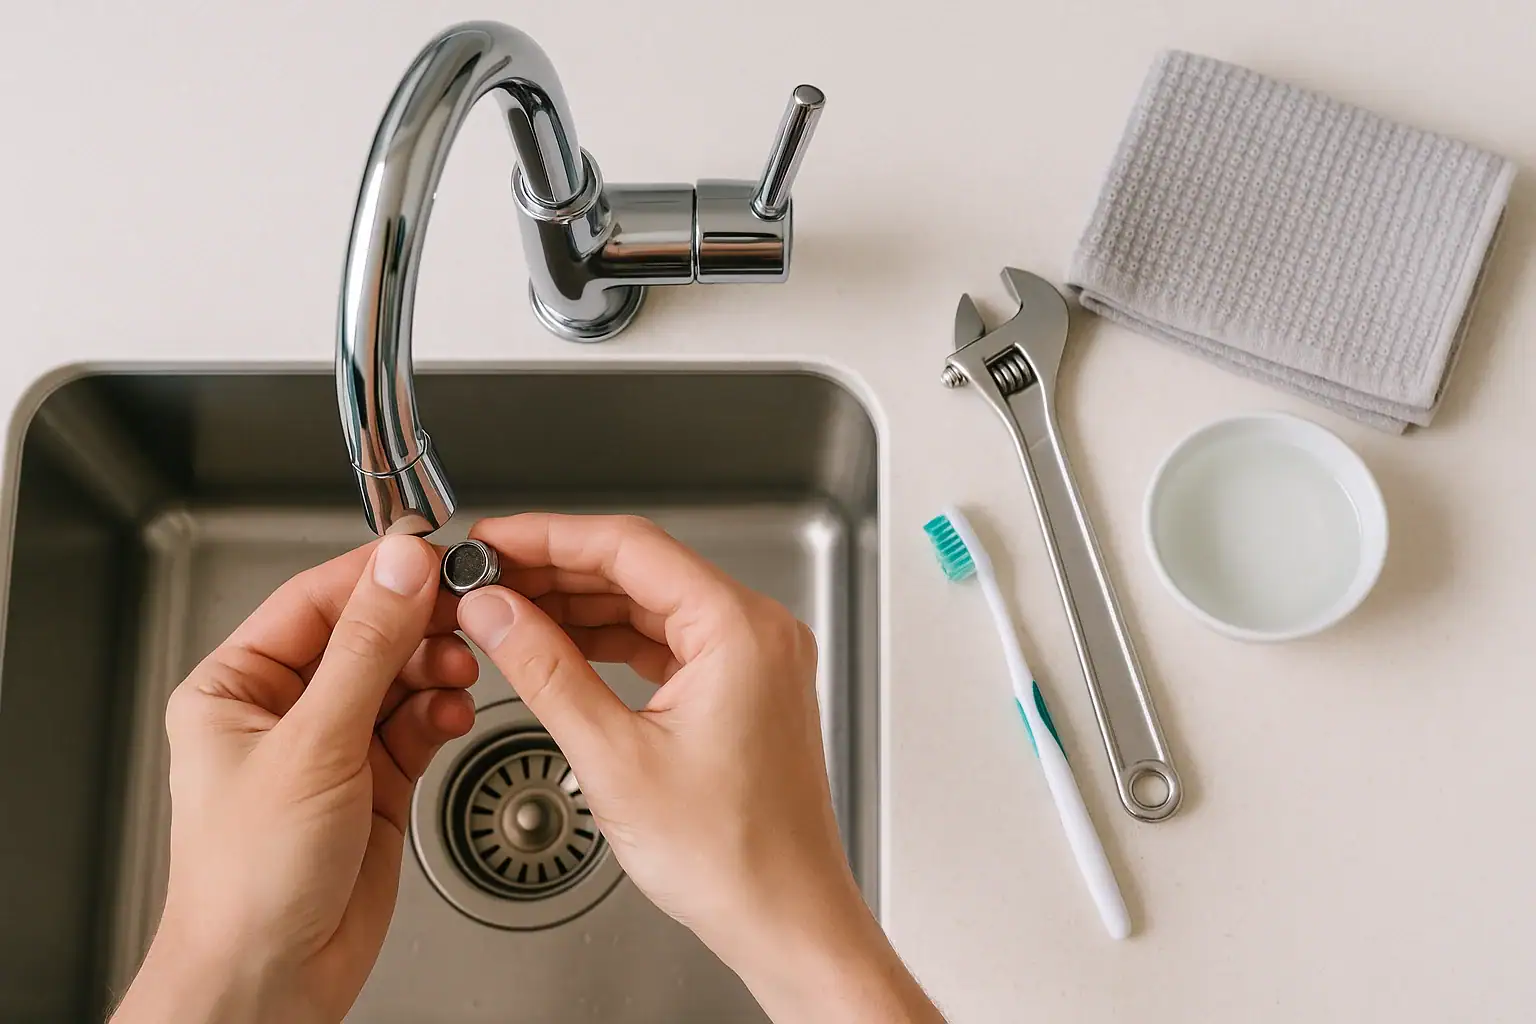
Tools and Supplies You Will Need
You can usually clean a kitchen faucet aerator with items you already have at home. Gather these supplies before you start:
- Adjustable wrench or small pliers (if the aerator is tight)
- Soft cloth or rag to protect the finish
- Small bowl or cup
- White vinegar
- Warm water
- Old toothbrush or small nylon brush
- Toothpick, safety pin, or straightened paper clip
- Masking tape or painter’s tape (optional for extra protection)
- Towel to cover the sink and catch small parts
Having everything ready makes it easier to take the aerator apart, clean it thoroughly, and put it back together without losing any tiny pieces.
Step 1: Identify Your Kitchen Faucet Aerator Type
Most kitchen faucets use one of two common aerator styles:
Standard Threaded Aerator
This type is easy to spot. It looks like a small round cap at the end of the spout with visible edges or flats where a wrench could grip. It usually screws off by turning it counterclockwise when viewed from below.
Hidden or Recessed Aerator
Some newer faucets use a recessed aerator that sits up inside the spout. You may see only a flat opening with a small ring or notches inside. These often require a special key or tool to remove.
If you are not sure which type you have, run your finger around the tip of the spout. If you can feel a cap with edges, it is likely a standard aerator. If the opening is smooth and flat, it may be a hidden style.
Step 2: Safely Remove the Aerator
Before you start, place a towel or cloth in the sink to cushion any parts that might fall. This also helps prevent small pieces from going down the drain.
Removing a Standard Threaded Aerator
- Try by hand first. Grip the aerator housing firmly and turn it counterclockwise (as you look up at it from below). Many aerators will loosen by hand.
- Protect the finish. If it is stuck, wrap a soft cloth around the aerator to avoid scratching it. You can also add a layer of masking tape for extra protection.
- Use a wrench or pliers. Adjust the tool to fit snugly over the aerator, then gently turn counterclockwise. Avoid squeezing too hard, which can crush or deform the housing.
- Catch any loose parts. As the aerator comes off, hold your other hand under it so internal pieces do not drop into the sink.
Removing a Hidden or Recessed Aerator
- Look for a removal tool. Many hidden aerators are designed to be removed with a small plastic or metal key that fits into notches inside the spout.
- Insert the key. Line up the key with the notches and push it in firmly.
- Turn counterclockwise. Rotate the key to loosen the aerator, then unscrew it the rest of the way by hand.
- Keep track of parts. Set the aerator and any washers aside in a small bowl.
If the aerator will not budge, do not force it to the point of damaging the faucet. You can try soaking the end of the spout with a cloth soaked in vinegar for 15 to 30 minutes, then try again.
Step 3: Disassemble the Aerator Carefully
Once the aerator is off the faucet, you will usually see several parts stacked inside the housing. The order and direction of these pieces matter.
- Work over a towel. Lay a towel or cloth on the counter and work over it so small parts do not bounce or roll away.
- Push parts out gently. Use your fingers or the blunt end of a pen to push the internal pieces out of the housing.
- Lay pieces in order. Set each part down in a row in the exact order and orientation you remove them. This makes reassembly much easier.
- Note any washers or O-rings. Pay attention to where rubber seals sit, as they are important for preventing leaks.
Some modern aerators are one-piece units that you cannot fully disassemble. In that case, you can still soak and brush the entire unit to remove buildup.
Step 4: Soak the Aerator Parts to Remove Mineral Buildup
Mineral deposits are often the main reason an aerator clogs. A simple vinegar soak helps dissolve these deposits without harsh chemicals.
- Prepare a cleaning solution. Fill a small bowl with equal parts white vinegar and warm water. Make enough to completely cover the aerator parts.
- Place parts in the bowl. Drop the screens, internal pieces, and housing into the solution. Keep rubber washers nearby if you prefer not to soak them; a quick rinse is usually enough for the rubber parts.
- Soak for 30 minutes. Let the parts sit. For heavy buildup, you can soak them for up to an hour.
- Check progress. After soaking, look for softened or dissolved white crusts around the holes and screens.
If you live in an area with very hard water and the buildup is thick, you may need a second soak or a slightly longer time in the solution.
Step 5: Scrub and Rinse the Aerator Components
After soaking, a bit of gentle scrubbing will remove any remaining debris and restore clear openings in the screens.
- Use a soft brush. With an old toothbrush or small nylon brush, gently scrub each piece, especially the fine screens and small holes.
- Clear clogged holes. For stubborn deposits in individual holes, use a toothpick, safety pin, or straightened paper clip to carefully poke them clear. Avoid enlarging the holes.
- Rinse thoroughly. Hold each part under running water to wash away loosened debris and vinegar. Turn the screens at different angles to ensure all particles are flushed out.
- Inspect for damage. Look for torn screens, cracked plastic parts, or worn washers. If a part is damaged, the aerator may need replacement rather than just cleaning.
When everything looks clear and clean, shake off excess water and set the parts on a towel to dry for a few minutes.
Step 6: Reassemble and Reinstall the Aerator
Putting the aerator back together correctly is crucial for a smooth, leak-free water stream.
Reassembling the Aerator
- Follow your layout. Refer to the order in which you laid out the parts. Start with the piece that was deepest inside the housing and work outward.
- Check orientation. Some pieces have a flat side and a rounded side or arrows indicating flow direction. Make sure they are facing the same way they were before.
- Replace washers. Set any rubber washers or O-rings back into their grooves. They should sit flat without twisting.
- Test fit. Once assembled, the stack of parts should fit snugly inside the housing without rattling loosely.
Reinstalling on the Faucet
- Clean the faucet threads. Wipe the threads at the end of the faucet spout with a damp cloth to remove any grit or mineral residue.
- Start by hand. Thread the aerator onto the faucet by hand, turning clockwise. It should spin on smoothly. If it feels cross-threaded or crooked, back it off and start again.
- Snug, not overly tight. Once it is hand-tight, use your fingers to give it a final snug turn. If needed, wrap a cloth around the aerator and use a wrench for a slight additional turn, but do not overtighten.
- Check for leaks. Turn the faucet on slowly and look for drips around the aerator connection. If you see leaks, gently tighten a bit more.
Step 7: Test Water Flow and Troubleshoot Problems
After cleaning and reinstalling the aerator, test the faucet to confirm that water flow has improved.
What to Look For
- A steady, even stream of water without spraying sideways
- Stronger flow compared with before cleaning
- No leaks around the base of the aerator
If Flow Is Still Weak
If the water pressure is still low after cleaning the aerator, consider these possibilities:
- Clogged supply lines. Debris may be trapped in the flexible hoses under the sink.
- Shutoff valves partially closed. Check the hot and cold shutoff valves and make sure they are fully open.
- Issues with the cartridge or internal faucet parts. In some cases, the internal mixing valve may be restricted.
- Whole-house water pressure problems. If other fixtures also have low pressure, the issue may be with the main supply or pressure regulator.
When in doubt, you can remove the aerator again and briefly run the faucet without it. If the flow is strong without the aerator, the problem is likely in the aerator itself and may require replacement.
How Often to Clean a Kitchen Faucet Aerator
The ideal cleaning schedule depends on your local water quality and how often you use the kitchen sink.
- Every 3 to 4 months in areas with hard water or visible mineral buildup
- Every 6 to 12 months in areas with softer water and fewer deposits
- After plumbing work such as pipe repairs, water heater replacement, or main line flushing
- Whenever you notice changes in flow, spraying, or sputtering
Regular cleaning not only improves water flow but also helps keep your water stream cleaner by removing trapped debris and sediment.
Tips to Reduce Future Buildup and Keep Water Flowing Smoothly
While you cannot control everything in your water supply, a few habits can help keep your aerator cleaner for longer.
- Run the water after plumbing work. If you know work was done on the water lines, remove the aerator and run the faucet for a few minutes to flush out debris before reinstalling it.
- Wipe the spout regularly. A quick wipe around the tip of the faucet during routine cleaning helps prevent mineral crust from forming on the outside.
- Use warm, not scalding water. Extremely hot water can accelerate mineral deposits on some surfaces.
- Consider periodic vinegar soaks. Even without full disassembly, you can fill a small bag with vinegar, secure it around the faucet tip with a rubber band, and soak the aerator in place for 20 to 30 minutes.
If you find yourself cleaning the aerator very frequently due to heavy mineral buildup, you may want to explore options that help reduce hardness in your home’s water supply.
When to Replace the Aerator Instead of Cleaning It
Most aerators are inexpensive and widely available. While cleaning is usually enough, there are times when replacement makes more sense.
Consider replacing your kitchen faucet aerator if:
- The screen is torn, warped, or badly corroded
- Plastic internal parts are cracked or deformed
- Rubber washers no longer seal even after adjustment
- Mineral buildup is so heavy that it does not respond to soaking and scrubbing
- You want to change the flow rate or spray pattern
When buying a new aerator, match the thread size and style of your existing one. Kitchen faucets commonly use either male or female threads, and the diameter must match the faucet spout for a proper fit.
Enjoy Better Water Flow from Your Kitchen Faucet
Cleaning a kitchen faucet aerator is a simple home maintenance task that can make a noticeable difference in everyday kitchen use. By taking a few minutes to remove, soak, scrub, and reinstall this small part, you can restore strong, even water flow, reduce splashing, and keep debris out of your water stream. With regular attention every few months, you will extend the life of your faucet and avoid many common flow problems before they become frustrating. The next time your kitchen faucet feels weak or starts spraying in odd directions, start with the aerator. A quick cleaning may be all it takes to get your water flowing smoothly again.
For more ways to care for the water fixtures in your kitchen, explore additional guides and maintenance tips at Signature Home Guide.
Recommended next:
Related posts
Browse this topic →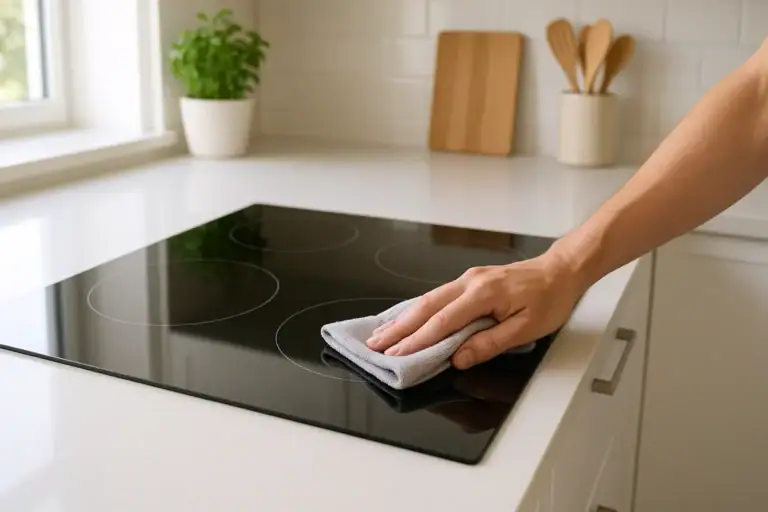
How to Clean an Induction Cooktop Without Scratches: Step-by-Step Guide
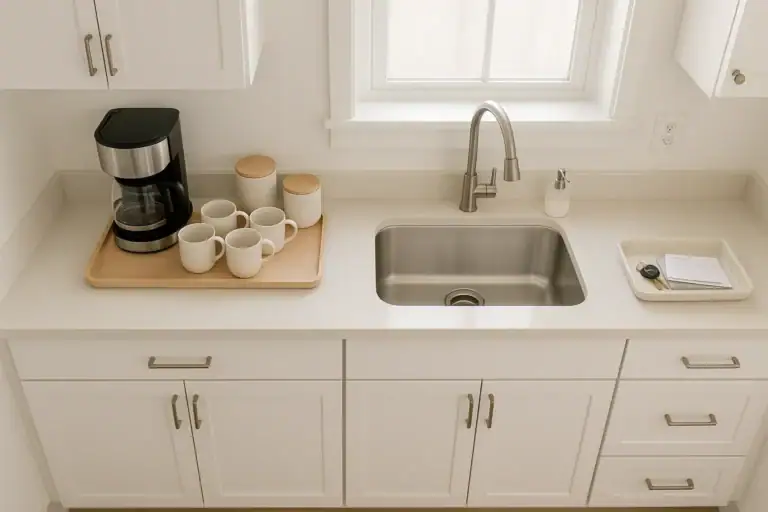
How to Tame Kitchen Countertop Clutter Zones for Coffee Prep and Drop Areas

Fridge Door Seal Test Checklist for Better Energy Use and Food Safety
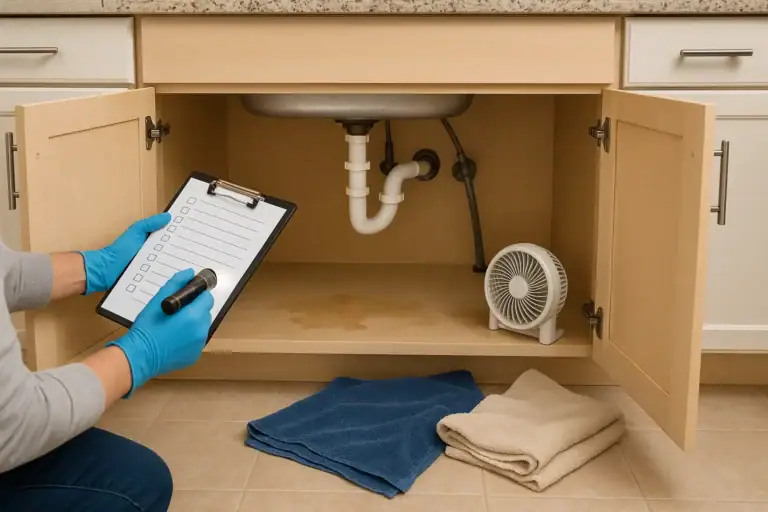
Under Sink Cabinet Water Damage: What To Check Before It Gets Worse

How to Store Flour, Rice, and Pasta to Prevent Pests at Home
Dishwasher Rinse Aid Basics: What It Does and When It Actually Helps
Keep reading

About this site
Signature Home Guide publishes practical, independent home guides. We aim to be clear, helpful, and transparent.
Affiliate disclosure
As an Amazon Associate, we earn from qualifying purchases. Some links on this site may be affiliate links. If you buy through these links, we may earn a small commission at no extra cost to you. This helps support our content. Learn more.