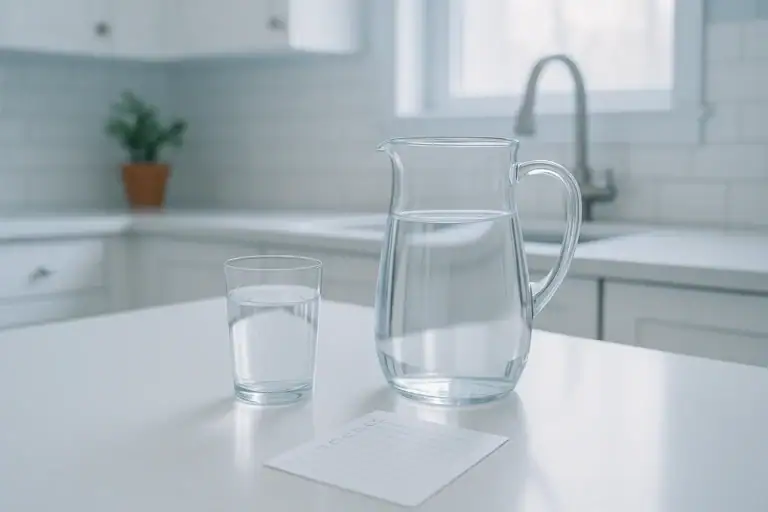
If you want cleaner, better-tasting water without calling a plumber, an under-sink water filter is one of the most practical upgrades you can make in your kitchen. These systems hide neatly in the cabinet, connect directly to your cold-water line, and deliver filtered water either through your existing faucet or a small dedicated tap. The challenge is figuring out which model is actually easy to install yourself and which ones will turn into an afternoon of frustration, leaks, and extra trips to the hardware store.
On this page(click to collapse)
- Why Choose an Under-Sink Water Filter?
- What Makes an Under-Sink Filter Easy to Install?
- Best-For Breakdown: Matching Filter Types to Your Needs
- Key Features to Look For in an Easy DIY Under-Sink Filter
- Basic Tools and Supplies You Will Need
- Step-by-Step Overview: Installing an Under-Sink Filter Without a Plumber
- Common Mistakes to Avoid When Installing an Under-Sink Filter
- Maintenance: Keeping Your Under-Sink Filter Working Its Best
- Is an Under-Sink Filter the Right Choice for Your Home?
- Related guides
This guide focuses on finding the best under-sink water filter that a typical homeowner can install without professional help. You will learn what “easy install” really means, the different filter types, what tools you need, and how to avoid common mistakes. By the end, you will be able to choose a system that fits your water quality, budget, and DIY comfort level—without paying for a service call.
Why Choose an Under-Sink Water Filter?
Under-sink filters are a popular choice for homeowners who want better water quality without the clutter of countertop units or the cost of whole-house systems. They are especially attractive if you want a project you can complete in an hour or two with basic tools.
Key benefits
- Cleaner, better-tasting water: Reduces chlorine taste and odor, sediment, and often other contaminants depending on the filter type.
- Space-saving design: Everything is tucked under the sink, leaving your counters clear.
- Lower cost than whole-house systems: You only filter the water you drink and cook with.
- DIY-friendly: Many modern systems are designed for homeowners, with quick-connect fittings and simple instructions.
- Less plastic waste: Reduces reliance on bottled water and pitcher filters.
What Makes an Under-Sink Filter Easy to Install?
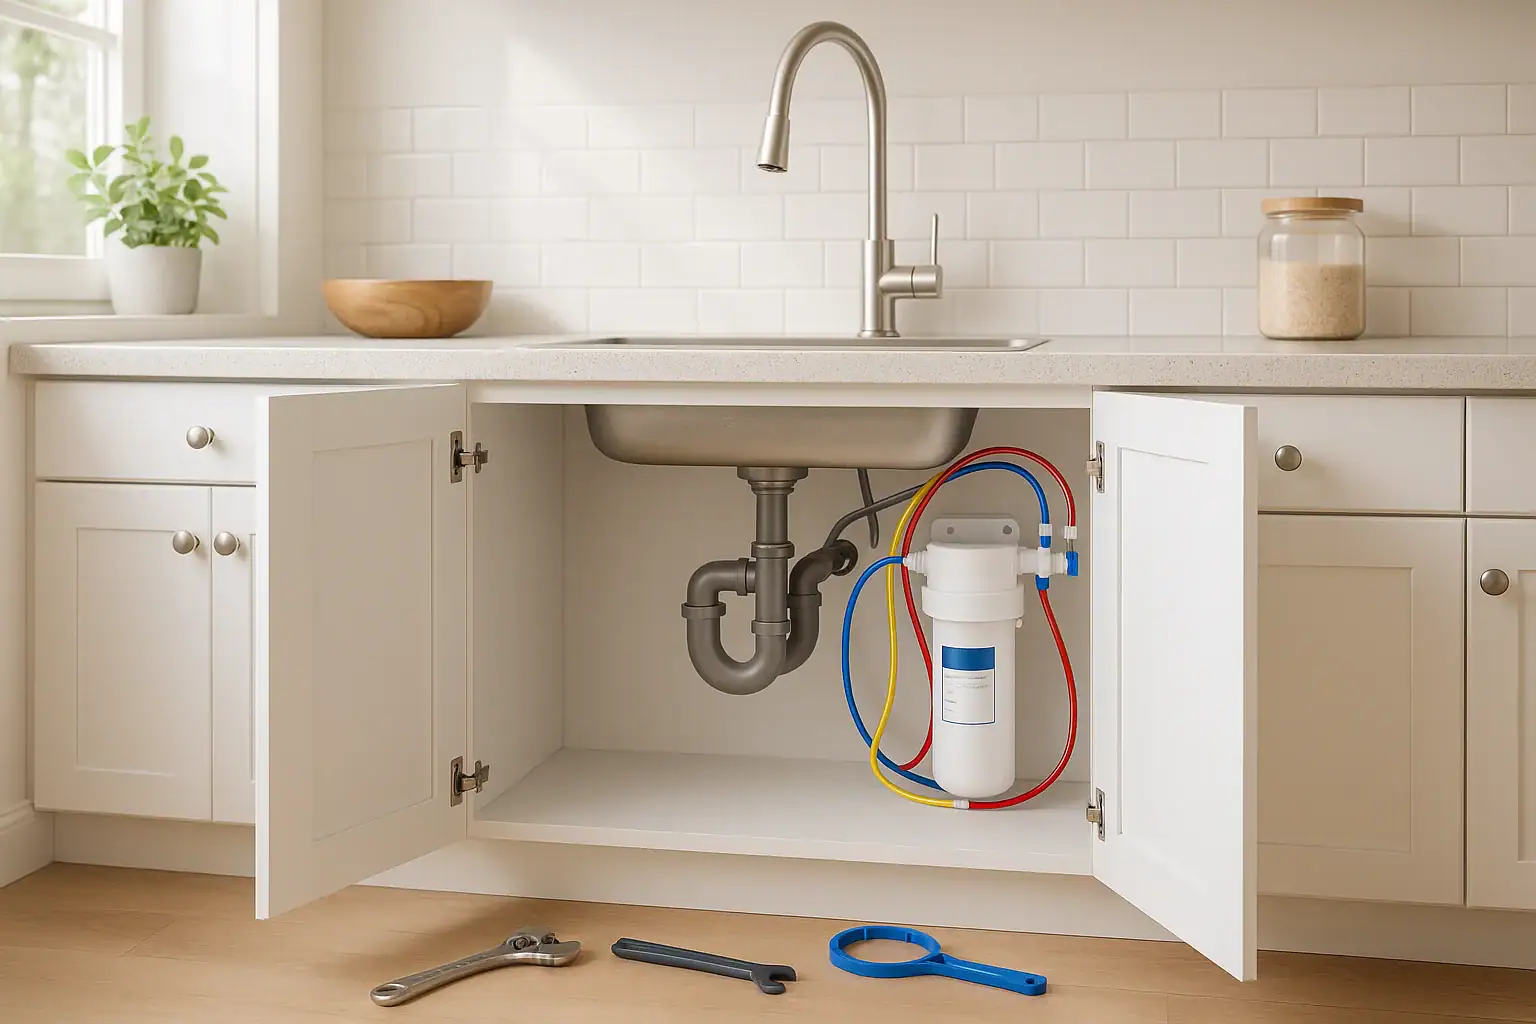
Not every under-sink water filter is truly DIY-friendly. Some require drilling through the sink or countertop, adding shutoff valves, or adapting unusual plumbing. If you want to avoid hiring a plumber, look for these features.
1. Simple connection to existing plumbing
The easiest systems usually connect directly to the cold-water shutoff valve under your sink using a T-fitting and flexible tubing. Look for:
- Standard fittings: Designed for common 3/8-inch or 1/2-inch connections found in most US kitchens.
- Quick-connect push fittings: Tubing simply pushes into the fitting and locks in place, with no special tools.
- Clear diagrams: Step-by-step illustrations that match typical US plumbing layouts.
2. Minimal or no drilling
Drilling through stainless steel or stone can be intimidating. For the easiest install:
- Choose a system that connects to your existing kitchen faucet, or
- Use a system that can connect to an existing accessory hole (like a soap dispenser hole) instead of drilling a new one.
3. Compact, lightweight filter housing
Under-sink spaces are often crowded with pipes, garbage disposals, and cleaning supplies. An easy-to-install filter should:
- Fit comfortably on the cabinet wall or back panel
- Include a simple mounting bracket and screws
- Allow enough clearance to remove and replace cartridges without disconnecting plumbing
4. Tool-free or low-tool cartridge changes
Installation is only the beginning. You will need to change filters regularly. Look for:
- Twist-and-lock cartridges that snap into place
- Color-coded or labeled connections to avoid mixing up inlet and outlet lines
- Built-in shutoff valves that stop water flow when you remove the cartridge
Best-For Breakdown: Matching Filter Types to Your Needs
“Best” depends on what is in your water, how much maintenance you are willing to do, and how confident you are with basic plumbing. Below is a best-for guide to help you choose the right under-sink filter style.
1. Best for absolute easiest install: Inline carbon under-sink filter
An inline carbon filter connects directly to your cold-water line and uses your existing faucet. It is usually the simplest option.
Best for you if:
- You mainly want to improve taste and reduce chlorine
- You prefer a quick project and minimal parts
- You do not want to add a second faucet
Pros:
- Very small and lightweight
- Few fittings and connections
- Often installs in under an hour
Cons:
- Limited contaminant reduction compared to multi-stage systems
- May reduce flow slightly at the main faucet
2. Best for balanced performance and simplicity: Two- or three-stage system
Multi-stage under-sink systems often combine sediment, carbon block, and specialty media to target a wider range of contaminants while still being DIY-friendly.
Best for you if:
- You want stronger filtration than a basic inline filter
- You are comfortable mounting a bracket and making a few connections
- You do not need ultra-purified water, but want a noticeable upgrade
Pros:
- Better reduction of chlorine, sediment, and some chemicals
- Often supports higher flow rates
- Still manageable for first-time DIYers
Cons:
- More parts and hoses than a single inline filter
- Requires more cabinet space
3. Best for maximum contaminant reduction: Under-sink reverse osmosis
Reverse osmosis (RO) systems use multiple stages and a membrane to reduce a wide range of dissolved solids and contaminants. They are more complex but still possible to install without a plumber if you are patient and follow directions closely.
Best for you if:
- You live in an area with high total dissolved solids or specific contaminants of concern
- You are comfortable with a more involved DIY project
- You are okay with adding a dedicated drinking water faucet
Pros:
- High level of filtration for many contaminants
- Great for drinking and cooking water
- Often includes a storage tank for good flow at the RO faucet
Cons:
- More tubing, fittings, and parts to manage
- Typically requires a connection to the drain line
- Installation usually takes longer than simpler systems
Key Features to Look For in an Easy DIY Under-Sink Filter
Once you know which type of filter fits your needs, compare specific features that affect installation and everyday use.
1. Certification and performance data
Look for filters that provide clear performance data and, ideally, independent certifications. For US homes, this often means testing to recognized standards for reduction of chlorine, taste and odor, and other contaminants. Check the product documentation for specific claims and performance charts.
2. Clear, illustrated instructions
Instructions can make or break a DIY project. An easy-install system should include:
- Step-by-step diagrams for each connection
- A parts list with pictures so you can identify fittings
- Estimated install time and required tools
3. Quick-connect fittings and color-coded tubing
Quick-connect fittings allow you to push tubing into place without wrenches. Color-coded tubing (for example, blue for filtered water, red for feed water) makes it harder to mix up lines. This is especially helpful for first-time installers.
4. Built-in shutoff or bypass
Some under-sink filters include a built-in shutoff valve or bypass valve. This lets you:
- Turn off water to the filter without shutting off the whole sink
- Change cartridges without splashing or leaks
- Bypass the filter temporarily if needed
5. Reasonable filter life and replacement cost
Consider how often you will need to replace cartridges and how much they cost. Longer-life filters reduce maintenance, but you still want replacements to be easy to find and install. Check:
- Recommended replacement interval (often 6–12 months)
- Approximate gallons of capacity
- Price of replacement cartridges
Basic Tools and Supplies You Will Need
Most easy-install under-sink filters are designed for common household tools. Before you start, gather:
- Adjustable wrench or basic wrench set
- Phillips and flathead screwdrivers
- Drill and bits (only if you need to mount a bracket or add a faucet)
- Utility knife or tubing cutter (for plastic tubing)
- Towel or small bucket to catch water from lines
- Plumber’s tape if recommended by the manufacturer
Always read the specific instructions for your filter. Some systems include all necessary fittings and even a small wrench or drill bit.
Step-by-Step Overview: Installing an Under-Sink Filter Without a Plumber
Every model is different, but most follow a similar sequence. Use this overview to understand what is involved before you buy.
Step 1: Clear and inspect the cabinet
Remove everything from under the sink so you can see the plumbing clearly. Identify:
- The cold-water shutoff valve
- The flexible hose leading to your faucet
- Any garbage disposal or dishwasher connections
Step 2: Turn off water and relieve pressure
Turn the cold-water shutoff valve clockwise until it stops. Open your kitchen faucet to relieve pressure and verify that cold water is off. Keep a towel or small bucket ready for any remaining water in the line.
Step 3: Disconnect the cold-water line
Use a wrench to loosen the nut connecting the cold-water hose to the shutoff valve. Carefully separate the connection and allow any water to drain into your towel or bucket.
Step 4: Install the T-fitting or adapter
Your filter kit should include a T-fitting or adapter that connects to the shutoff valve and provides an outlet for the filter. Attach it according to the instructions, making sure any washers or seals are in place. Hand-tighten first, then snug with a wrench—do not overtighten.
Step 5: Mount the filter housing
Hold the filter bracket against the cabinet wall or back panel to find a spot that allows enough clearance for cartridge changes. Mark the screw locations, then drill pilot holes if needed. Secure the bracket with the provided screws and attach the housing.
Step 6: Connect tubing
Measure and cut tubing to length using a sharp utility knife or tubing cutter. Avoid sharp bends or kinks. Then:
- Connect the feed line from the T-fitting to the filter inlet
- Connect the outlet line from the filter to your faucet line or dedicated faucet
- Push tubing fully into quick-connect fittings until it seats firmly
Step 7: Turn water back on and check for leaks
Slowly open the cold-water shutoff valve. Watch each connection closely for several minutes. If you see drips:
- Gently tighten threaded connections
- Push tubing further into quick-connect fittings
- Verify that any O-rings or washers are seated correctly
Step 8: Flush the filter
Most filters require an initial flush to remove air and loose carbon particles. Run water through the system for the time or volume specified in the instructions, usually several minutes. The water may appear cloudy or dark at first; this should clear as you flush.
Common Mistakes to Avoid When Installing an Under-Sink Filter
Even an easy-install system can cause headaches if a few basics are overlooked. Keep these points in mind:
- Skipping the shutoff: Always turn off the cold-water valve and verify that water is off before disconnecting lines.
- Cutting tubing too short: Leave gentle curves in the tubing so it is not stretched or kinked.
- Overtightening fittings: This can damage threads or crush washers, leading to leaks.
- Ignoring clearance: Make sure you can remove cartridges without disassembling everything.
- Forgetting to flush: Failing to flush can leave carbon fines in your water and shorten filter life.
Maintenance: Keeping Your Under-Sink Filter Working Its Best
Once your filter is installed, maintenance is straightforward. A few simple habits will keep your water tasting great and your system running smoothly.
Track replacement dates
Write the installation date on the filter housing or on a piece of tape inside the cabinet. Set a reminder on your phone or calendar for the recommended replacement interval. If your water starts to taste different or flow slows noticeably, it may be time to change cartridges sooner.
Check for leaks periodically
Every month or so, open the cabinet and feel around the filter and fittings for moisture. Catching a small drip early can prevent cabinet damage.
Flush after cartridge changes
Whenever you install a new cartridge, follow the manufacturer’s flushing instructions. This ensures any trapped air and loose media are cleared before regular use.
Is an Under-Sink Filter the Right Choice for Your Home?
If you want a noticeable improvement in drinking and cooking water without major plumbing work, an under-sink filter is often the best balance of performance, cost, and convenience. For most US households, a compact carbon or multi-stage system offers a strong upgrade in taste and basic contaminant reduction with a manageable DIY installation.
Before you buy, take a few minutes to think about your specific goals:
- Do you simply want better-tasting water, or do you have specific contaminants to address?
- How much cabinet space do you have under the sink?
- Are you comfortable mounting a bracket and connecting a few hoses?
- Would you prefer to use your main faucet or add a separate drinking water tap?
Once you answer these questions, you can confidently choose the under-sink water filter that is best for your home and easiest for you to install without a plumber. With a free afternoon, basic tools, and a clear set of instructions, you can enjoy cleaner, fresher water straight from your kitchen sink.
Recommended next:
Related posts
Browse this topic →
How to Clean an Induction Cooktop Without Scratches: Step-by-Step Guide
How to Tame Kitchen Countertop Clutter Zones for Coffee Prep and Drop Areas
Fridge Door Seal Test Checklist for Better Energy Use and Food Safety
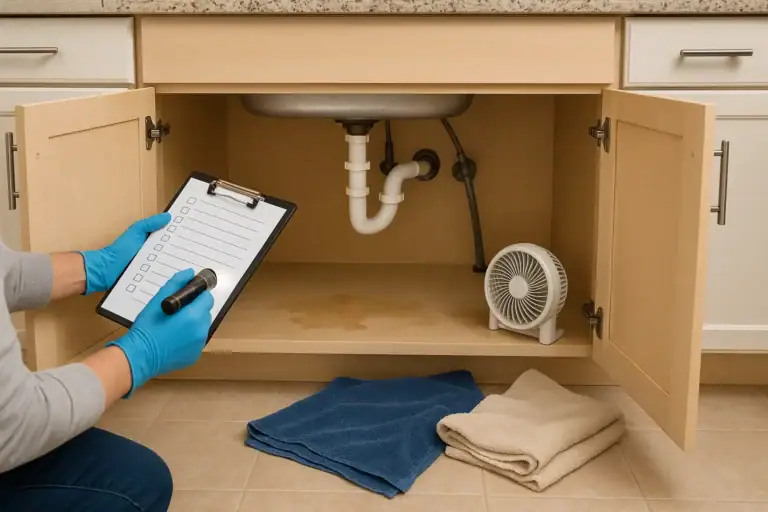
Under Sink Cabinet Water Damage: What To Check Before It Gets Worse
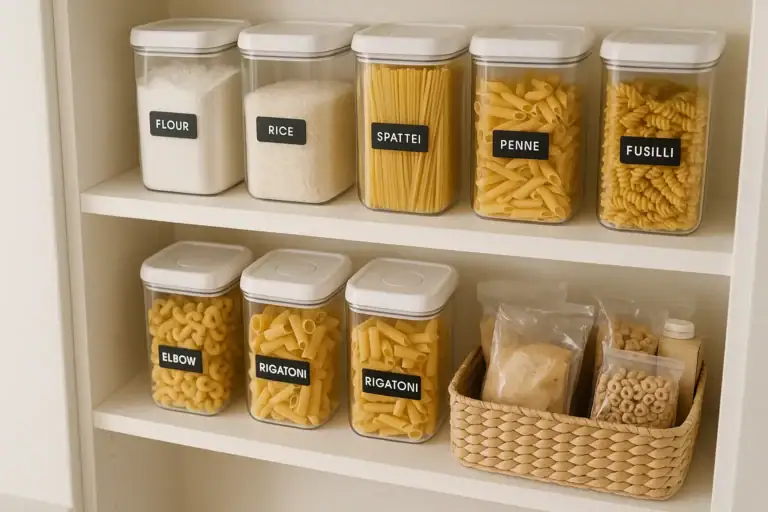
How to Store Flour, Rice, and Pasta to Prevent Pests at Home
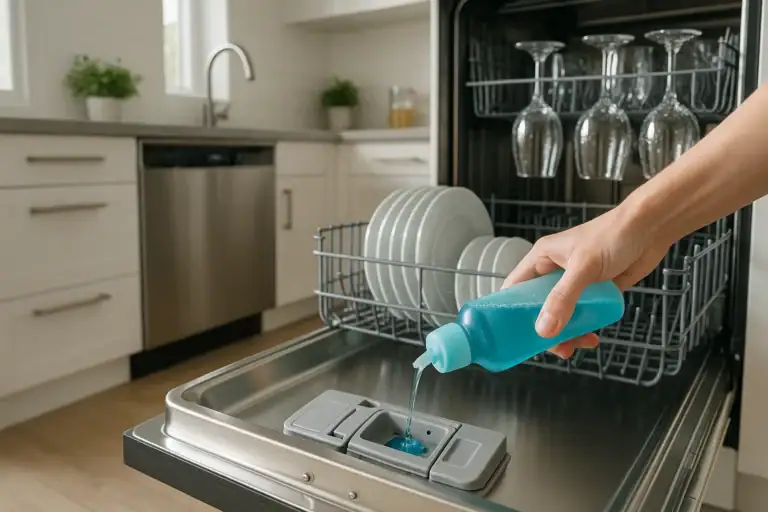
Dishwasher Rinse Aid Basics: What It Does and When It Actually Helps
Keep reading
About this site
Signature Home Guide publishes practical, independent home guides. We aim to be clear, helpful, and transparent.
Affiliate disclosure
As an Amazon Associate, we earn from qualifying purchases. Some links on this site may be affiliate links. If you buy through these links, we may earn a small commission at no extra cost to you. This helps support our content. Learn more.