If your kitchen or bathroom faucet has gone from a strong stream to a weak trickle, the problem is often much simpler than a failing fixture or plumbing issue. In many homes, especially in areas with hard water, mineral deposits, sand, and tiny bits of debris slowly clog the small screen at the end of the faucet spout. This part is called the aerator, and cleaning it is one of the easiest ways to restore water flow and improve how your faucet works.
On this page(click to collapse)
- What Is a Faucet Aerator and Why It Matters
- Signs Your Faucet Aerator Needs Cleaning
- Tools and Supplies You Will Need
- Step-by-Step: How to Remove a Faucet Aerator
- How to Disassemble and Inspect the Aerator
- How to Clean a Faucet Aerator to Improve Water Flow
- Reassembling and Reinstalling the Aerator
- Testing Water Flow After Cleaning
- How Often Should You Clean a Faucet Aerator?
- What to Do If the Aerator Is Stuck
- When to Replace Instead of Clean
- Simple Tips to Prevent Future Clogs
- Final Thoughts
- Related guides
Cleaning a faucet aerator is a quick, low-cost project you can handle without calling a plumber. With a few basic tools and common household items, you can remove buildup, clear out trapped particles, and get your faucet running smoothly again. This guide walks you through how to identify a clogged aerator, remove it safely, clean it thoroughly, and reinstall it correctly. You will also learn how often to clean it, what to do if it is stuck, and simple tips to prevent future clogs.
What Is a Faucet Aerator and Why It Matters
A faucet aerator is the small fitting screwed onto the tip of your faucet spout. It usually looks like a metal or plastic ring with a small screen inside. When water flows through the aerator, it is mixed with air, which helps control splashing, smooth out the stream, and reduce water use without making it feel weak.
How the Aerator Affects Water Flow
The aerator has several small parts that work together:
- Outer housing: The ring or shell that screws onto the faucet.
- Screen or mesh: Catches debris such as sand, rust, and sediment.
- Flow restrictor and mixer: Directs water and adds air to the stream.
- Rubber washer or gasket: Seals the connection to prevent leaks.
Over time, minerals from hard water, small pieces of sediment, and even tiny bits of plumbing materials can collect on the screen and internal parts. As the openings get smaller, your water flow drops, and the stream may start to spray sideways or look uneven.
Signs Your Faucet Aerator Needs Cleaning
Before you assume you have a major plumbing problem, check for common signs that your aerator is clogged or dirty.
- Weaker water flow: The faucet used to run strong but now only trickles or dribbles.
- Uneven spray: Water sprays at odd angles or comes out in multiple thin streams.
- Noise at the faucet tip: Whistling or sputtering sounds as water passes through buildup.
- Visible buildup: White, green, or brown deposits around the tip of the faucet or on the aerator.
- Only one faucet is affected: Other faucets in the home have normal flow, pointing to a local issue at the aerator.
If one faucet has poor flow while others are fine, the aerator is the most likely culprit. If multiple faucets have low pressure, you may have a larger plumbing or supply issue, but cleaning aerators is still a smart first step.
Tools and Supplies You Will Need
You do not need special equipment to clean a faucet aerator. Most items are basic household tools and cleaners.
Basic Tools
- Adjustable wrench or slip-joint pliers
- Soft cloth or rag (to protect the aerator finish)
- Small bowl or cup (for soaking parts)
- Old toothbrush or small nylon brush
- Straight pin, sewing needle, or toothpick
Cleaning Supplies
- White vinegar (for dissolving mineral deposits)
- Warm water
- Mild dish soap
- Towel for drying parts and catching drips
If your aerator is heavily corroded or damaged, you may also want a replacement aerator on hand. They are generally inexpensive and come in several flow rates and sizes.
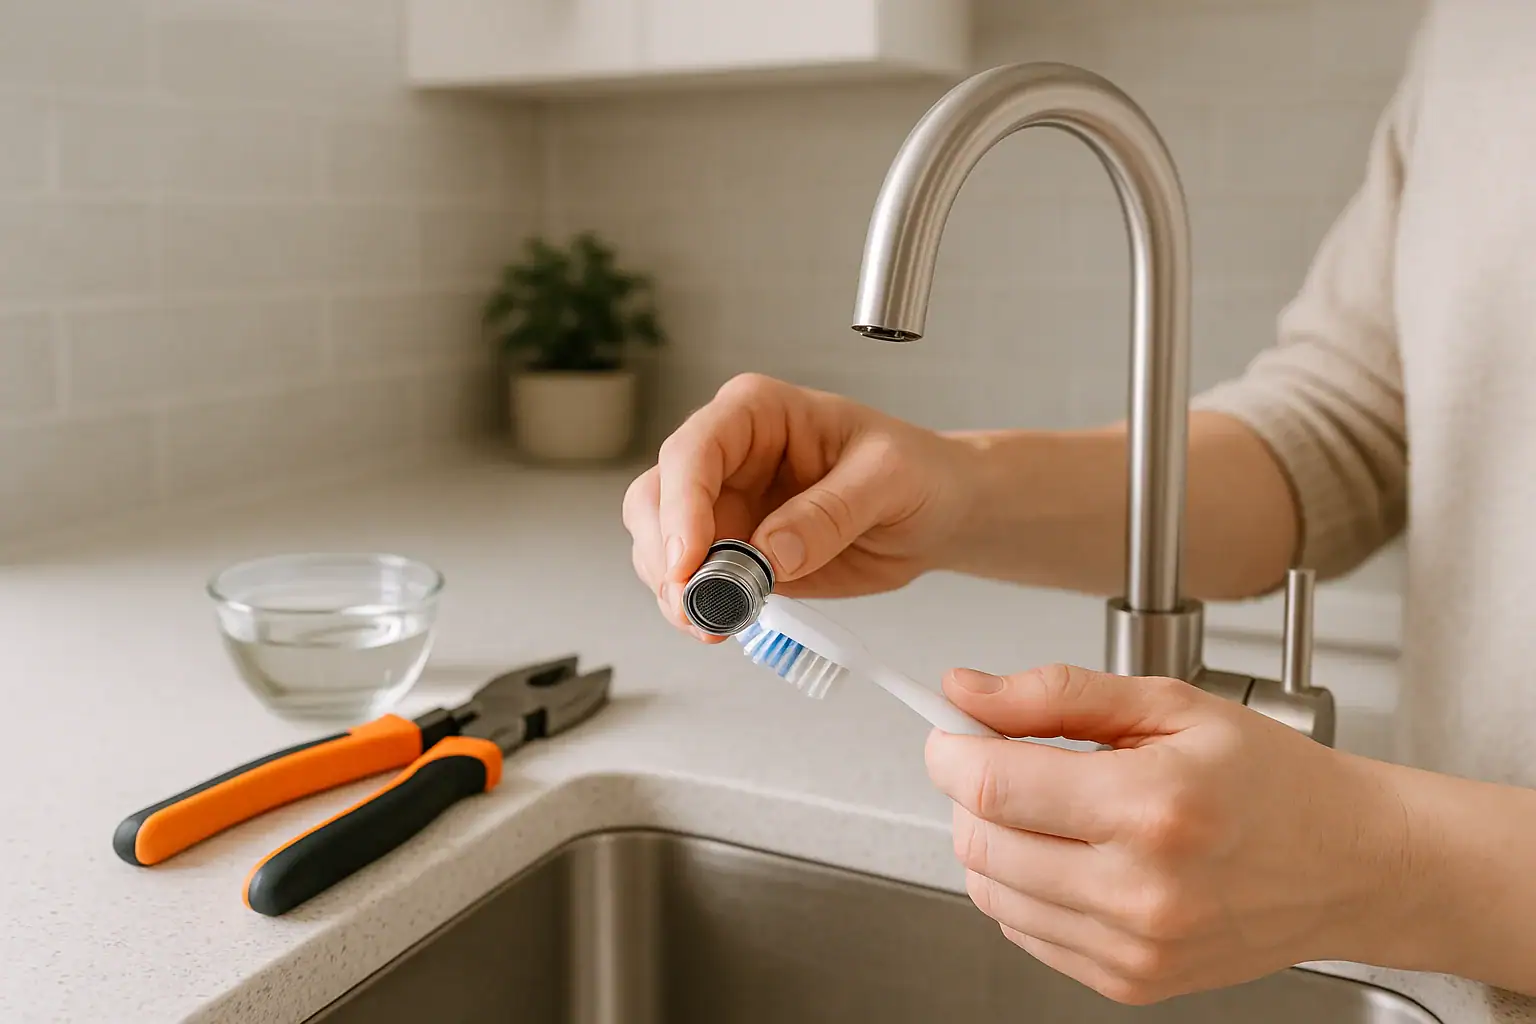
Step-by-Step: How to Remove a Faucet Aerator
Before you can clean the aerator, you need to remove it from the faucet. Take your time here to avoid scratching the finish or damaging the threads.
1. Prepare the Area
- Place a towel or folded cloth in the sink to cushion any parts that may fall.
- Plug the drain or use a sink strainer so small pieces cannot wash away.
- Turn off the faucet and wipe the spout dry so you can get a good grip.
2. Check for a Hidden or Recessed Aerator
Most older faucets have a visible aerator ring at the end of the spout. Newer faucets sometimes use a recessed aerator that sits inside the spout and may require a special key or tool. If you do not see a ring you can grab, look inside the spout for a small circular insert.
If you have a recessed aerator and no tool, you may be able to carefully turn it with a coin or a small flat-head screwdriver, but avoid forcing it. If it will not move, consider getting the correct removal key from a hardware store.
3. Try Removing the Aerator by Hand
For standard aerators:
- Grip the aerator housing at the tip of the faucet with your fingers.
- Turn it counterclockwise (left) to loosen.
- If it starts to move, continue turning until it comes off completely.
If it will not budge by hand, move on to using a tool.
4. Use a Wrench or Pliers Carefully
- Wrap the aerator with a soft cloth or rag to protect the finish.
- Place an adjustable wrench or pliers over the wrapped aerator.
- Gently turn counterclockwise. Use steady pressure rather than sudden force.
- Once it loosens, remove the tool and finish unscrewing by hand.
Set the aerator and any loose parts in a small bowl so nothing rolls away.
How to Disassemble and Inspect the Aerator
Most aerators are made of several small pieces stacked together. Disassembling them makes cleaning more effective.
1. Note the Order of the Parts
- Hold the aerator over a towel or bowl.
- Gently push the inner parts out of the housing with your finger or the end of a pen.
- Lay the pieces out in order as they come out: housing, screen, flow insert, mixer, and washer.
You can also take a quick photo with your phone to remember how everything fits back together.
2. Inspect for Damage and Buildup
Look closely at each piece:
- Screen: Check for heavy mineral crust, rust, or torn mesh.
- Plastic inserts: Look for cracks, warping, or clogged openings.
- Washer: Make sure the rubber gasket is flexible and not split or brittle.
If parts are badly corroded or damaged, replacing the entire aerator may be easier than trying to restore it.
How to Clean a Faucet Aerator to Improve Water Flow
Once the aerator is disassembled, you can remove mineral deposits, sediment, and slimy buildup with a simple soaking and scrubbing process.
1. Soak Parts in Vinegar
- Fill a small bowl with equal parts white vinegar and warm water.
- Place the metal housing, screen, and plastic inserts into the solution.
- Let them soak for 15 to 30 minutes. For heavy buildup, you can soak up to a few hours.
Vinegar helps dissolve hard water deposits such as calcium and lime without harsh chemicals. If you have delicate finishes, avoid soaking the outer surface for too long and wipe it instead.
2. Scrub Away Remaining Deposits
- Remove parts from the vinegar solution.
- Use an old toothbrush or small nylon brush to gently scrub the screen and openings.
- For stubborn deposits in tiny holes, use a straight pin, needle, or toothpick to clear them carefully.
- Rinse each part under running water as you scrub.
Be gentle with plastic inserts so you do not bend or crack them. The goal is to open all the small passages so water can flow freely again.
3. Wash with Mild Soap and Rinse
- After scrubbing, add a drop of mild dish soap to the brush.
- Give each piece a final cleaning to remove any remaining residue.
- Rinse thoroughly under running water until no soap remains.
- Shake off excess water and place parts on a towel to dry.
Reassembling and Reinstalling the Aerator
Putting the aerator back together correctly is important for both water flow and preventing leaks.
1. Reassemble the Aerator
- Start with the aerator housing placed upright.
- Insert the internal pieces in the reverse order you removed them, usually:
-
- Flow insert or mixer
- Screen or mesh
- Rubber washer or gasket on top
- Make sure the washer sits flat and even, creating a good seal.
2. Flush the Faucet Before Reinstalling
Before you screw the aerator back on, it is a good idea to flush any loose debris from the faucet spout.
- Turn on the faucet slowly with the aerator removed.
- Let water run for 10 to 20 seconds to clear out any sediment.
- Turn the faucet off again.
3. Reattach the Aerator
- Align the aerator with the end of the faucet spout.
- Thread it on by hand, turning clockwise (right) until snug.
- If needed, use a wrench or pliers with a cloth to give a gentle final turn, but do not overtighten.
- Turn on the water and check for leaks around the aerator.
If you see drips at the connection, tighten slightly more by hand. If it still leaks, check that the washer is seated correctly and that there is no damage to the threads.
Testing Water Flow After Cleaning
Once the aerator is back in place, test the faucet to confirm that cleaning improved the water flow.
- Turn on the faucet fully and observe the stream.
- Look for a smooth, even, and steady flow without side sprays.
- Switch between hot and cold to confirm both lines have good flow.
- Compare with other faucets in the home if you are unsure.
If the flow is still weak, you may have buildup deeper in the faucet, a partially closed shutoff valve, or a supply issue. However, in many homes, a thorough aerator cleaning restores normal performance.
How Often Should You Clean a Faucet Aerator?
The right cleaning schedule depends on your water quality and how often you use the faucet.
- Every 3 to 4 months: For homes with hard water or visible mineral buildup.
- Every 6 to 12 months: For homes with softer water and fewer issues.
- After plumbing work: Always clean aerators after pipe repairs or water main work, which can send extra debris into your lines.
Regular cleaning not only keeps water flowing well but also helps you spot early signs of corrosion, worn washers, or other small issues before they turn into leaks.
What to Do If the Aerator Is Stuck
Sometimes mineral deposits or corrosion make the aerator difficult to remove. If it will not turn, try these methods before forcing it.
Tips for Loosening a Stuck Aerator
- Soak a cloth in white vinegar and wrap it around the aerator for 20 to 30 minutes to soften mineral buildup.
- Gently tap the side of the aerator housing with the handle of a screwdriver to break loose deposits.
- Use an adjustable wrench or pliers with a thick cloth to improve grip while protecting the finish.
- Apply slow, steady pressure instead of sudden twisting to avoid damaging the faucet.
If the aerator still will not move and you risk stripping the metal or scratching the finish, it may be worth getting help from a plumbing professional.
When to Replace Instead of Clean
Cleaning works in most cases, but sometimes replacing the aerator is the better long-term solution.
Consider a New Aerator If:
- The screen is torn, rusted, or missing sections.
- Plastic parts are cracked, warped, or no longer fit tightly.
- The housing threads are stripped or badly corroded.
- You want to adjust the flow rate for better water savings or stronger performance.
When buying a replacement, take the old aerator with you to match the size and thread type. Kitchen and bathroom faucets can use different sizes, and some have male threads while others have female threads.
Simple Tips to Prevent Future Clogs
While you cannot completely avoid mineral buildup, a few habits can help keep your aerators cleaner longer.
- Wipe the faucet tip regularly to remove early deposits before they harden.
- Run the water for a few seconds after long periods of non-use to flush the line.
- Clean aerators after any plumbing work or if you notice cloudy water.
- Consider a whole-house or under-sink filter if you have heavy sediment.
- If you live in a hard water area, regular descaling of fixtures can help reduce buildup.
These small steps can extend the life of your faucet, improve everyday water flow, and reduce the need for frequent deep cleanings.
Final Thoughts
Learning how to clean a faucet aerator to improve water flow is a simple home maintenance skill that pays off quickly. In most cases, a weak or uneven stream from a kitchen or bathroom faucet is caused by a clogged aerator, not a major plumbing problem. With basic tools, a little vinegar, and a few minutes of your time, you can remove buildup, restore normal flow, and keep your faucet working efficiently.
Make aerator cleaning part of your regular home care routine, especially if you notice mineral deposits or live in an area with hard water. By staying ahead of buildup, you can enjoy better water pressure, smoother flow, and a faucet that performs well for years to come.
Recommended next:
Related posts
Browse this topic →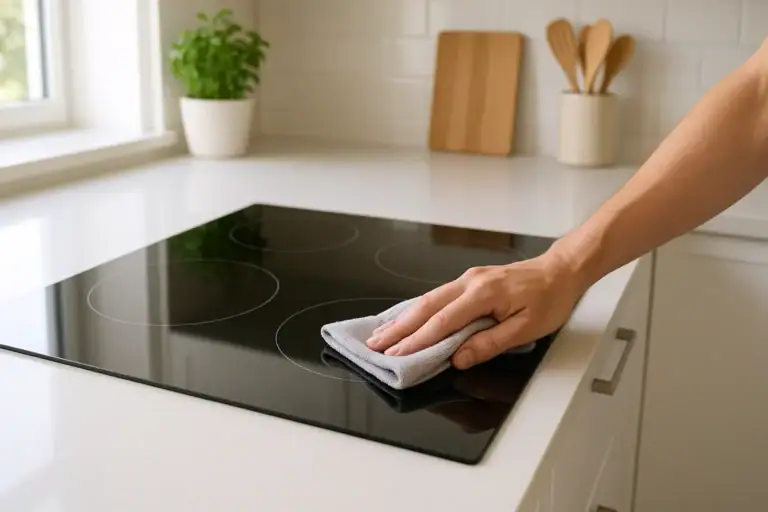
How to Clean an Induction Cooktop Without Scratches: Step-by-Step Guide
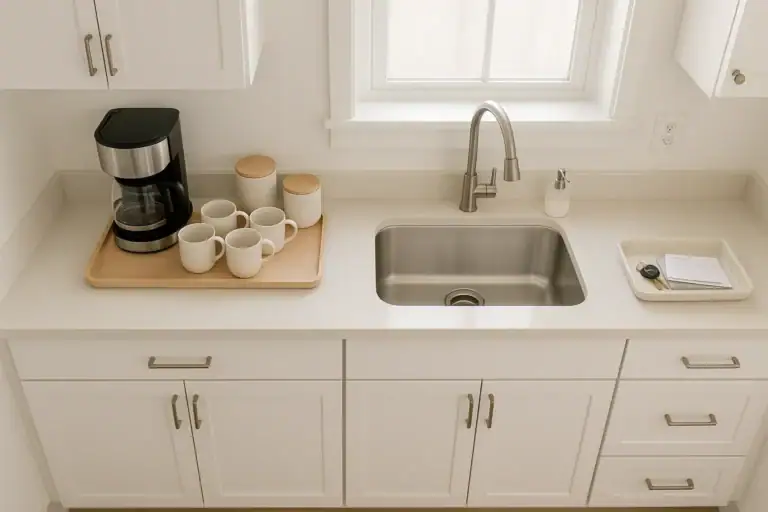
How to Tame Kitchen Countertop Clutter Zones for Coffee Prep and Drop Areas

Fridge Door Seal Test Checklist for Better Energy Use and Food Safety
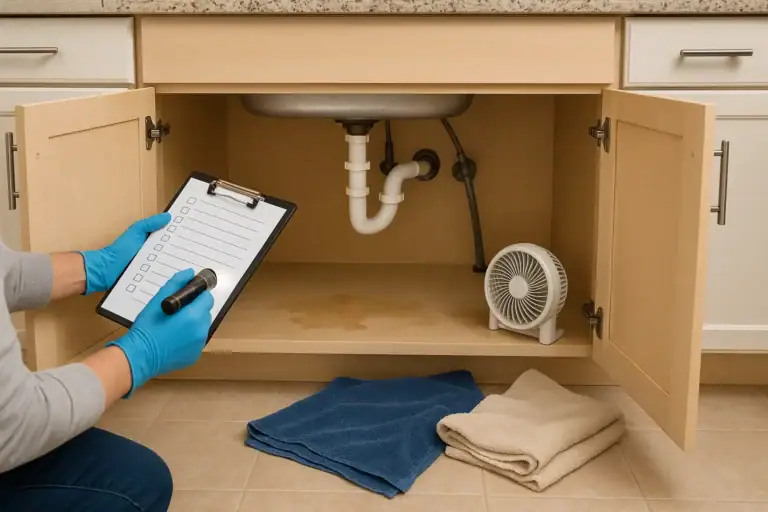
Under Sink Cabinet Water Damage: What To Check Before It Gets Worse

How to Store Flour, Rice, and Pasta to Prevent Pests at Home
Dishwasher Rinse Aid Basics: What It Does and When It Actually Helps
Keep reading

About this site
Signature Home Guide publishes practical, independent home guides. We aim to be clear, helpful, and transparent.
Affiliate disclosure
As an Amazon Associate, we earn from qualifying purchases. Some links on this site may be affiliate links. If you buy through these links, we may earn a small commission at no extra cost to you. This helps support our content. Learn more.